
Your Dahlias Need a Therapist
The other day one of my crew members asked why do dahlias get green centers? I explained it was a sign of stress. She responds with: “Poor little dahlias, they just need a therapist!”
Some days I feel like a dahlia therapist- there’s a reason my Instagram is called “Flower Therapy”. One of my goals in life is to show people that growing can be fun and not stressful. Gardening should be a form of therapy - there have been so many times in my life where it has played the role of therapist- good and bad times!
I feel like I’ve gotten more panicked emails from growers this year. Not sure if the weather is worse or why exactly. I do know this- there are a lot of brand new dahlia growers who have found their way here. That makes me really excited! If it’s your first year, you are in the right place!
Today, I want to normalize some things for you. I hope in the future that new growers will find this post and realize there’s no need to panic!
No particular order here but I want to explain some things — these are all drawn from emails/questions I have received from new growers this season.
1. Green Centered Dahlias- As stated- stress is usually the cause. In particular heat stress. During a hot summer, a lot of dahlias won’t open well and they tend to push a big green center as a heat response. It is possible that genetic breakdown can be the cause of this too but if you are in a hot climate, it’s usually heat. Once the weather cools in the fall, it goes away.

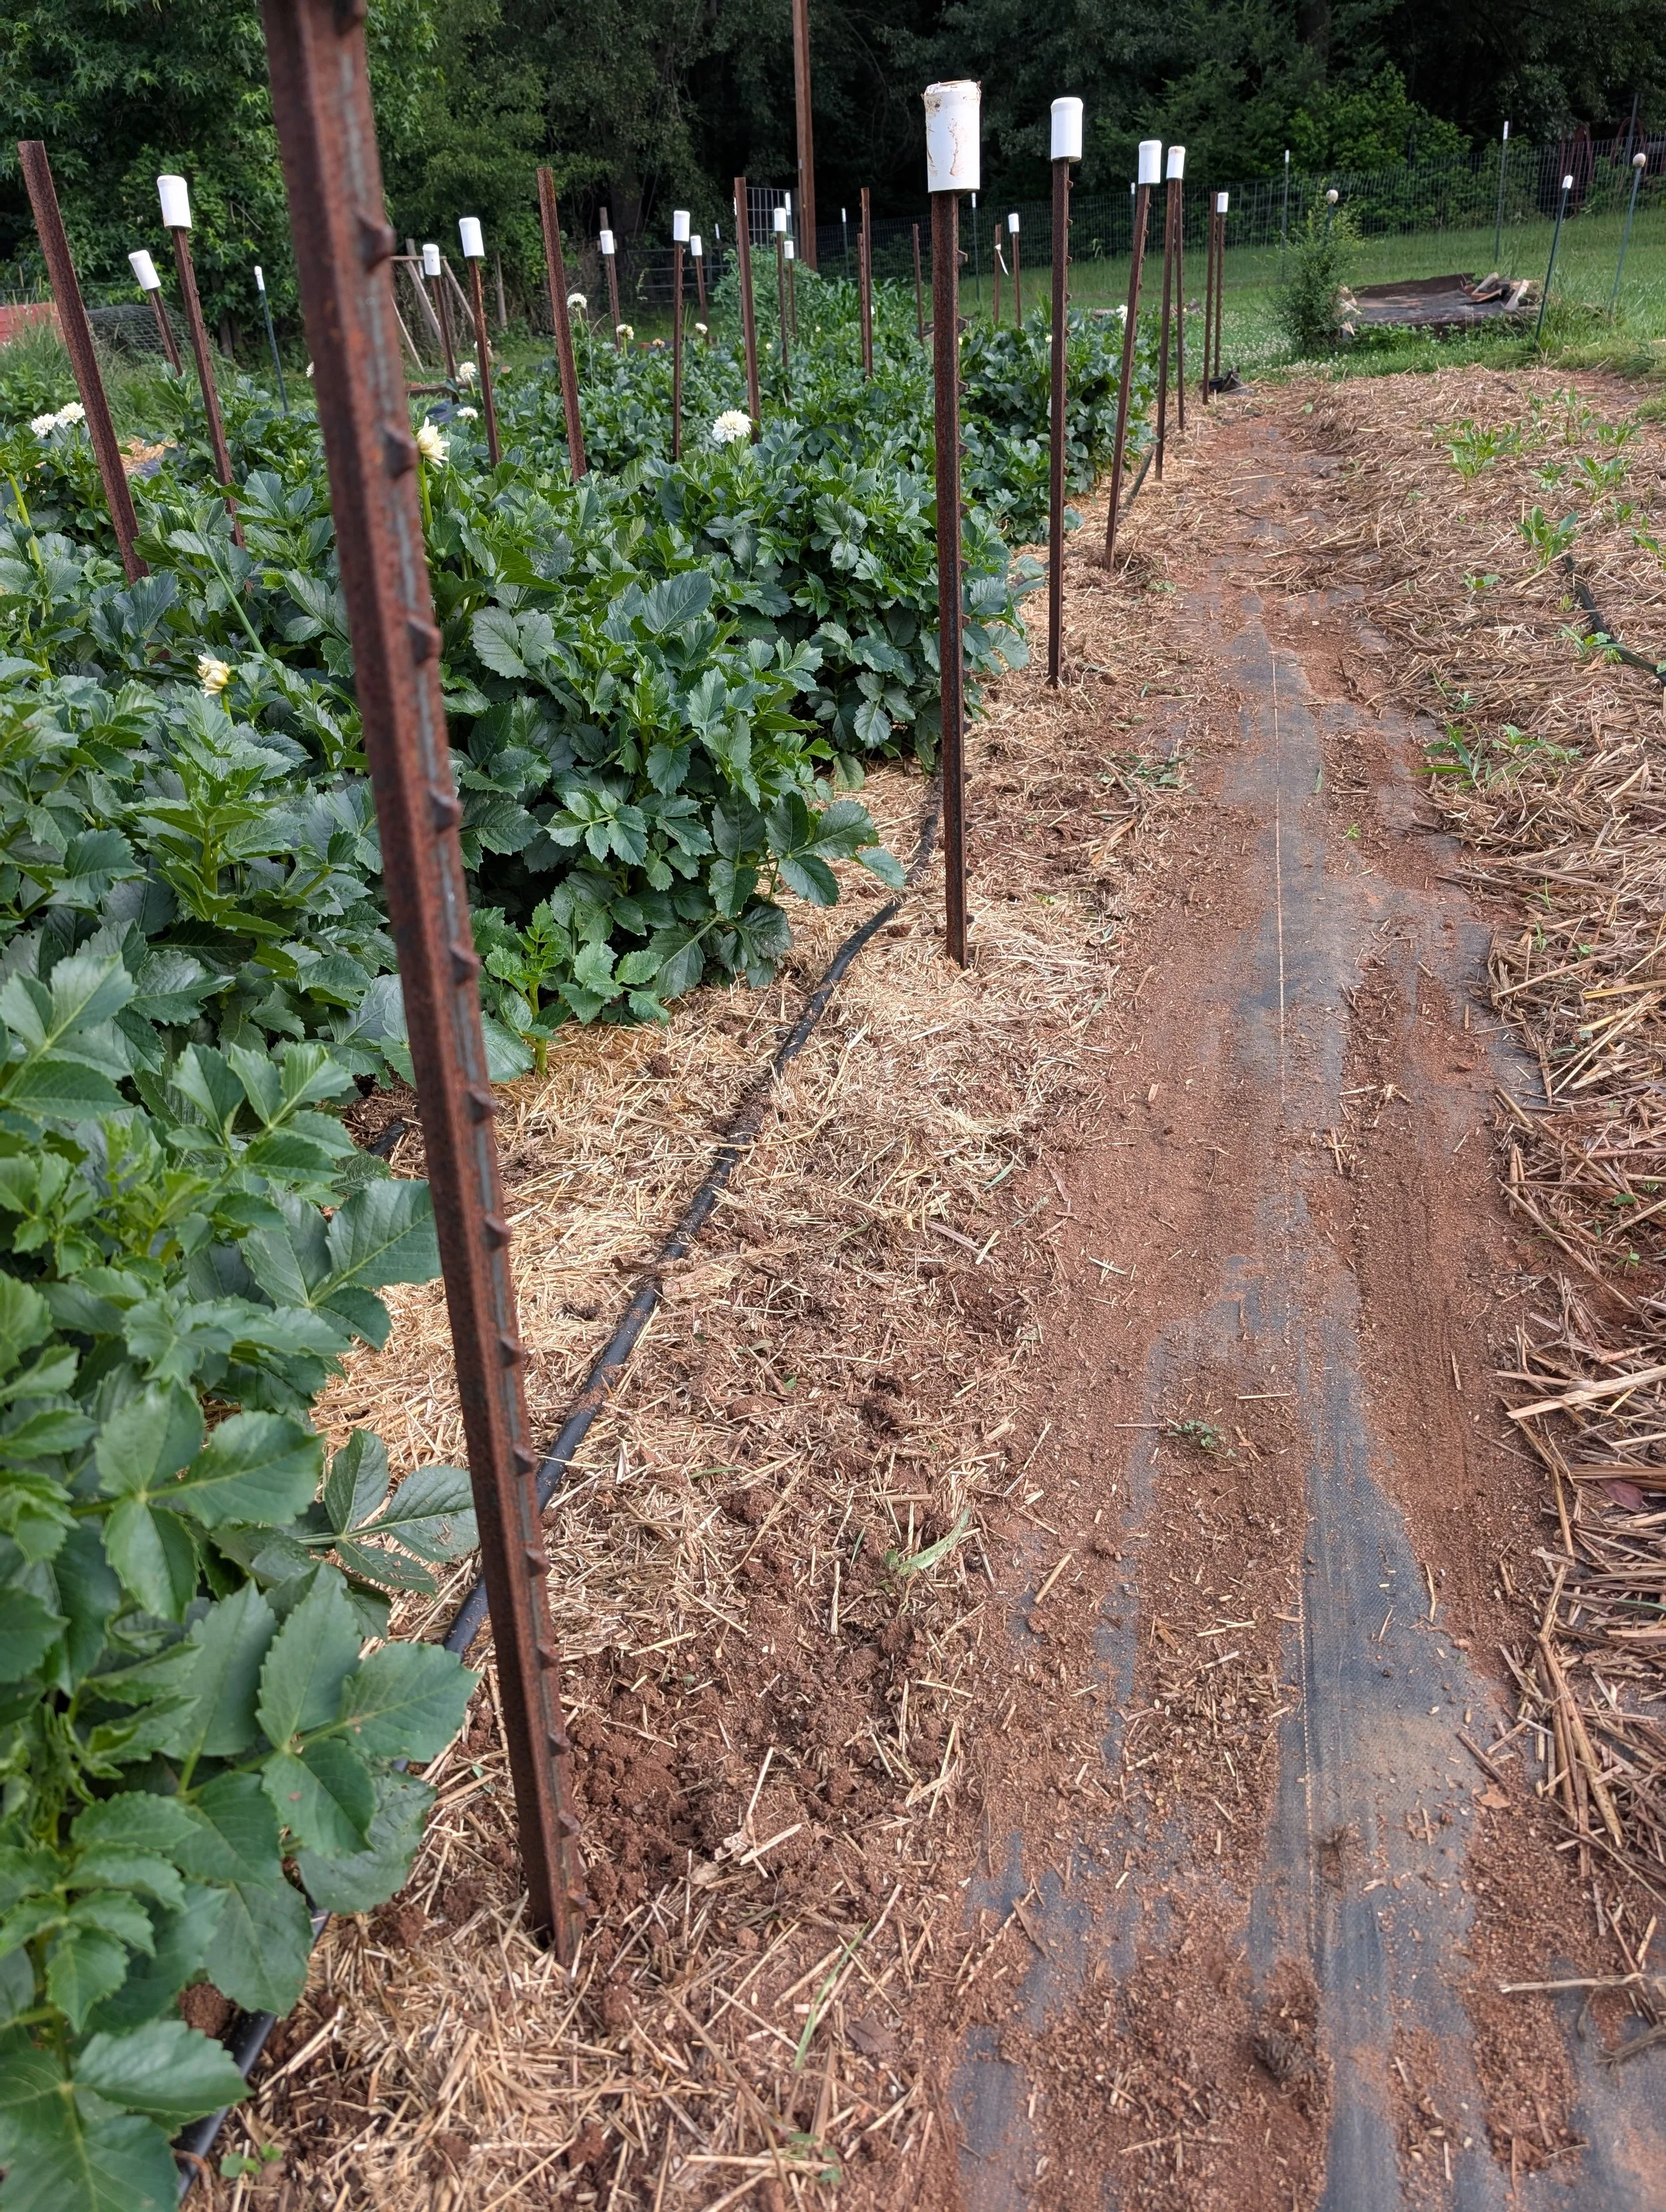
2. What do you do if a plant falls over or breaks off? Clean up the break if it broke off and you’ve still go a plant left- cut back to the next node. Make sure to keep it watered and fed and it will grow back. Falling over is lack of proper support- and learning how to support your dahlias takes a few seasons. Stakes, tomato cages, netting are all good options.
3. My dahlia rotted. Losing a few dahlias each year is par for the course if you grow in a hot climate. Loss is normal and should be expected. We lose 15-20% of our plants every year- usually to too much rain or too much heat. There’s only so much you can do about it- best thing is to observe what happened and try to fix it for the future.

4. I’ve got these white spots all over my leaves (especially in June/July). Most likely you have thrip damage. See the picture below. A good pesticide will take care of it- Capt’n Jacks Dead Bug Brew is an organic option that I like. You’ll need to keep up a regular spray schedule for a month or two until the thrip pressure lessens in your area.
5. My leaves look stippled and are starting to yellow. You’ve got spider mites or broad mites (maybe both). The Capt’n Jacks will work if they aren’t at infestation level yet but if you need something stronger- Avid is a good option.

6. My plant is gorgeous and green but has zero bud or flowers (asked in June). Hang in there- dahlias put on their show in late summer and fall. If you see people with earlier blooms, they probably overwintered their plants.

7. Half of my bloom doesn’t seem to want to open. This is thrip damage again. Thrips can cause this distortion and also turn a light colored bloom brown overnight. They are tiny brown bugs- visible with a magnifying glass. Organza bags have worked well for keeping the thrips off the blooms. You must put them on before the bud begins to open.

This is not a complete list by any means but I hope it will normalize some things that happen to all of us. There’s no need to panic and maybe you can avoid taking your dahlias to the therapist.

Prepping- Dahlia Style!
We’ve been in the middle of a heatwave like most of the Southeast and a large part of the country over the past week. Through the years I’ve learned a few tricks to combat the effects of heatwaves. Today I’m sharing what I did late last week to prepare for the heat wave.
The first thing to consider is what stage of growth your dahlias are currently. For example, I have a field of very small rooted cuttings that was planted out a week before this heat wave. Not great timing, I know. But it couldn’t be helped. We had reached the “now or never” point in the season and it all had to get planted. But I knew that left alone, those little cuttings would have died. So I remembered that I had a large piece of shade cloth ( this is a piece that fits a farmers friend hoop house). I have safety caps on top of my support posts so I knew we could just drape it over that field without ripping it. It took us about 20 minutes from start to finish. Easy peasy!
The other thing I did for this field was add mulch- we had a lot of rain early in the season and it washed off a lot of our mulch. I also made sure it got extra water for any day during this heat wave that we didn’t get rain. So far— they are looking pretty good!

Second major task we did was to use the “dahlia sunscreen”. This is the Surround spray - (kaolin clay). This spray will help with bug prevention but it also will lower the temperature around your plants. I can only use this for the first half of the season. After we pinch, I stop because I don’t want it on the stems/blooms I’m selling. It doesn’t wash fully off. Luckily we had just pinched the plants so I was safe for one more spray. A week later and I would have been out of my window. (the picture below was taken after 2 big storms had come through, so some has washed off)

Third thing I did was a little cutting back. I had 2 rows of 3rd year dahlias that needed to slow down a little bit. They were blooming too early and the petals were burning in the extreme heat. So I cut them back by around 60%. Now I’ll confess I did this the day before the heatwave started. I don’t recommend that— try to pay attention to the weather and do this several days before your heatwave. But they are okay. It was better that I did it, even though my timing wasn’t the best.

Lastly, another technique that I used partially. I used a sprinkler to overhead water everything on day 1 of the heatwave. I wanted to add extra water but I also wanted to bring up my humidity levels in the field. Raising those will help prevent powdery mildew. PM and spider mites love to reek havoc when it gets hot and dry. I would have continued the sprinkler at least every other day but we got rain (surprisingly) on days 3 and 4 of the heat wave.
Those are just a few of my tricks from many years going through heat waves. We always get a few but as long as your plants are well established and you keep them irrigated well- they usually make it through!
Wilty Dahlias
Are your dahlias sad? Do they droop and sag? You’re not alone! Unfortunately dahlias don’t always look happy and healthy- especially when growing in a hot climate.
So let’s talk about some of the possible causes:

We’ll start off with the obvious: Water— either too much or lack thereof
1. So if a dahlia wilts, the most likely thought is- It needs water right? Well that’s the first thing I check. Stick your finger down 1.5 inches into the soil and test the moisture level. If it’s dry, then it’s a good chance it does need water. But it’s also worth checking a few other things!
2. I always try to feel down to the tuber- you want to make sure it’s not rotting. If it’s rotting, then this is more likely the cause of the wilting. There’s not a ton you can do if it’s rotting. If it’s early enough in the season, I try to grab a cutting off of it. Or sometimes I will cut the plant back a little bit so that the tuber isn’t supporting so much green growth. But in reality these are last ditch efforts- you are probably going to lose it.
3. Now if the tuber is firm and the soil is moist - well that leads us to the next possible cause:
Verticillium Wilt- This is a soil borne fungal disease. It prevents water from moving through the vascular system - therefore showing up as wilting, yellowing foliage and dieback. There’s not a lot you can do unless you catch it really early. Sometimes you can chop the plant back hard and it will recover but you have to catch at the first sign of wilt. The problem is that it usually affects the plant in the lower portion of the stem and blocks water flow to the upper parts- which is why it’s so hard to deal with. Don’t compost any plant parts that you remove.
Prevention can help but it’s not a sure way to keep it away. Using a fungicide spray regimen before you see any signs can help prevent it or slow the onset. Soil solarization where you find it can be helpful too. But unfortunately, it’s usually a death sentence if you catch it too late.

Browning Leaves and Black Tips on new growth are also commonly seen in wilty dahlias. The browning - if it’s seen higher up on the plant is usually a sign of sun scorch. Lower brown leaves- like around the base of the plant may be signs of fungal issues. Black tips on new growth near the top of the plant are signs of a boron deficiency (Cafes love to get this!).

Next time you see a wilty dahlia, you know where to start to diagnose the problem! Want to be the first to know when we release a new blog post—
Sign up for The Dahlia Lovers Newsletter- Click Below!
The Radish Experiment
We grow a lot of our dahlias at an offsite plot and the owner of that plot has chickens. During the winter we often use daikon radish as part of our cover crop. Turns out that the chickens love the radish greens.
Well obviously they disappear once we terminate our cover crop so I decided to try an experiment so the chickens can have more radishes (and hopefully keep some weeds down) Anything for the chickies!
We have 2 rows of dahlias in this plot that are planted 2 across in a 4’ wide bed instead of the 4 across that we usually do so those rows tend to get very weedy on the edges.
These are the hurricane survivors by the way. It took them awhile to get going but they look great now!
So I went to my local feed and seed and bought a pound of radish seed and sprinkled a row down the edge of the bed. I seeded pretty generously so that there would be enough to help cover the soil and prevent weeds. But also so we could have enough to pull to feed the chickens.

We got a great rain the evening after I sowed these so hopefully in a few days, we will see little radish sprouts! I’ll keep you posted.
Update (7/23/25)- Radishes germinated well but I definitely need to work on seeding evenly. In the left picture you can see a 10’ stretch of row and how it’s a bit sparse in some areas. The right picture shows a close up of a well seeded area- This is what I’m going for. I reseeded after I took these pictures and we had good rain yesterday so hopefully the second time works!


So What If the Rain Won’t Go Away?
This is another one of those “if I had a $1 for every time” posts—- All I’m hearing about right now is “Are my tubers going to rot?” It’s been a very wet year so far in the Southeast. I’m writing this only a few hours after our power came back on - we just had a huge storm that dumped a ton of water. And it’s been raining almost every day!
So let’s talk about DRAINAGE!
First off- the reality. There’s not a ton you can do to fix bad drainage for the immediate future. But there are a lot of plans you can put into place for the long-term future. So let’s make some future plans!
What exactly is good drainage in soil? Good drainage is when the water can pass through your soil at a moderate rate. Clear as mud right? Realistically you want the water to not pool on the surface but also you don’t want it to dry out too quickly. But we all know that sometimes the water comes down too fast for the soil to be able to handle it efficiently. After a heavy storm, it’s going to pool on top. My personal measurement is- “Does it drain off in less than 24 hours?” If so, all good. I have heavy clay soil so if it can drain the water from a pooling point in 24 hours or less- that’s not half bad.
But what if the water is standing for days? How do you fix poor drainage in your soil?
1. Organic Matter- Soils that are high in organic matter hold water but also let it pass through. They are kinda like sponges- plenty of holes to let unnecessary amounts of water through but will hold what it needs. You can get more organic matter in your soil in several ways. Adding compost is one of the easiest. Compost is just all the leftover waste from your garden and it turns into black gold. Compost not only adds nutrients but also add organic matter to your soil which will help handle how water moves in your soil.
Shredded leaves are a another excellent addition. You do want to make sure they are shredded- whole leaves will just create an impenetrable mat that breaks down slowly. We bought a leaf shredder for the farm 2 years ago and have been adding shredded leaves to our beds each fall. It’s making a massive difference and it doesn’t take that much either. We put about the equivalent of 2 unshredded wheelbarrow loads in a 4x16 area. So it’s a pretty thin layer but it makes a world of difference.
We began mulching our dahlias with straw 3 years ago and as it breaks down it’s turning into great organic matter for our soil. I love a product like this that does double duty!
2. Gypsum- This stuff is magic! I’m not totally sure how it works but 2 years ago we did an application of gypsum on almost our entire farm. It takes a bit to really see the benefits but 2 years on, I can tell. There’s a difference in the few areas that didn’t get the application. And the awesome thing about it is that you can’t over apply it. If your soil doesn’t need it, it just holds it until it does. Gypsum adjusts the tilth of your soil and for clay soils, this is a game changer.
3. Lay of the land- Don’t discount growing on a slight slope. I thought it would be hard when we began our farm but on wet years like this, I’m so thankful for a slope to grow on. And you don’t need much. If you are prepping a new area to grow in, give it just a slight slope, it may not even be noticeable to most people but it will help move that water off.
Raised beds will help with this if you are on a flat land situation (and even if you aren’t). You can do permanent style beds or just rake the dirt up a few inches.


4. Drains and Grading- Depending on how bad your drainage situation is, you may need to have portions of your land regraded or add drains. We had to have some of ours regraded back in 2018- it made a huge difference. And then in 2020, we added a huge drainage ditch at the top of the hill (top of the flower field) to catch water coming down from above that. Physically changing the water flow made a huge difference!
So if you are having drainage issues this year, it’s time to make a plan for the off season. I promise you it will pay off in the long run. I feel like everything we have done to improve our drainage on this farm has been for this season! So bring it on rain! (but leave the hurricanes in the Atlantic please!)
