Dahlia Cuttings- Part 2
For part 2 of this series, we are jumping forward about a month- that’s how long it will take until you see the tubers beginning to sprout. It’ll go a bit faster the later you start them in the spring but normally it’s around a month before you have sprouts big enough to take a cutting. Generally speaking you want to have around 10-12 weeks to go through this process so start about 2.5 months before you want to plant.
Alright- you’ve potted up your highly coveted tuber varieties and now they are beginning to sprout. It’s time to take the cuttings.

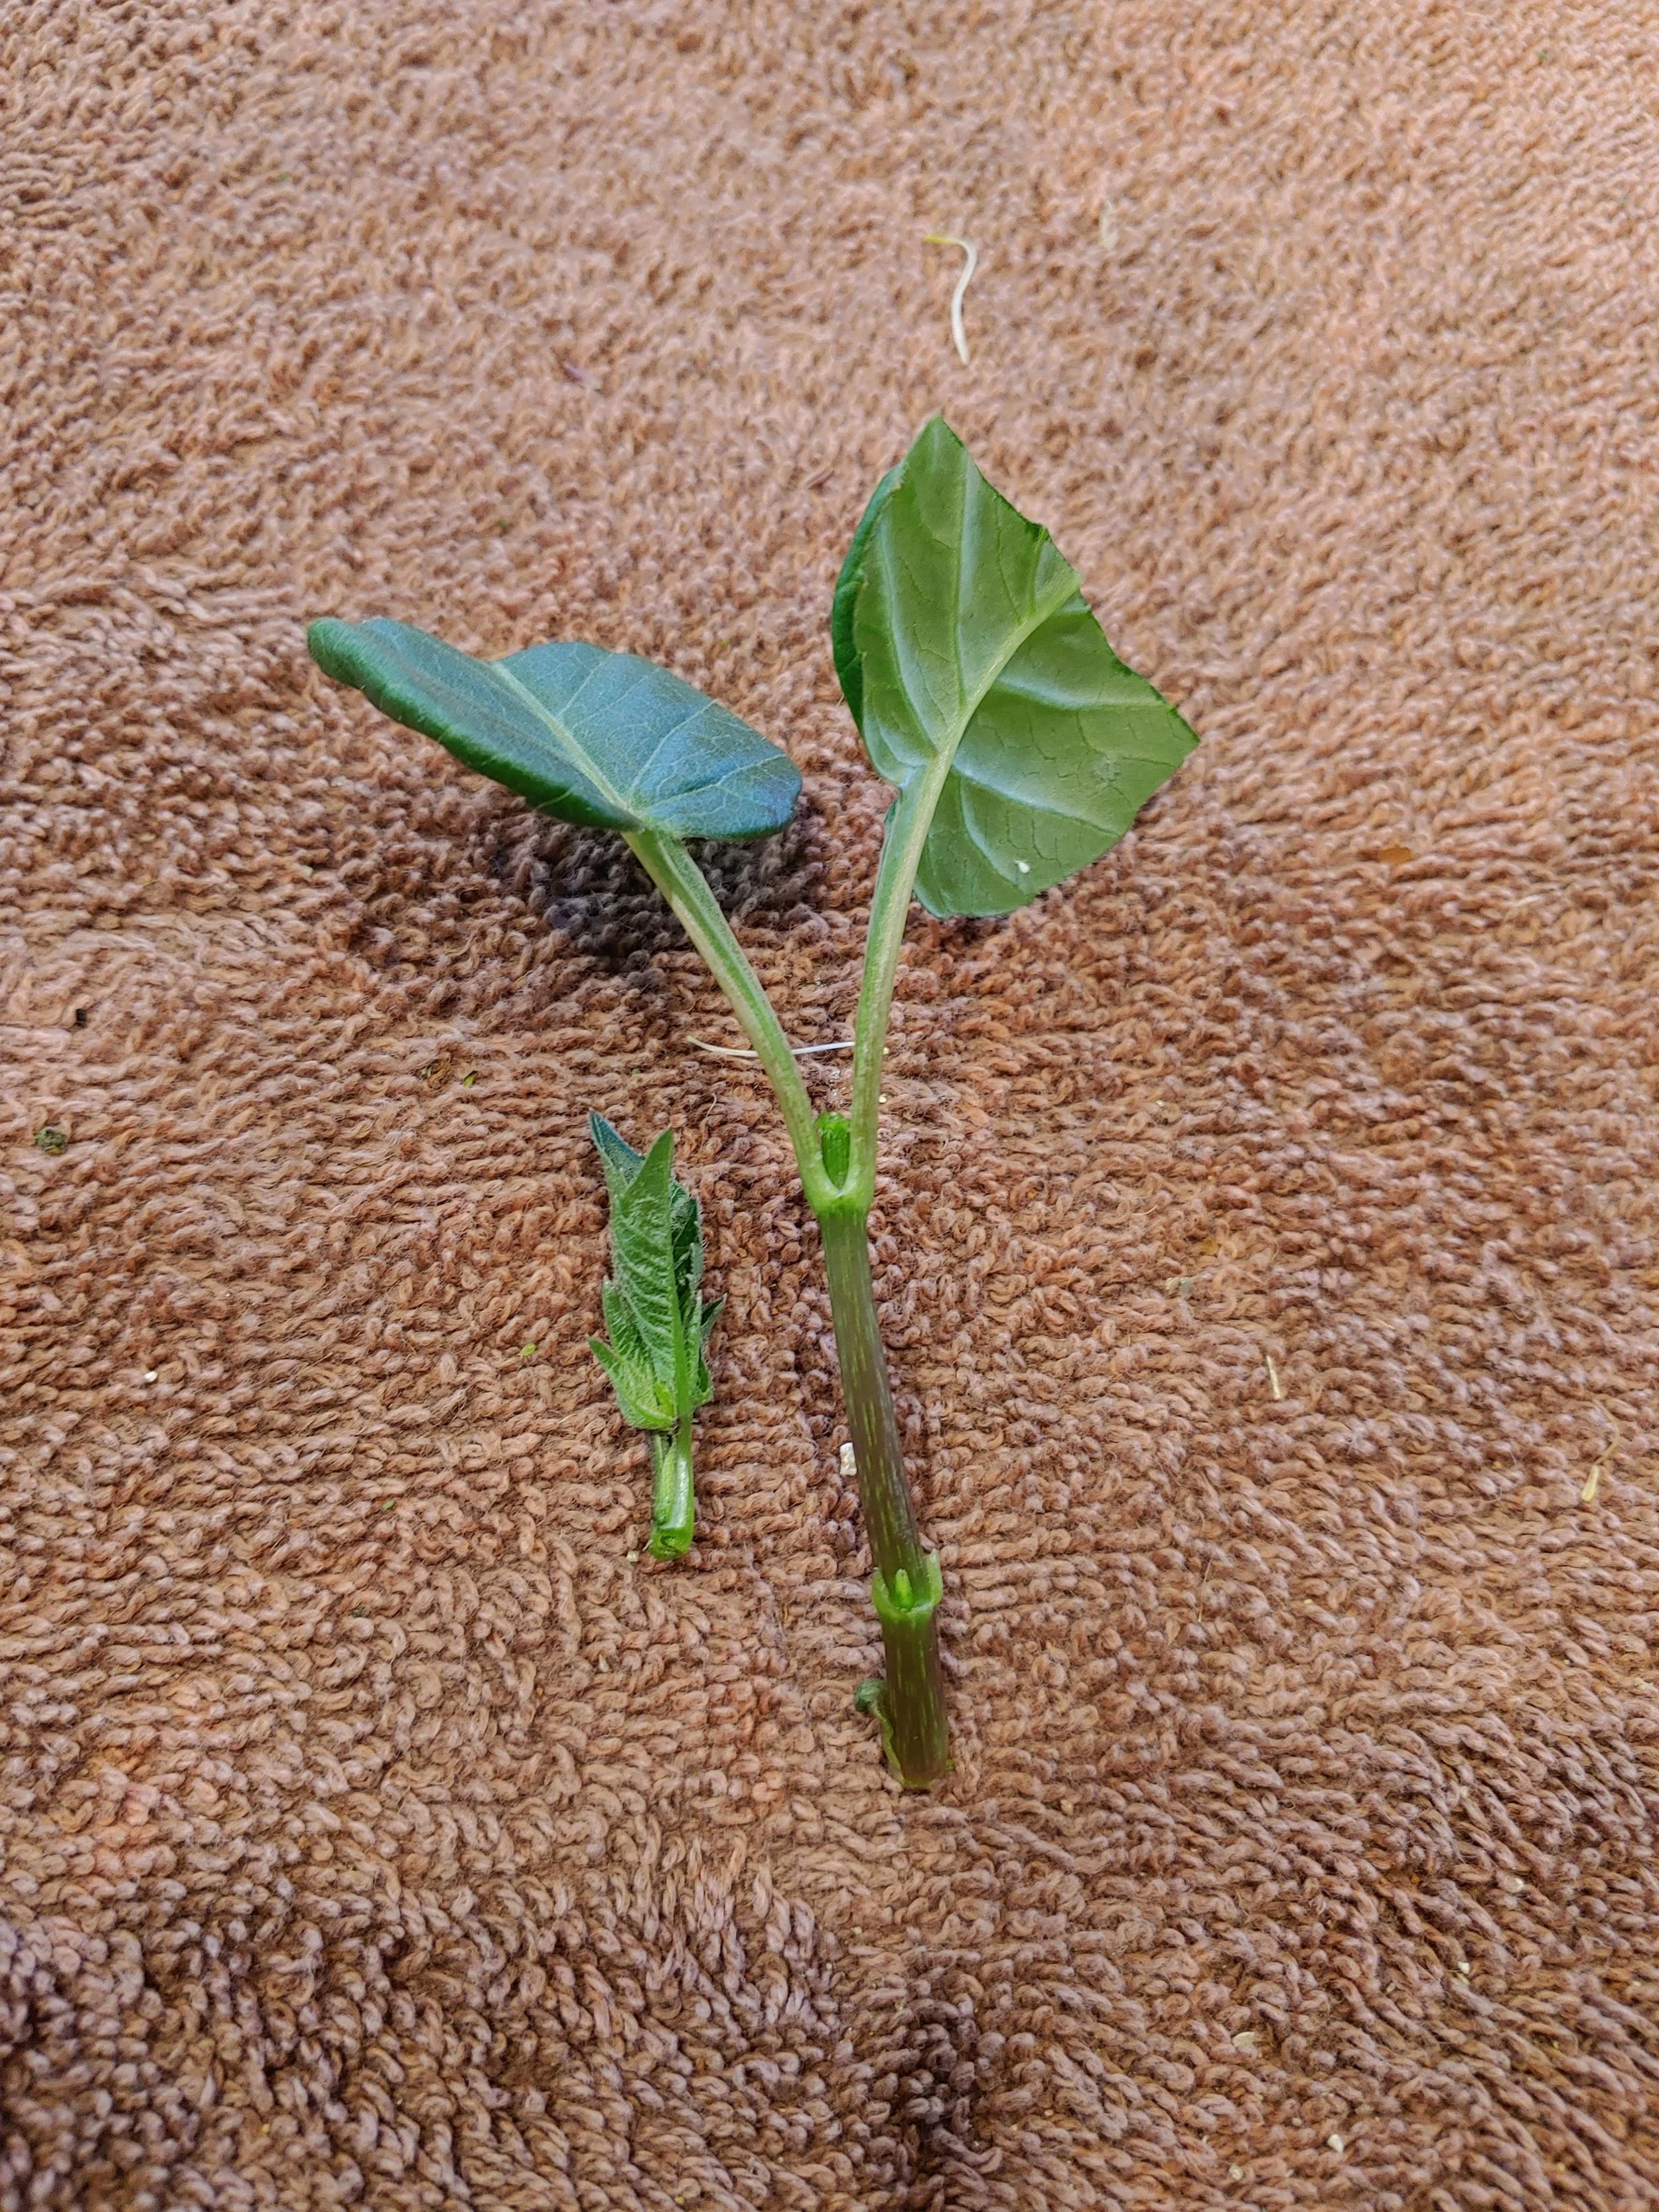
Wiggle the shoot back and forth until it snaps off from the tuber. I used to take cutting twice this size and use snips or a knife to remove them. But I learned (Thanks Drew at Clara Joyce) that the smaller shoots root better and snap off easier- this way is faster to get your cuttings but also faster to root. I’ve had much higher success rates since I started this method.

If you are using a larger cutting like shown here, remove some of the foliage so that the rootless cutting doesn’t have as much leaf surface to support. You need enough to photosynthesize with but not so much that it is constantly wilting.
Take a pencil, bamboo skewer, etc. and make a hole in your potting soil. I like to use a 72 plug tray but a small pot would work well. Small pot as in 2-3”, don’t go any bigger than that right now, smaller if you can.

Dip the cutting into rooting hormone if you like. I would try some with rooting hormone and some without- I’ve done both ways. I personally like rooting hormone. As for brands— look for the ones with cannabis plants on them. Cannabis growers do lots of cuttings so they usually know their stuff when it comes to rooting. You want to pre-poke the hole so your rooting hormone doesn’t rub off while you poke the cutting in. I’ve been using Hormodin 3 this year with great results.


As for rooting mediums- there are options: potting soil, sand, perlite, etc. You need something very light- stay away from straight compost. Free draining is good. Some potting soils work great, but some hold too much moisture. We’ve been using a product called “Elle Pots” this year. They are a paperlike sleeve filled with peat and perlite. They’ve been holding the moisture level very well. I’d love to find a peat alternative though (if you know one - holler!)

Place your cutting into your pre-poked hole, label it!! Make sure you label it- I use vinyl blinds written on with pencil. That will last all season if needed. Then place a humidity dome on top or use a plastic bag if you are rooting into a small pot.

I feel like I should put this next part in all caps- not because I want to yell but because it’s really important!
Rooting anything is all about conditions and timing. Taking the cutting at the right stage of growth- which fortunately isn’t too finicky with dahlias is important (mostly this is an issue with woody shrubs). The conditions after you slice the shoot from the tuber are important! Essentially you are putting the plant on life support until it grows roots. So you gotta’ pay attention. Your powers of observation are your most important tool here. Observe how wet the soil is, how dry, how warm, how cold. Humidity around the cutting needs to be high. Humid environment is going to be your best chance for success until you get some roots going. Most dahlias take around 2 weeks to begin to show roots.
You can use a heat mat if you have one, if not, go for a warm spot—needs to be around 70 degrees. The soil temps needs to be around 70- so a warm room or a heat mat will work. We used a warm room this year because I didn’t have enough heat mats for the amount of cuttings we took. I encased a portion of my basement in plastic and then put a small space heater in there with a temperature gauge and it worked great!

Check your cuttings at least twice a day until you get used to your rooting environment conditions. Make sure that humidity is staying high. Rooting media should be moist but not soaking wet. Too wet and it will rot. The cutting will tell you but you have to pay attention. This is not plant it and forget it gardening. This is— baby it with all you got!!
Also make sure you are giving the plant light! You don’t have to have a fancy grow light. I’ve used shop lights for years but it needs a concentrated source of light. After about 10 days, give the cutting a little tug and see if it’s rooted. After 2-3 weeks, you can pot it up into a bigger pot until it’s time to plant out. I recommend a 4-6” size pot.
Lastly, let’s talk about expectations. If it’s your first time or even if you’ve tried a bit before- Don’t expect it to work perfectly. Rooting plants is loads of fun but it’s also a learning process. I find plant propagation one of the best parts of my job. But I’ll admit it took a while to learn to do it. And I still have cuttings that don’t root. Plants are natural things and we don’t have complete control over them so sometimes it’s just not gonna work. You’ll never get 100% success. Don’t beat yourself up over it. Stop and take inventory of the situation— figure out what worked and what didn’t and try again.
The good news—- that tuber is gonna make another sprout where you just cut one off— in fact, it’ll probably make two!!
PS- Here’s Part 1 in case you missed it!