


End of Season Dahlia Checklist
I always hate to write this post but it’s really important! It’s time to begin your end of season tasks. Yes- I know they really just got going good, but some of these tasks you need to do now!
Hapet Champagne
So to prep your dahlias successfully for over winter and next year:
1. Make sure they are labeled properly. Double check every plant and make sure it’s tag reads the correct variety. I use old vinyl blinds (the cheap kind), cut them up and write on them in pencil. It has never failed me! If you are digging your dahlias, zip tie it to the base of the plant.
If you have a mislabel that you can’t identify, try posting in Dahlia forums on Facebook, asking friends, check with the supplier- there are multiple ways to figure it out. And if I can’t find the actual name, I just write a description- that way I know it’s not what the original label said it was.

20th Ave Memory
2. Figure out when you need to stop fertilizing. Look up your average first frost date and then work back a month from there. After that point, don’t fertilize any more. You don’t want to encourage a lot of new growth towards the end of the season. Just let your dahlias focus on tuber growth during the last month. If you don’t wait until frost to dig your tubers, just stop fertilizing about a month out from when you will dig. You do still want to focus on treating powdery mildew or any pest issues.

The many faces of Wine Eyed Jill
3. Decide on your winter storage method. We’ll talk more in depth about this later but decide if you are going to dig or leave your tubers in the ground.

Coseytown Gale
4. Make your wish list for next year. Decide who you want to add and who’s getting the boot to make room for new additions.
The Itsy Bitsy Spider....Mite that is!
Edit: I originally started writing this last fall but didn’t have time to finish the research so I’ve left parts of the original article in but have now been able to do more research to address this issue and have finished the post.
If I had a fiver for every email/question I’ve gotten about spider mites (and broad mites and cyclamen mites) this summer- well let’s just say I’d have lots of cash for some pricy unicorn tubers this winter ;)
It’s been a really rough year for them. Most years, I see small localized outbreaks of them but usually the damage is minimal and easily contained. But this year, it’s been at the ‘fatal damage to plants level’ for some of you.
So while, it’s not a sexy topic, it’s a necessary one if we want luscious blooms!
Let’s talk about how to address pest issues in general first:
1. Scout your plants regularly. Grab your favorite beverage and walk your plants on at least a weekly basis, more if you have a lot of plants.
2. Use your phone camera to take pics of anything that looks suspicious.
3. Record your findings- date, what you found, add a pic if you can. This information is helpful when it comes to prevention methods in future years.
4. Employ prevention methods. But - fully realizing that sometimes it takes a few years to figure out the timing so give yourself a bit of grace.
Most of the time when I receive an email, the plant is already very damaged. Try using these methods to catch issues before they get really bad.
Next: Make sure you diagnose the problem correctly.
— Also remember you can have more than one issue at a time.
Knowing the lifecycle of pests is important. Some insecticides will only kill the pest at a certain stage. You can find the average lifecycle of most pests by simply searching online. Remember that unless you know the timing of when the pests begins to appear in your garden, there will most likely be all stages of the pest happening at once. This often means the need for multiple applications of an insecticide.
— Also verify your diagnosis in multiple places. There are a lot of ID apps and good research out there to use but a lot of these are based on AI which can be faulty so just use good common sense and verify it in a few places.
Research Findings:
*I’m not going to re-invent the wheel and re-write everything I read but I’ll summarize to give you an idea if the research may fit your situation.
Coping With Spider Mites- from The American Dahlia Society. This article talks a lot about different types of mites and specific insecticides to address them. It’s almost 20 years old, would love to see an update but I think there’s still some really good info here. I found the information about the use of pyrethrin’s and how they can actually encourage the spread of mites particularly interesting.
Dahlia: Plant Health Problems- This page is not specific to mites but to pests in general that bother dahlias (also fungal diseases). Some good photos for id help (wish there were more though).
Managing Spider Mites in the Garden and at Home- This article speaks generally of spider mites but they used dahlias as their example plant throughout. Good photos for diagnosis
Know Your Mites- Good article on the differences between broad mites and spider mites
Management of Broad Mite & Cyclamen Mite in Production Nurseries- long but good photos and in depth descriptions of different types of mites
Experience Based Findings: (For Prevention)
Several years ago I began using a sprinkler to cool my dahlias during the hottest days of summer. Turns out that it’s also a great method for preventing powdery mildew and spider mites. Both of those come on when we go hot and dry. But by increasing the amount of water my plants are getting, bringing the temperature down and keeping the air moisture levels higher, it’s creating an atmosphere around my plants that is not conducive to spider mites/powdery mildew.
Second - Keep your plants as healthy as possible. This means staying on top of feeding and watering and monitoring for pests. Stressed plants attract more bugs!
I sincerely hope this year is better- but when they do inevitably come, there’s a lot of good information here to help answer questions and help you formulate a plan of attack.

Back to the Basics with Dahlias
Get back to the basics with dahlias to ensure success in your garden this summer!
If you are new to dahlias this post should give you some help to get started. If you’ve been growing a few years, this will be a good refresher course. So Back to the Basics we go!
1. Before you buy a tuber, survey your yard, add any compost- let’s get our mindset in place. Growing plants is a life long journey. Perfection won’t be gained in year 1 or 10 even. It’s a journey we embark upon to learn more about the natural world, to bring beauty into our lives, to teach us many lessons (least of all patience), and to share the beauty/bounty we grow with others. There is no succeed or fail, only lessons learned, knowledge gained, and relationships formed (with people and nature).

KA Mocha Katie
2. Remember what plants need- Every plant needs light, water, and something to grow in (usually soil). Dahlias specifically need full sun (6+ hours a day), rich soil with good drainage, and moderate water during the green growth stage and more water when blooming.
3. Dahlias need support. Most dahlias are tall plants- tall enough to need support. So place a stake or wire cage when you plant or install support netting over a full row.
4. Dahlias are hungry plants. So don’t skimp on the compost or fertilizer— Make sure your soil has enough nutrients to feed your plants properly. They prefer soils higher in phosphorus and potassium, lower in nitrogen. Too much nitrogen will create lush green plants with little to no blooms. Get a soil test from your local extension so you have a baseline to begin.
5. The more you cut, the more they bloom. I often hear of new growers being afraid to cut their blooms but the more you cut, the more the plant is triggered into producing more blooms! If you pinch out the central growing tip when the plant is around 18”-2’ tall, it will cause the plant to branch and give you more stems.
6. Dahlias are the ultimate generous gardener plant. Place one tuber in the ground in the Spring and dig up a whole clump in the fall. Or if you live in a warm climate, overwinter them in the ground and divide your generous clump in the spring and turn all your friends into Dahlia Lovers too!
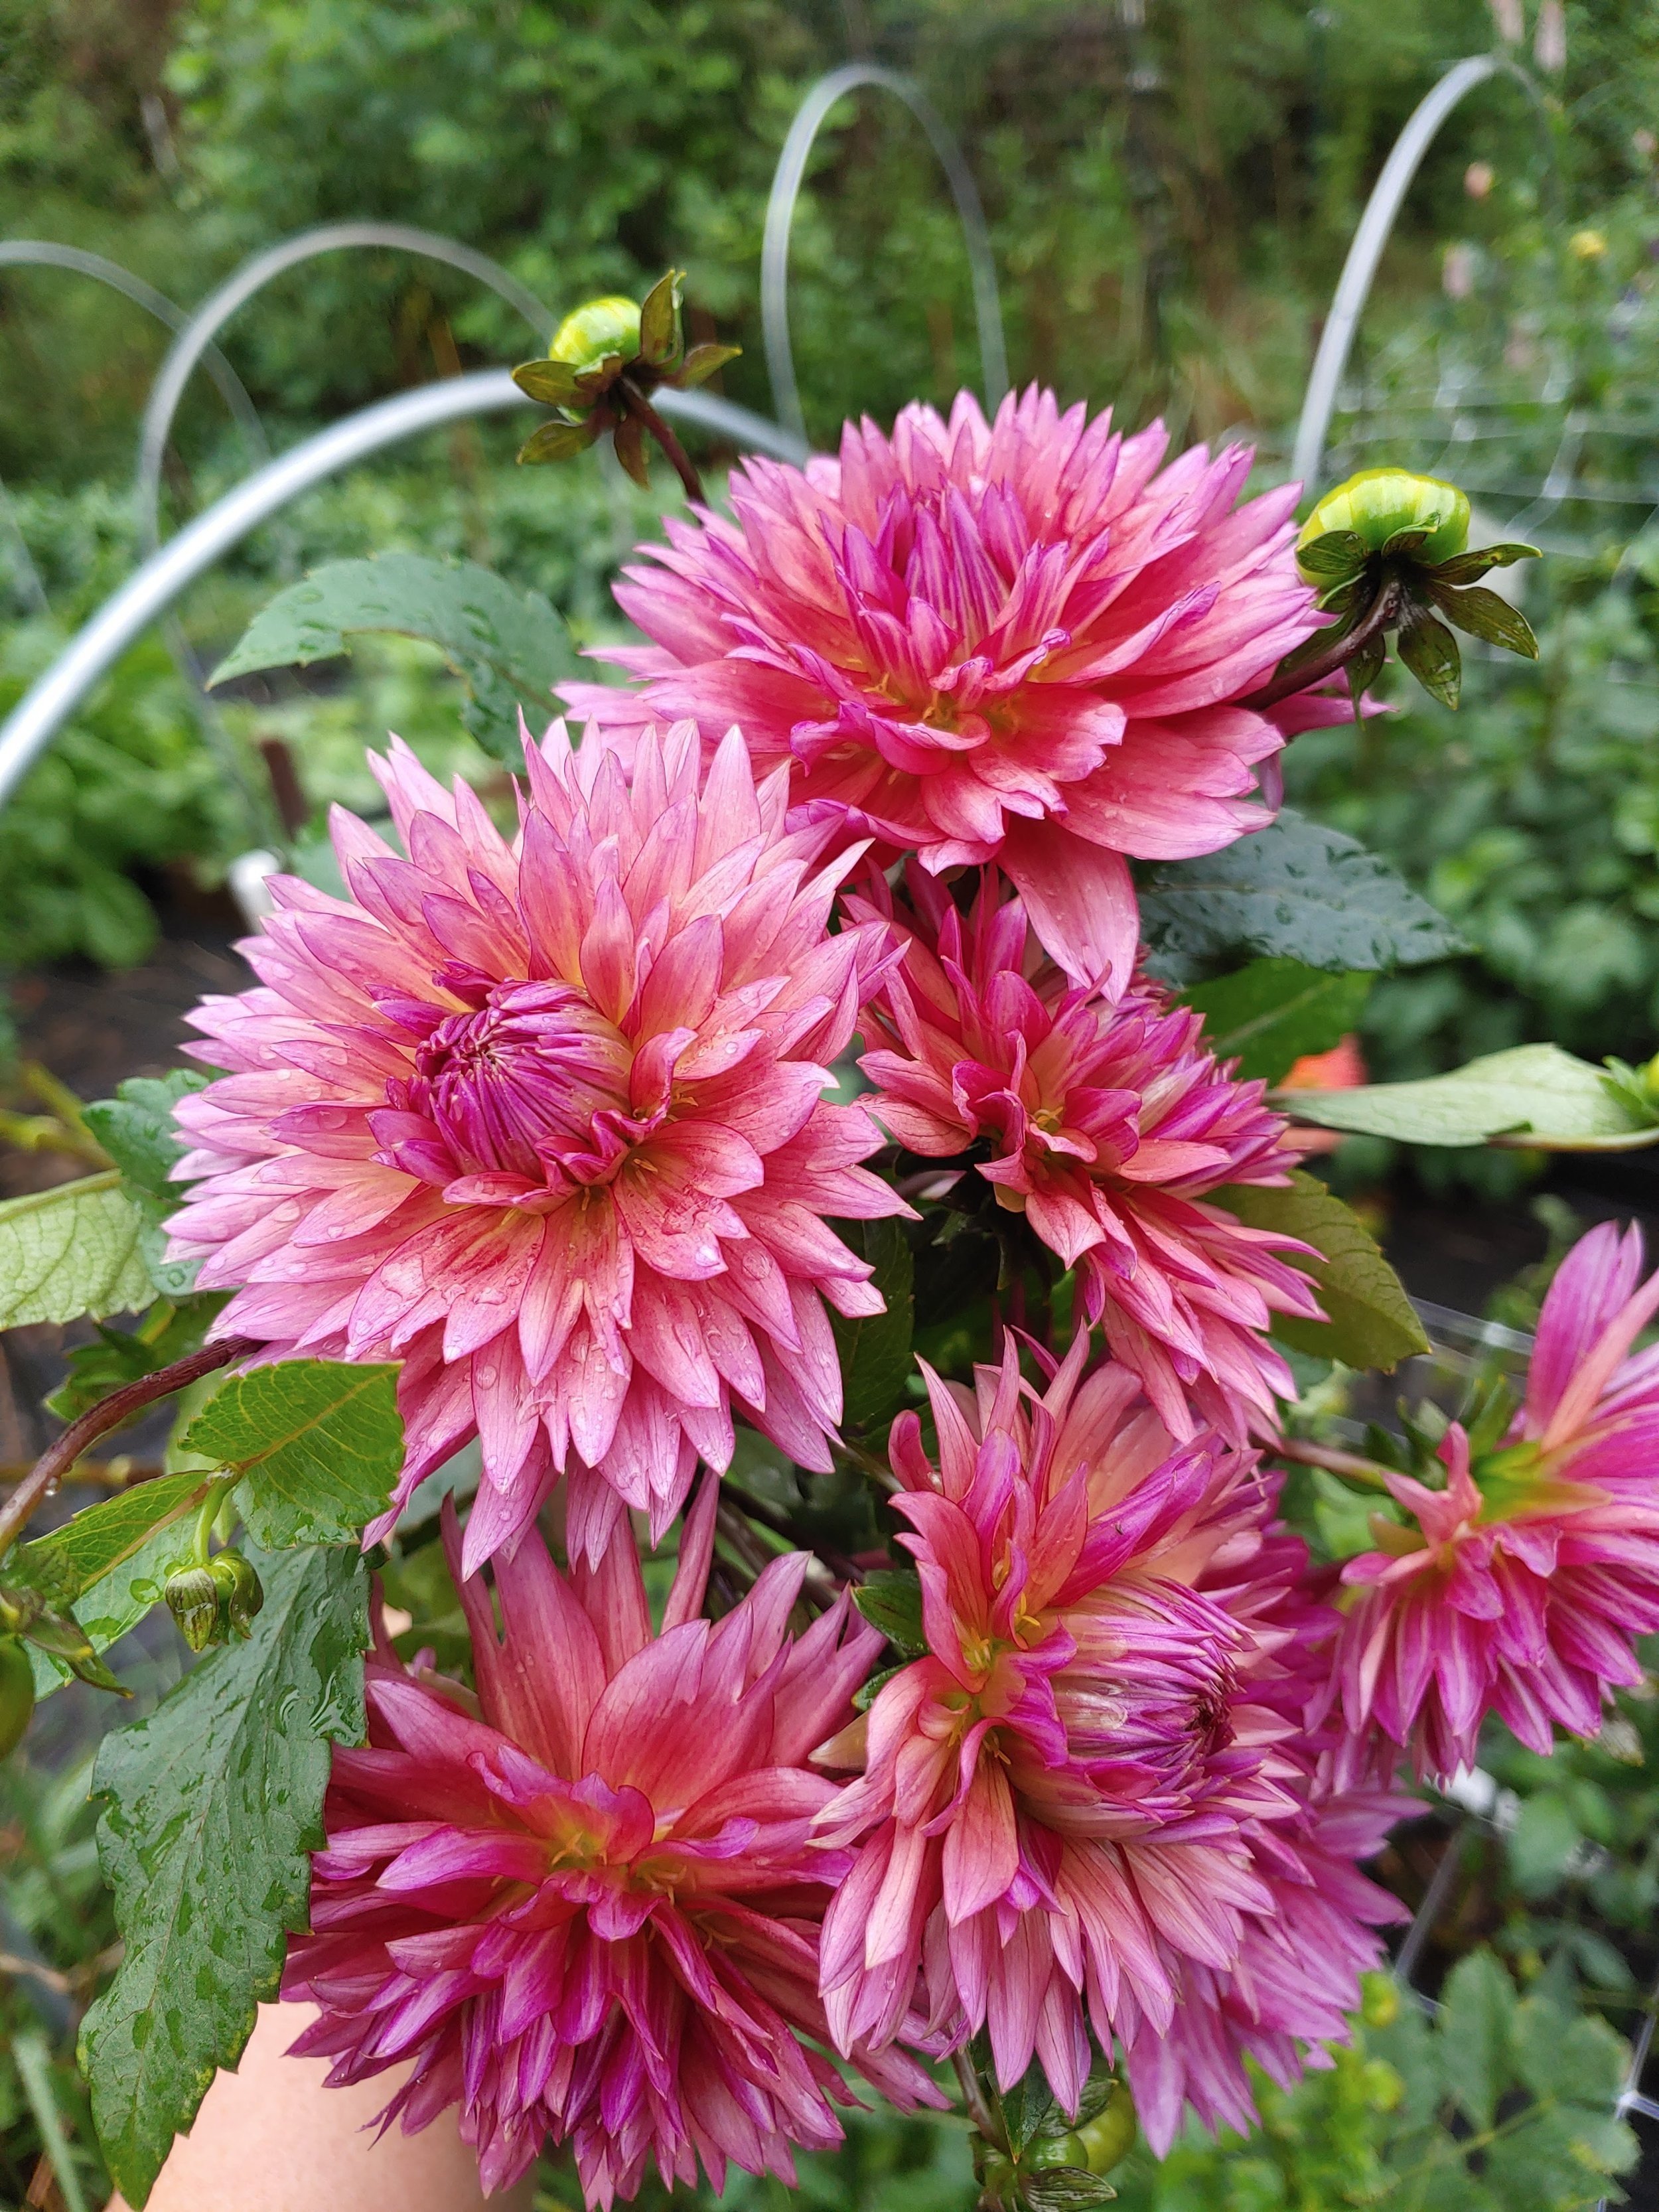
Sonic Bloom
So if you read through this and thought- but I still didn’t have the results I wanted with my dahlias.
***Read through again. Really look into each step and evaluate your growing. The majority of issues with growing dahlias can be traced back to the simplest things. ***
For example, for years, I always told myself- I’ll get the netting up before they get too tall! HA!!! And for years I had so many floppy plants- lost loads of stems that I could have sold! So now I put my netting up as soon as a row gets planted. The planting is not finished unless the support netting has been installed.
For the first several years, I didn’t soil test and I had lackluster blooms. They would be small or misshapen. I finally tested my soil and found I was very low in the crucial nutrients that create bountiful blooms.
It took me several years to really believe that I could cut 2’ stems on my dahlias without damaging the plants. But then I grew a variety that was 8’ tall. I had to cut long stems in order to keep it manageable. That taught me that if I cut the first stems long, then I would continue to have long usable stems throughout the season (instead of short weak ones).
All that to say— Don’t Ignore the Basics!!! When I see new growers who have bountiful blooms on healthy plants, I can always trace it back to following the basics.
So go grab a few tubers to try this year and then over the next few months, begin to plan how you will implement the basics in your garden. Follow along with me here, lots more info coming.

Dahlias and Hurricanes
Well there’s a title I never thought I would write. This is one of those blogs that may have more answers than questions right now. But one of the many reasons I blog is to have a record of what happens while growing dahlias in climates they hate. And now we have another reason they hate this climate.
But yet, we persevere!
So - the facts: From Sept 26-27, the Upstate portion of South Carolina (along with western North Carolina, eastern Tennessee, northern Florida, and a swath of Georgia from the coast to the Carolina border was hit by Hurricane Helene that made landfall as a category 4. I know we received over 11” of rain at our farm. This was also after a severe thunderstorm had already come through our area 2 days before causing some damage and soaking our soil to the saturation point.
First off: How do you prepare?
1. Harvest everything you can from your fields. Don’t leave partially open flowers to wave around in the wind and rock your plants- this disturbs the roots.
2. Support everything! Make sure all your netting is in place and secured, add extra corralling.
3. Prune plants if needed. If this storm had come through in August, I would have pruned any really tall plants back knowing I had enough time for them to regrow/bloom. Since this was the end of September, we didn’t do that this time.
4. Increase your drainage. If you know you have areas of poor drainage, pre-dig some routes for water to escape.
Then you go hunker down and stay safe during the storm.
Afterwards:
So one thing I’ve learned is to give things a little time. They always seem worst right after the storm. So the only thing I did the first day was observe. I recorded how bad the damage was and where. I learned one area of my farm is a wind tunnel. The dahlias there were not just blown over- it looked like something had whipped them around and caused a massive tangle of plants. We had to cut that row back by half. It won’t bloom again this year but there was no salvaging it, best we can hope for now is tuber growth. Fortunately the weather is being kind now and we are staying dry.
Our home farm sits on a hill and never have I been more thankful for it. Majority of the standing water drained off within 24 hours. It did leave some silt in areas that still needs to be removed but mostly we had to cut out a lot of broken and damaged stems. Most of the blooms were windblown and waterlogged. All in all I would say we lost about 75% of our saleable blooms for the week in this field.
Our offsite location was not as fortunate. We had 4 rows of white dahlias. We sell a lot of white dahlias because a large majority of our customers are wedding florists. Two of the four rows had just started blooming about week and a half before and the other two rows were budding up. On Saturday when I took the first look, here’s what I saw:

Wilted, stressed out plants. Those plants are basically drowning because so much water had come down and this field is flat. The blooming rows looked like this:


The left picture is a week before the storm, the right is a day after the storm. I’ll admit I was very discouraged when I saw this. This field represents a significant portion of our income for October. White dahlias are the one color I can always sell. And now we’ve lost 90% of what was in bloom.

The above picture is from Tuesday morning. You can see where the plants on the left side are rebounding but the right side is still wilty. The two non-blooming rows look like this all the way down. One plant is fine, the next one is drowning. Right now, about 40% of the plants look okay. However, I dug around in the soil and could feel mushy tubers. This is not a good sign. My hope is that they have a big enough tuber base that they won’t rot completely. These are second year plants and they are Blizzards (which are amazing tuber makers). A late frost and a dry October would be a huge blessing right now. Might be enough time to get some blooms and new tuber growth out of these plants. The only thing we have done to these is to pull back the mulch so the soil will dry out faster.

We just raked it into the pathway. Should help a little, I hope!

I was able to cut the damage out of about 20’ of one row. So we’ll get a few more blooms but the rest of the rows looks like this:

I honestly don’t know if cutting back this hard was the right decision. But after 4 days, I was already seeing yellowing foliage and the plants were so stressed. I felt like removing the heavy foliage burden from the plants might give them a chance to regrow. At this point, it’s a waiting game.
The goal changed after this storm came through- at this point, it’s all about saving the tubers! Losing the blooms is a substantial loss but loosing the tubers would be 4x the loss. One thing I do know from previous tropical storms: you don’t dig your tubers when they are saturated. I thought this would be a good idea a few years ago after I saw plants sitting in water after a tropical storm. Those tuber clumps mostly rotted in storage. Tubers that have an excessively high water content don’t store well! So here’s hoping for a beautifully dry October and really late frost. We need time for plants to regrow!
For more past history on our overwintered dahlias, click here.
2024 Variety Highlight- September
It’s been awhile since I’ve done a variety highlight so let’s go. There’s not really a theme to this- these are just some varieties I’m loving right now. Some are new to our field, some we’ve grown a few years.

Copper Boy
Copper Boy- Red seems to be getting popular again. I’m getting more and more requests for it. I’m glad, ready to move on from the burgundy phase. Copper Boy is gorgeous, shorter dahlia but cut deep and you’ll get some good stems.

KA Cinder Rose
KA Cinder Rose- A lot of my new KA’s died off in the July heatwave, but this beauty stayed strong. And she’s given me several stems already. Only her first year here but showing good potential- here’s hoping for some good tubers!

20th Ave Gwen
20th Ave Gwen- this has been a pleasant surprise. I’m not sure if I ever even saw it bloom last year. If so- I think it missed it. But it’s gorgeous, well worth the wait. This is a dahlia you want to let open a good bit on the plant because the color develops more as it opens. It softens and takes on some peachiness on the lower petals.

Normandy Bright Day
Normandy Bright Day- I was expecting the color to be a bit more vibrant but it’s a beautiful peachiness which I’m not sad about! First year here but it definitely gets a pass to keep growing.

Doodlebug
Doodlebug- I’ve been growing this for a few years and I just keep thinking it gets cuter and cuter. It’s a smaller size than most of what I grow but has a certain sweetness to it. It also blends into any fall palette!

Diana’s Memory
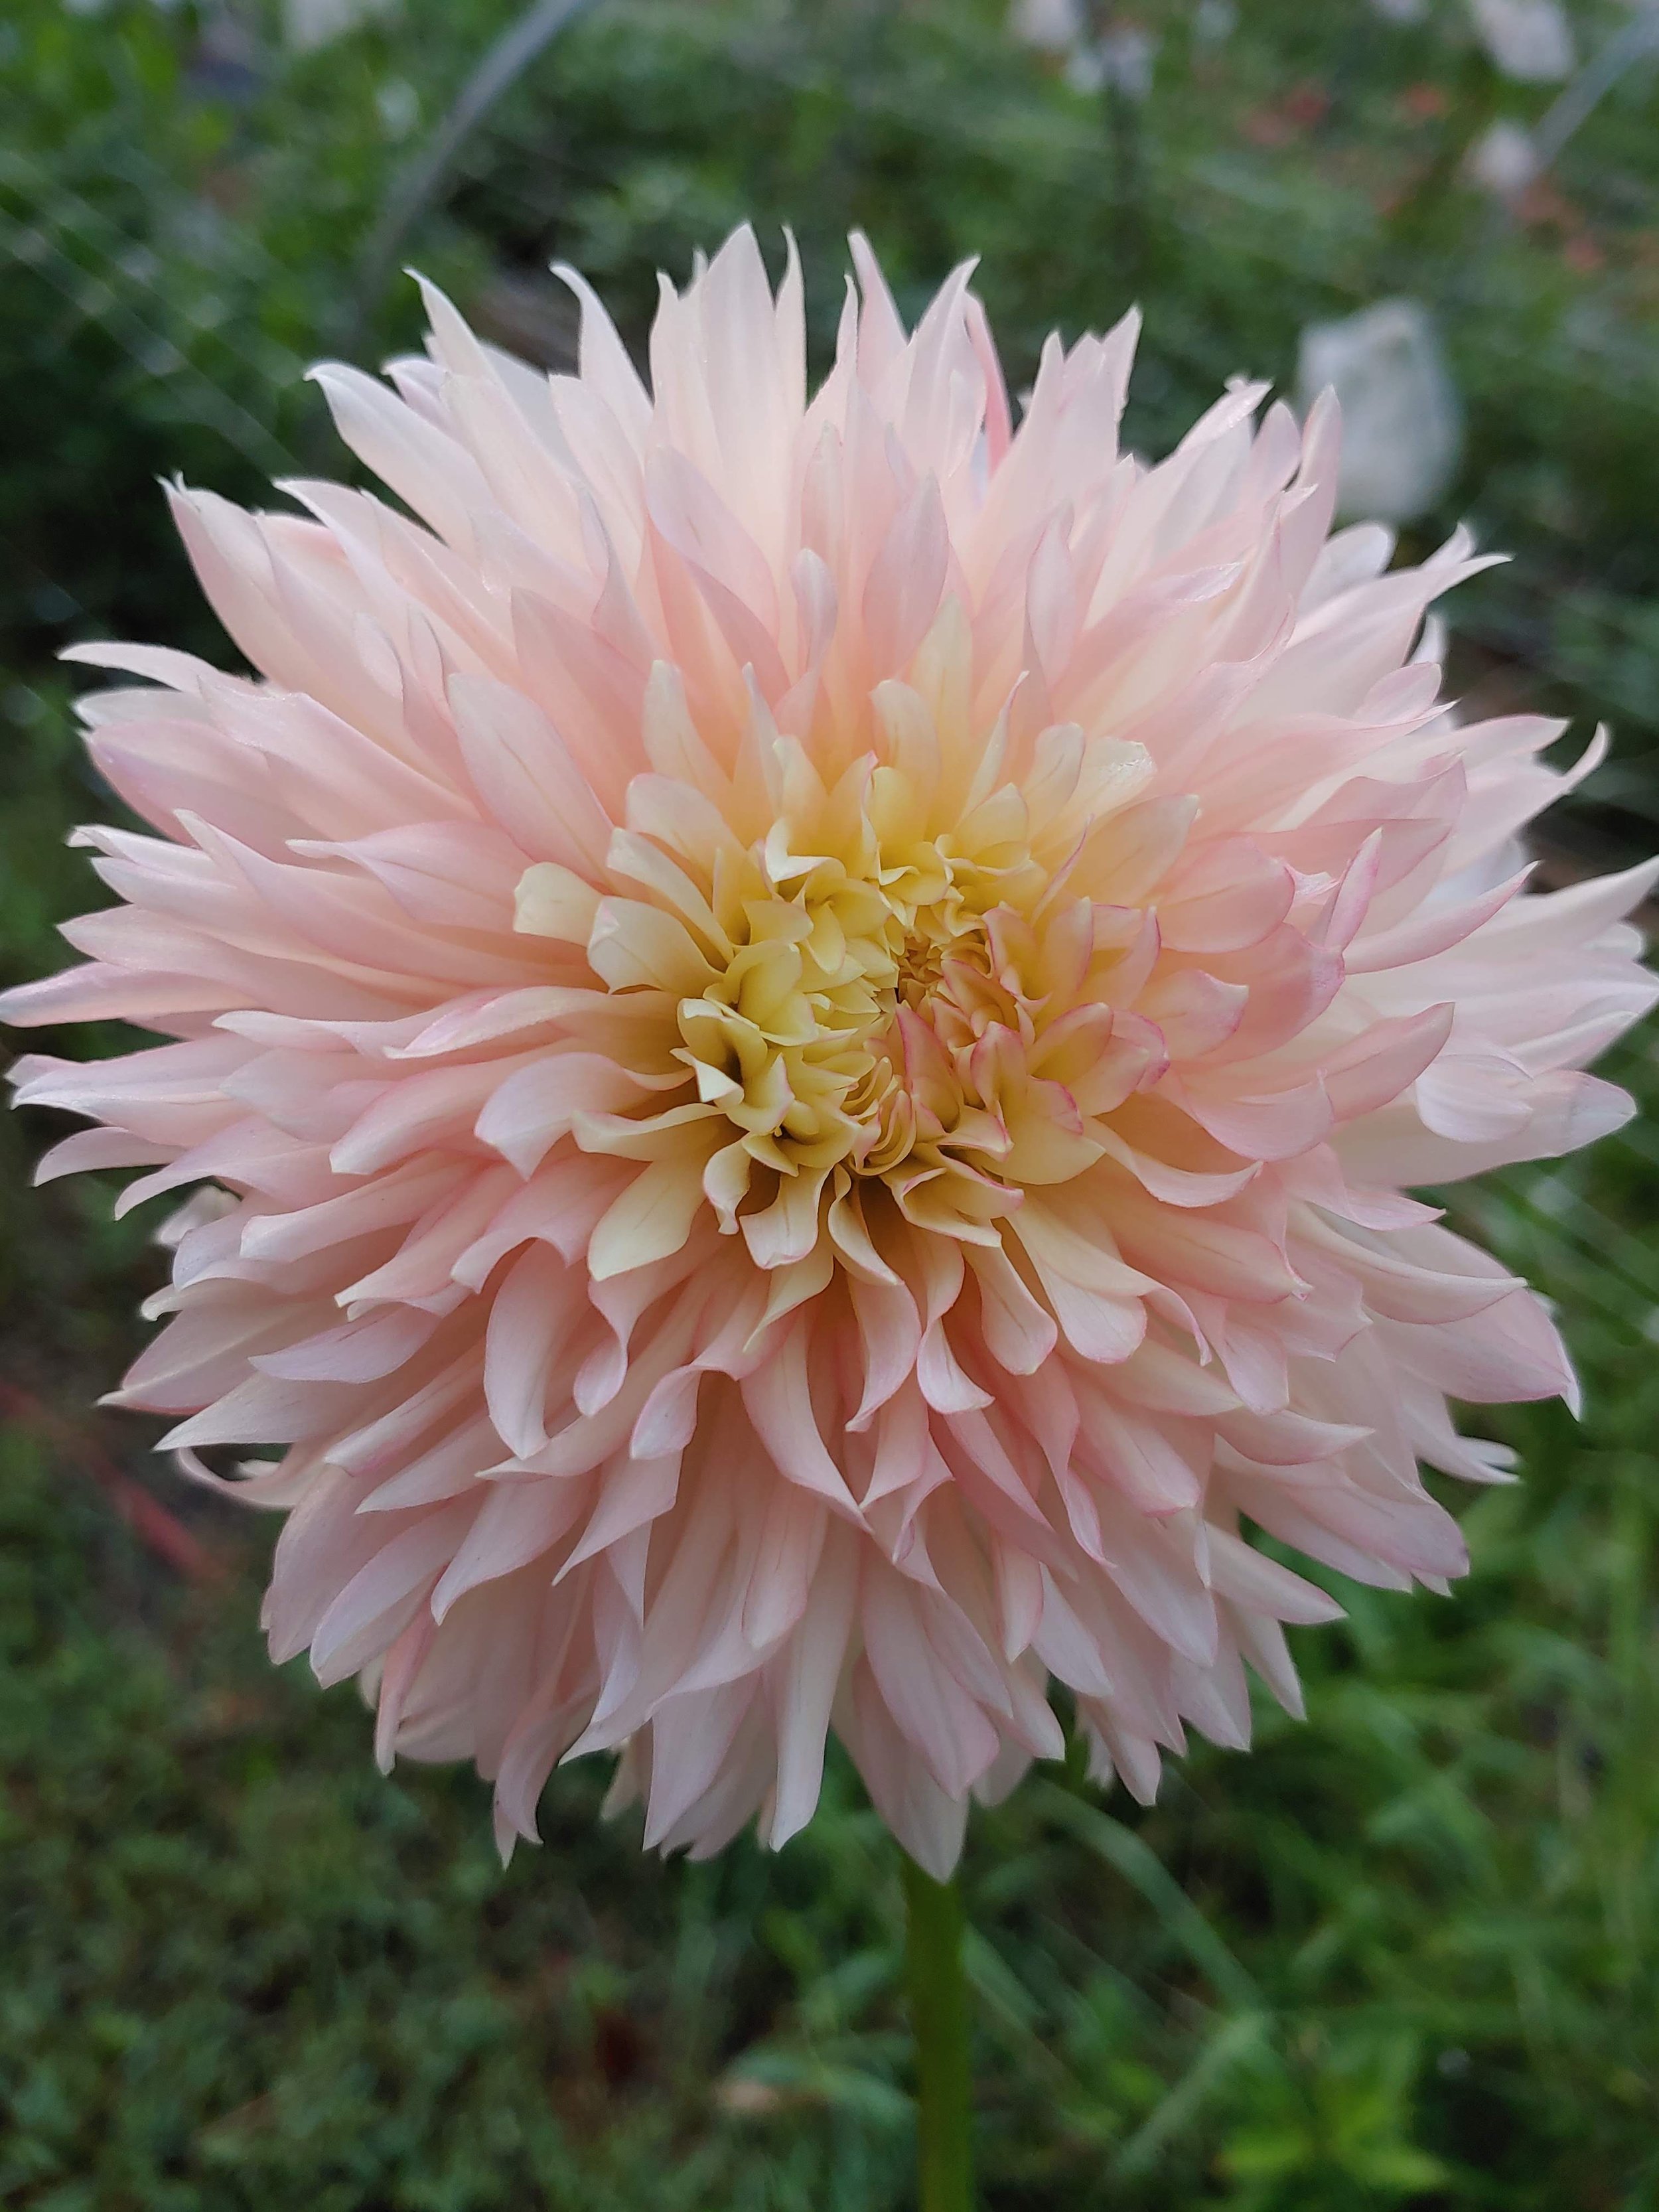
Diana’s Memory- this is an old favorite. I lost it a few years ago because she’s not a great tuber maker. But she’s always been a favorite blush so I decided to try again. Will she make good tubers? Well we’ll know in a month or so.
