Frostmas has come....now what? (Tuber Digging Guide)
It’s official- November 2, 2023 and our field has frosted. Frostmas has come! And you know what? I’m really excited. We’ve had a great growing season this year and I think the tubers are really going to show it.
We began the digging process November 1st actually. We begun with digging Sweet Nathalie and Cafe Au Lait. They both look fabulous!

Cafe Au Lait
I thought I would take you through our process of digging tubers.
First off- you don’t have to wait until frost. We don’t usually wait most years. Occasionally be can make it to mid November before we frost. But we have to get the tubers out of our beds so we can plant spring flowers. You only need the plant to have been growing for 120 days to get tubers. You’ll hear some people say less than that but since some varieties take longer, I think 120 days will cover it all.
Second: About a month before you want to dig, make sure your dahlia is true to name. I write my labels on vinyl window blinds with pencil - the cheapo kind that you can find at the local hardware store. Pencil doesn’t come off and fade in the sunshine. I use a hole punch to make a hole and then zip tie it to the base of the plant. It’s also a good idea to make a map of your planting plan when you begin in Spring and then check it as they bloom. Double labelling is good in case you lose a tag during digging! (It happens!)
The Digging Process:
Once we are ready to dig, we remove the netting (or any supports you have used). Then we cut down our plants to about 4-5” of stalk left above ground. Now you are ready to dig.
You want to begin digging about a foot out from the stalk. This ensures you don’t slice the tubers. You want to dig all the way around the stalk in a circle and gently start lifting the clump. Some come up easy, some take forever- depends on how big the clump. Once you get it lose, use your shovel to lift it up. Don’t pull too hard by the stalk— this is a good way to break the delicate necks of your tubers. Begin brushing dirt off so you can see what you are working with. And just keep using the shovel to loosen it until the clump is free. Don’t shake too hard or pull too much on the stalk. During digging is the time when you can cause the most damage to the tubers so be gentle with them!
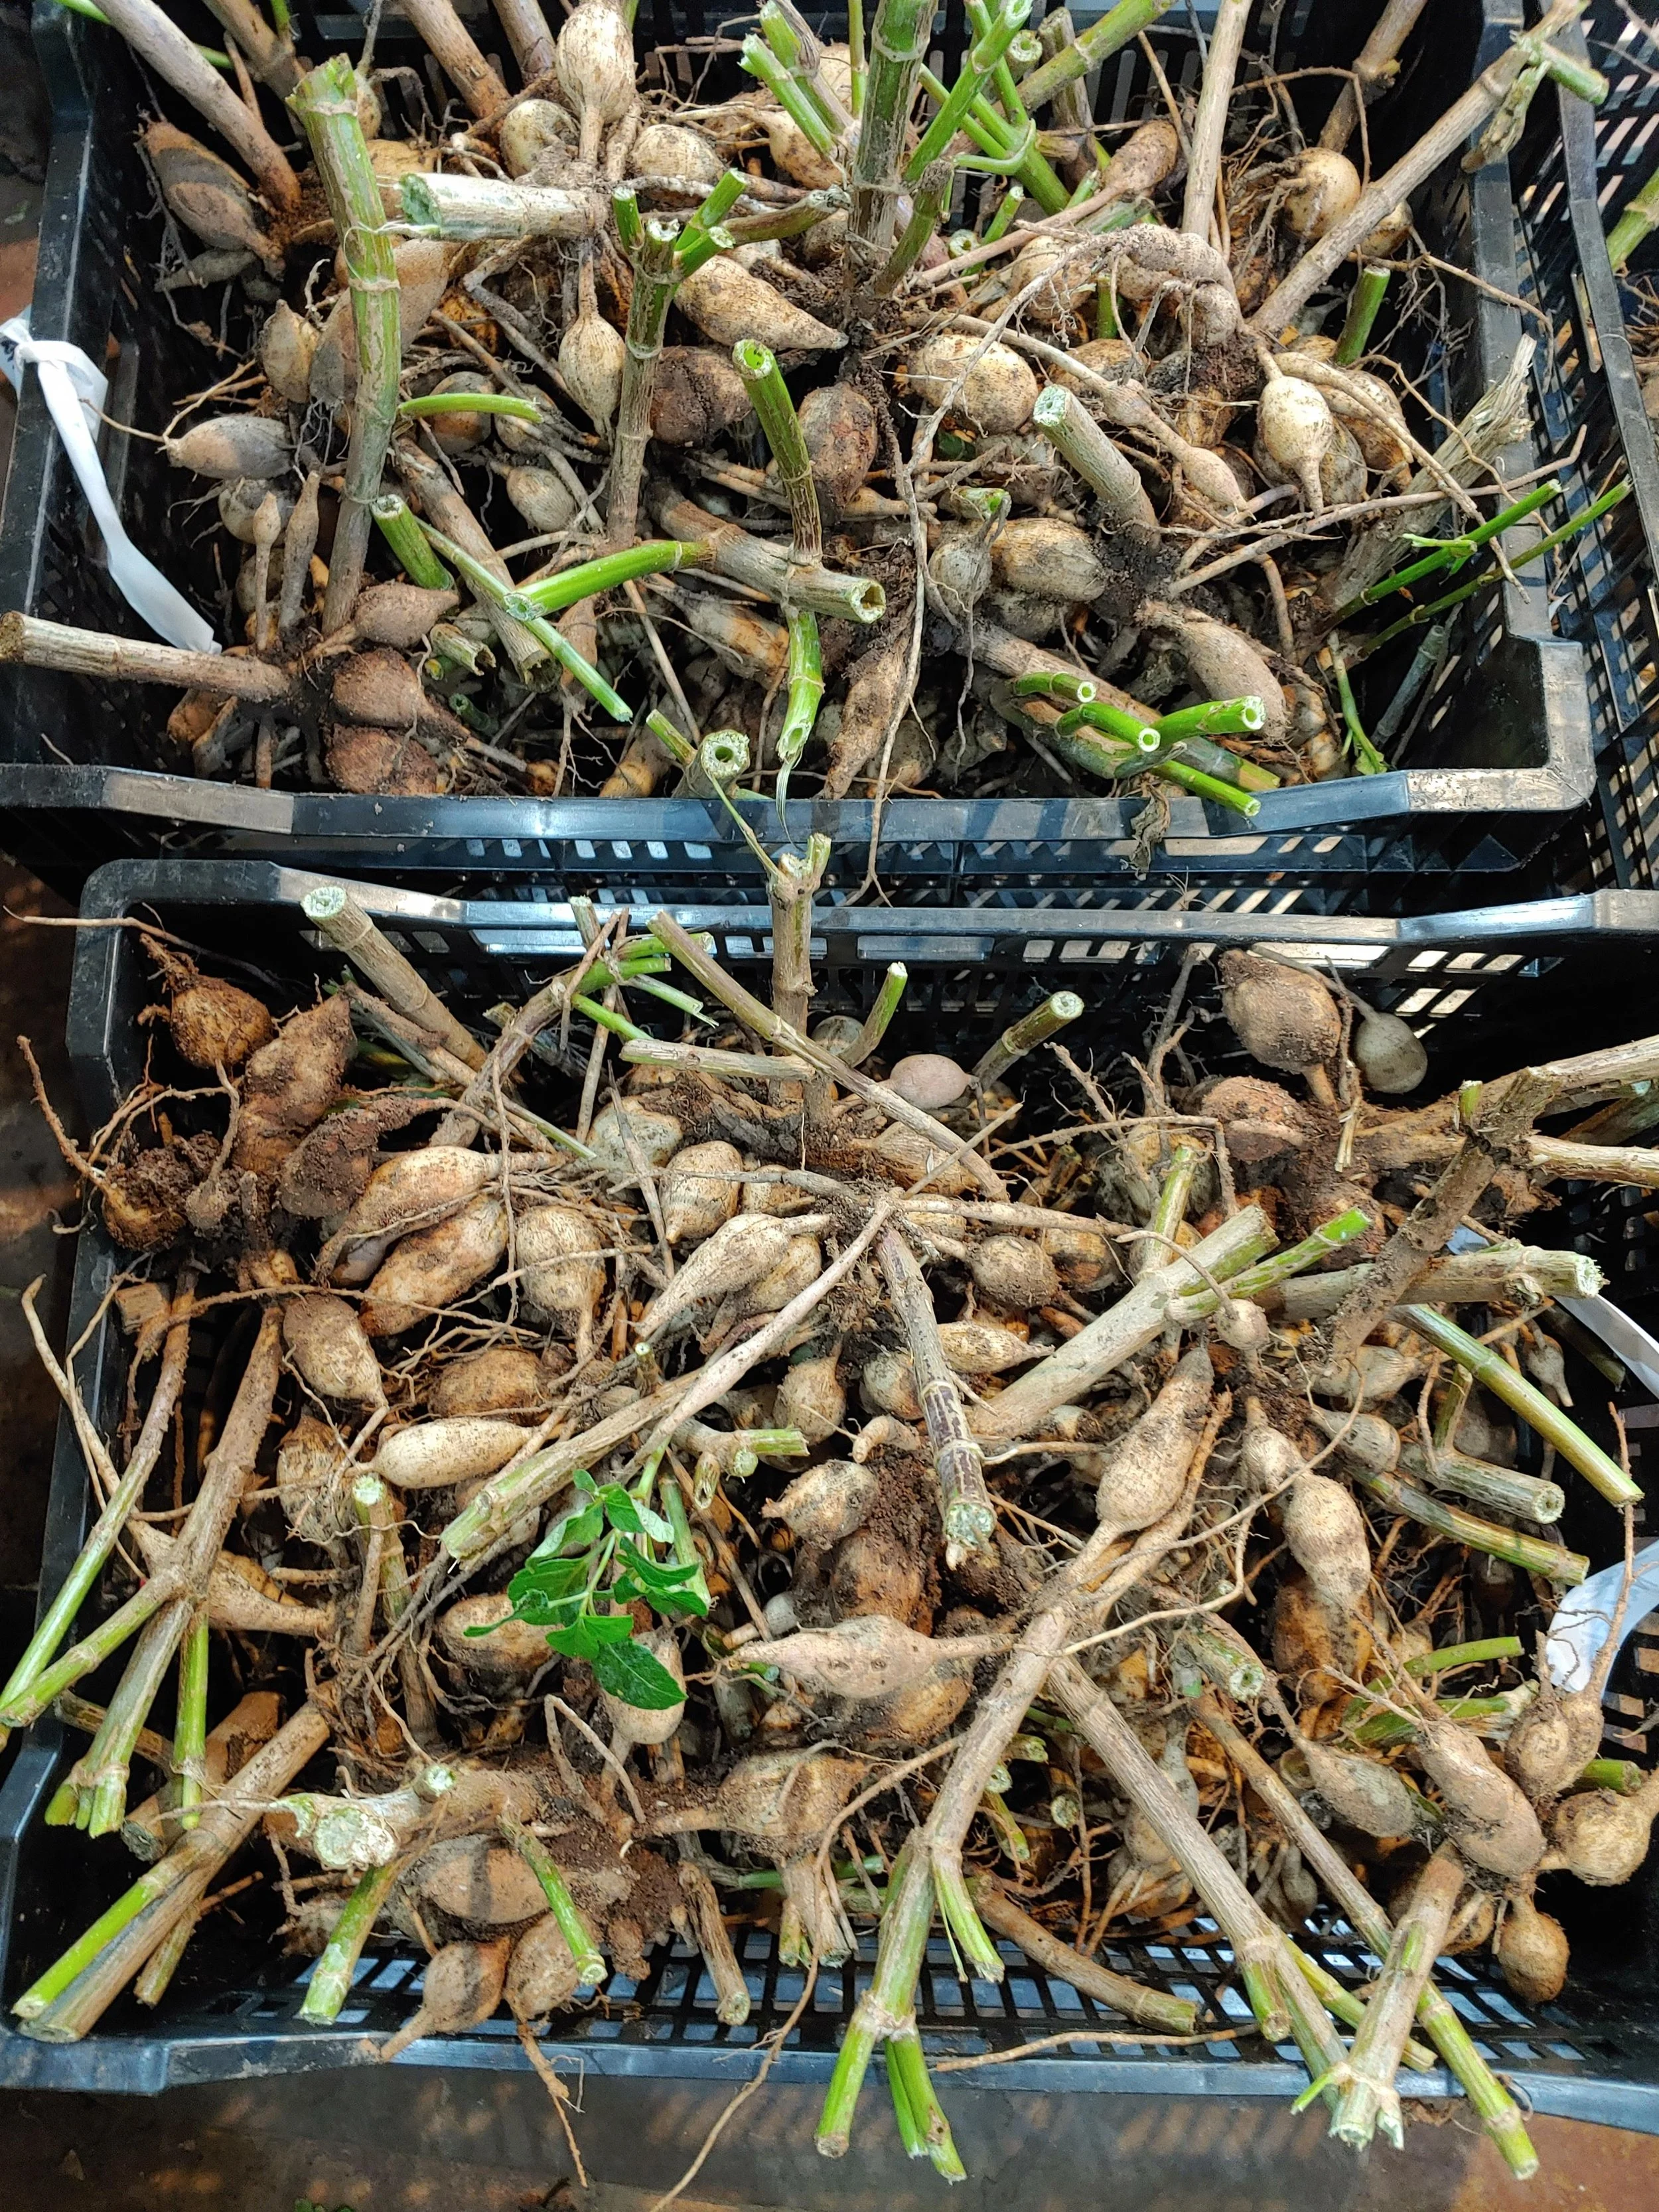
Once you get your clump free, brush off as much dirt as you can with your hands. At this point you can go 2 ways: Wash immediately or store to wash later. We store to wash later since we are digging 1000’s. We put all the clumps of one variety in a bulb crate, leave them to dry for a few hours (no longer than overnight) and then they go into the flower cooler (set at 40ish degrees). We use our flower cooler for storage because it holds temp and humidity really well. I begin the tubers at around 40 because we are also still storing fresh flowers in there this time of year too! But after the flowers are done I raise the temp to 45. Ideal humidity is around 90%. You can add buckets of water to your cooler if you need to raise the humidity.
If you choose to wash immediately, use a spray that has a controllable flow. You’ll need some force but not too much. Once again, you can damage the skin on the tuber if you use too much force with the water. Wash the tubers until all the dirt is gone. Let them dry for about 24 hours. Now you are ready to divide or store in clump form through the winter. If you aren’t going to divide immediately (but within a few days/weeks), make sure you are keeping the tubers in a storage environment (45ish degrees, 90% humidity).
***Once tubers are out of the ground, make sure any drying takes place in an area that doesn’t freeze! I use my basement.
It’s important to move along with getting your tubers to their final winter storage as quickly as you can. We are dealing with 1000’s so it does take a few weeks. But our goal is to always have our tubers divided and store by Christmas!
We divide over the coming weeks. After division, the tubers are left to heal their cuts overnight and then put into winter storage. We use peat moss (we’ve been using the same peat moss for years because we keep is bone dry). However if you are just beginning this storage journey then I would suggest vermiculite- a lot more environmentally friendly. Eventually when we run out of peat moss, we’ll switch to that. The tubers are layered into plastic containers (I recommend using containers no more than about 10” deep) with peat moss between each layer. If you use shallower containers, it’s easier to check your tubers throughout the winter. Don’t use carboard boxes to store in- they zap moisture out of your tubers.
But the biggest piece of advice about storing your tubers is this: Check them often!! Storing tubers is not a set it and forget it task. You are storing a living thing. You have to make sure your conditions are holding! I recommend checking at least every 2 weeks- set a reminder on your phone. Checking ensures that if things begin to go wrong, you will be able to slow down whatever is happening and keep it from spreading.
Lastly I’ll leave you with this:
A few years ago I tracked the amount of time it took to dig, wash, divide, and store our crop. I’m tracking again this year with 3100 plants. We are 3.5 hours in so far!!
For 2200 Plants:
Digging: 39 hours
Washing: 15 hours
Dividing: 75 Hours
Storage: 20 hours