


Out of Your Control
One unintended benefit of writing a newsletter that goes out across the country is that I can tell by the number and the content of the emails I get what kind of year it’s been for growing dahlias.
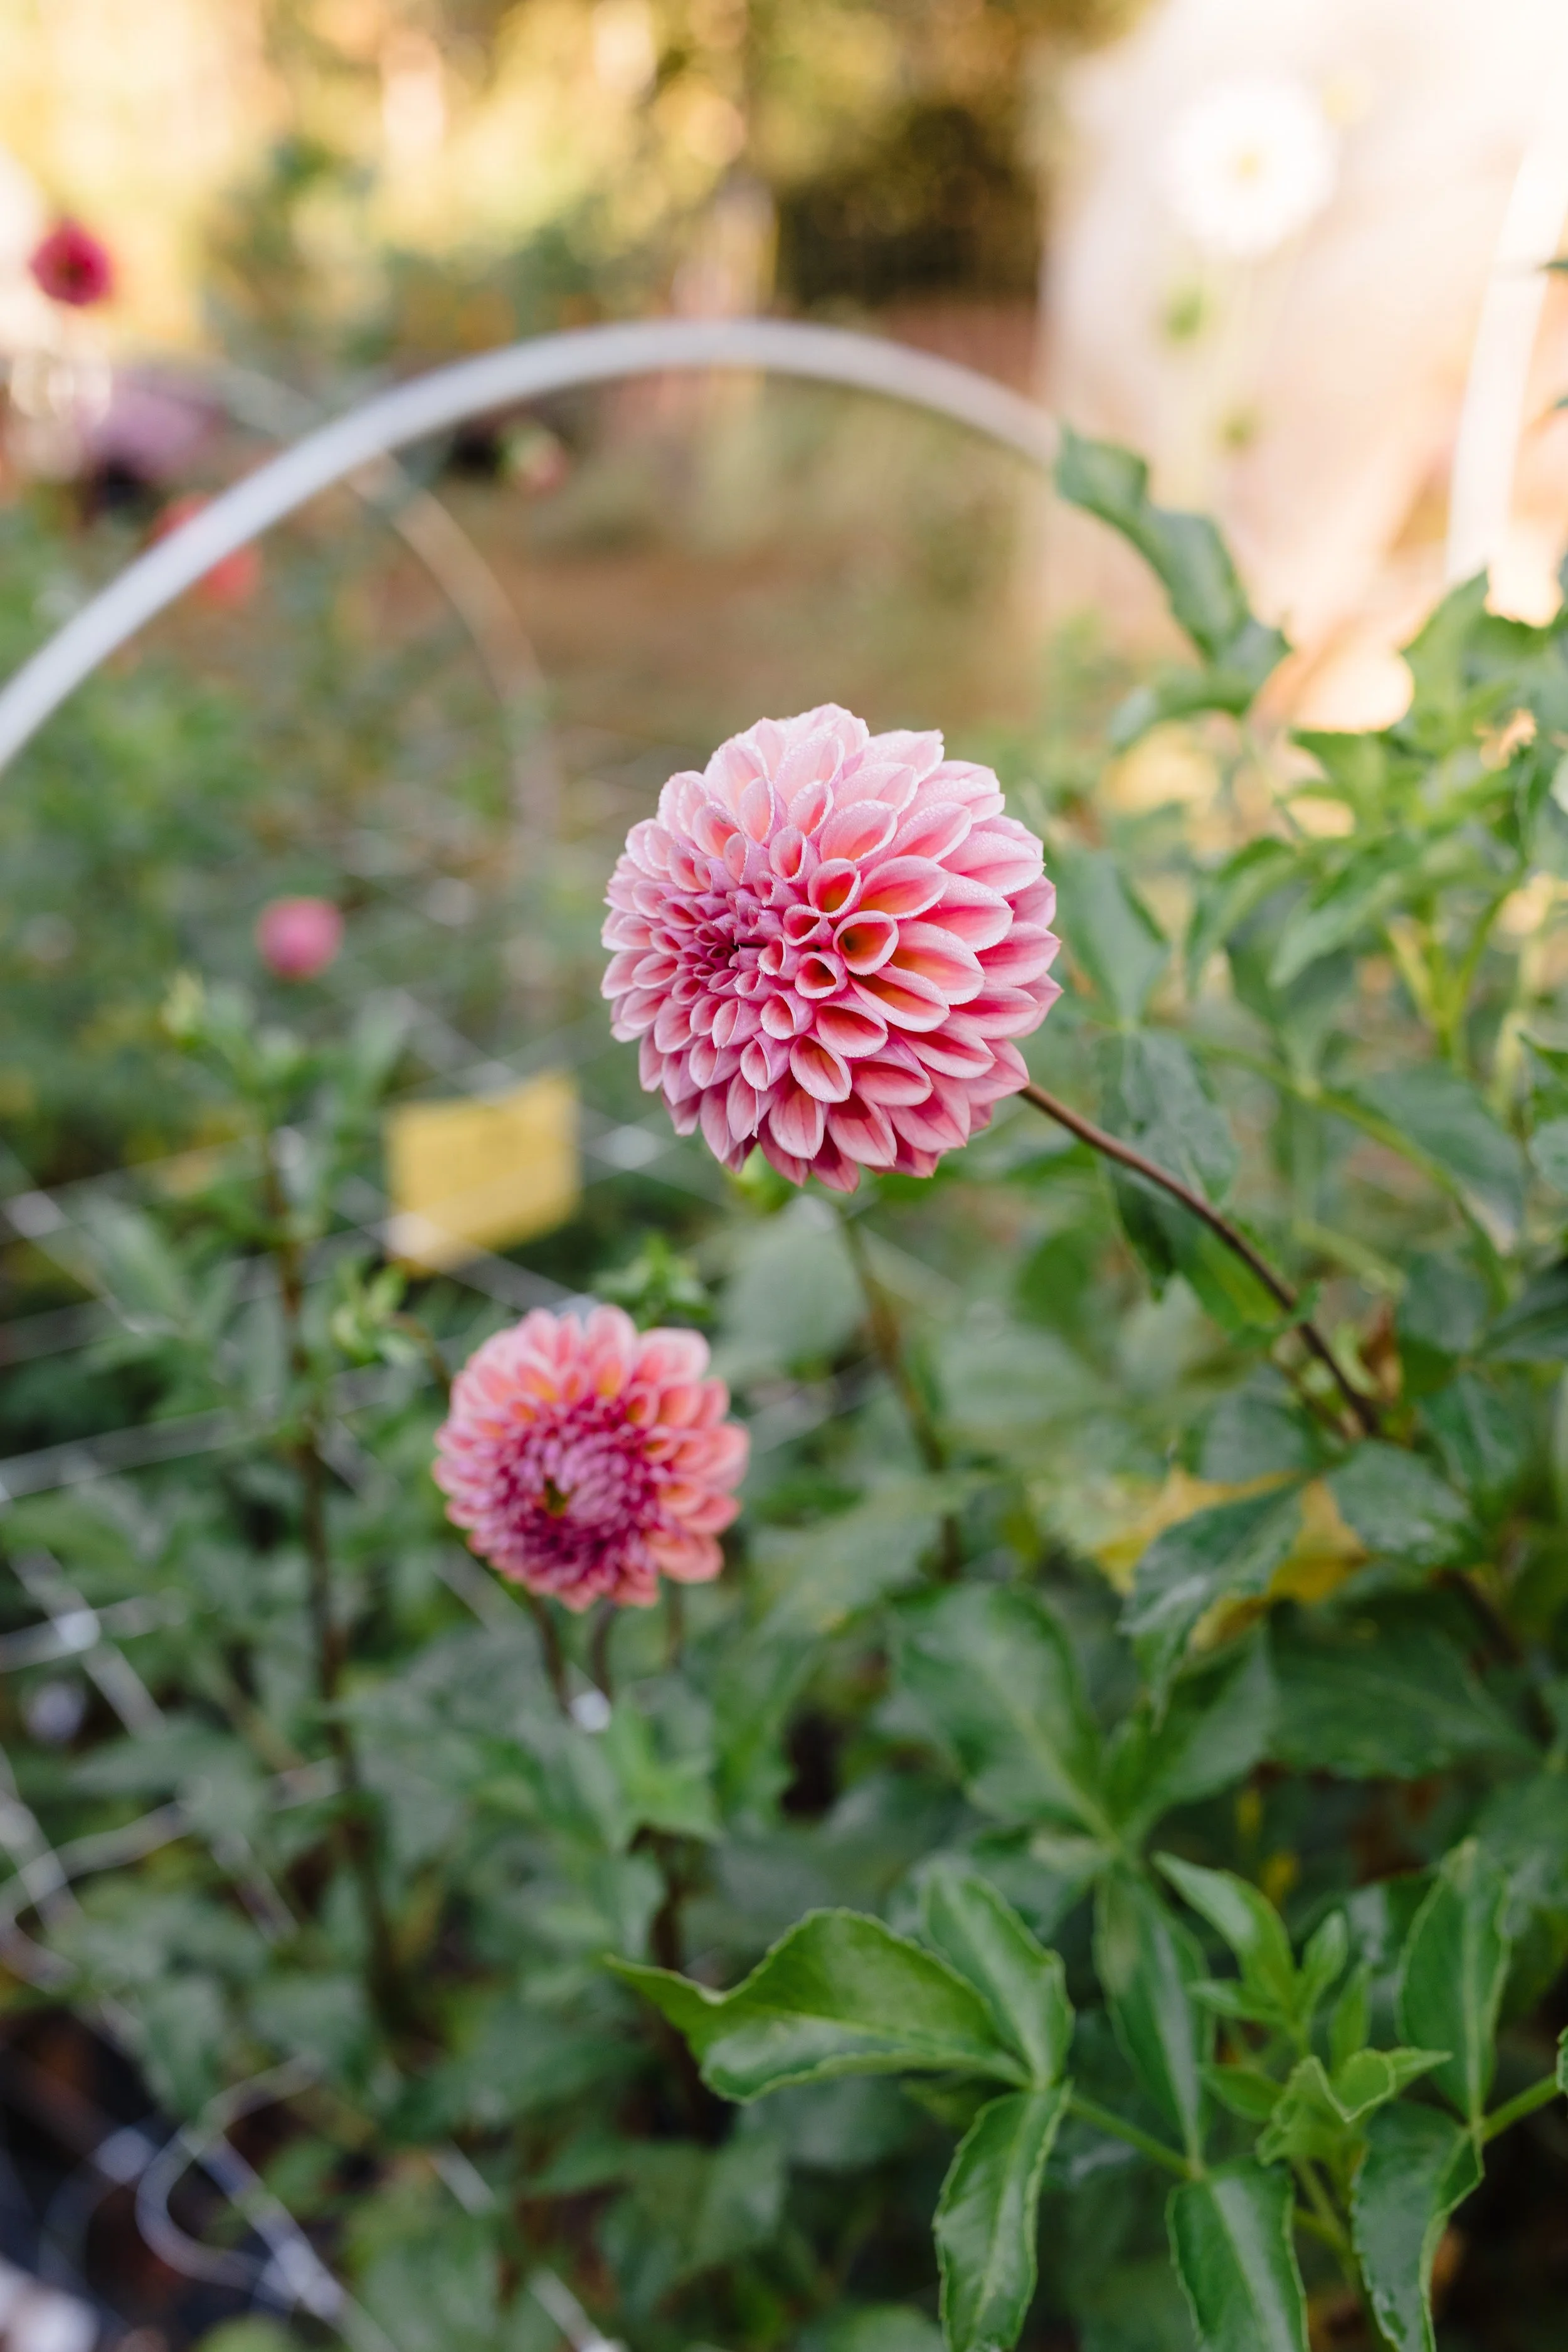
And this year- it’s been rough! I don’t always follow the weather across the country but I do know that the extreme heat/drought in July that a large majority of us experienced was brutal and caused a lot of loss.

Hamilton Lillian
At the end of July I walked around my field with a clipboard. I took notes on every variety- I figured it would be a good time to see who’s really heat tolerant. But what I kept seeing over and over again- was the phrase: “xyz caused by extreme heat”- insert spider mites, powdery mildew, etc- whatever was the case for you.
At first I was really bummed and very frustrated. I knew my dahlias were almost a month behind where they should have been. But then I realized something….
We had been consistent. We fertilized when we should have, we controlled pests when they attacked, we removed old leaves to allow air flow, we netted on time. To be honest, we got it really right this year.
But the weather had other plans- And nothing we could have done would have changed that. We did everything we could have and should have but at the end of the day- the weather is out of our control.
So I took a few days and accepted it. I adjusted my mindset and realized that we are going to have a killer season once we get to mid- September. The dahlias are just going to be a little later this year. But on the plus side- October weddings are going to be gorgeous!!
What if you are new to growing and didn’t know to fertilize, control pests, etc? Well- it’s not too late. Fertlize them soon. Look around on this blog- there’s lots of info about bug control, fertilization and general dahlia growing knowledge. It will still make a difference for this season.
So if you are frustrated - hang in there. It’s going to get better. The weather is already getting better. Fertilize, water, control your pests and be patient a little longer. The blooms are coming!!
*****************************
**You may have noticed I said “we” a lot in this post. I couldn’t have done it this year without my incredible team. There is absolutely no way the dahlias would still be alive without them. They are amazing- Sophie, Nonah, and Josie- You ladies are the best!!

Hapet Champagne
Water Water Everywhere!
It’s hurricane season here in the south and most of the coastline is bombarded by rain at the moment. But what does that mean for your garden and your dahlias?
After growing dahlias through almost 10 hurricane seasons, you pick up a thing or two so here’s what I do to prep my fields for nasty weather.

Holly Hill Black Beauty
I live in the Upstate of SC so not quite the crazy of a full blown hurricane up here. But we do get tropical storms occasionally. (I honestly hate those b/c if were are getting a tropical storm I know my coastal friends are getting slammed with a category 3+ Hurricane. There’s not much you can do in that case.) So really this is advice to get through nasty thunderstorms and high wind.
Preparation is key. It starts from the day you plant your dahlias. Good drainage is your best friend in a heavy rainfall and high wind situation. But you have to plan for it from day 1. If you missed the boat on that this year- go make a note to fix it next Spring. You want your drainage at the level where 6-8” of water will drain off within 24 hours. Dahlias can take sitting in water for that long- it’s not great for them but they’ll make it.
Support- You will probably need extra. We use hortnova netting to support our dahlias. These nasty storms are why we use 2 layers on everything but the shortest varieties. We also went around the field with paracord and used this to tie up any dahlias that were growing outside the netting- they like to try to escape. Paracord works better than twine- paracord tightens up when it gets wet so less droopiness.
Remove the Yuck- Removing the lower leaves on your dahlias in hot climates is a common practice to increase airflow but not always possible when you grow 1000’s. But this has been such a rough summer with the extreme heat that we made time for it. Leaving all the old yellowed foliage on during a heavy rain event is going to cause some fungal problems later on down the road. Most years we only do this as needed but occasionally we have to do the whole field.
Remove the blooms. Blooms that are over the main canopy of your plants are top heavy and are going to catch in the wind and cause your whole plant to sway more from side to side- therefore pulling at the roots unnecessarily. So we remove any blooms above the main plant canopy.
These tips will help protect against major losses in my experience. I saw a question on Facebook the other day and it reminded me of a similar incident that happened to me many years ago. The poster was asking: “Should they try to dig their dahlias to save the tubers after all the rain came through?” It appeared they didn’t have a great drainage situation and were worried about rot.
I had a portion of my field (that is now fixed thankfully) that had very poor drainage. It was mid October and we got loads of rain- standing water of several inches in between the rows. I was really worried about my plants rotting. So since it was almost the end of the season, I cut them back and dug them up. I thought I was being very clever and saving my tubers— WRONG! Removing saturated tubers from the ground is not the right thing to do. There really is something to the process of letting tubers “cure” a bit in the ground before digging. This requires drier soil (not bone dry) but soil with an average amount of moisture. Any year where we’ve had a wet period before we begin digging- I noticed we had increased storage issues during the winter. Years where we get just a bit of rainfall- they tubers always store much better. The amount of water a tuber holds going into storage makes a difference. I don’t know of any scientific studies on it or even how to measure it. But the basis of all good science is observation and observing over many years has taught me to pay attention to the moisture levels in my soil during digging season.
Moral of the story here is — Prepare ahead of time because in this time of crazy weather patterns you never know what’s going to come and I’ve never been sorry that I over-prepared!
Are Your Dahlias Thirsty?

Dahlia Omega
Updated June 26, 2025, Original post written July 18, 2024
Are your dahlias thirsty? I know mine have been- we went over a month June/early July in 95+ temperatures and hardly any rain. We were lucky to get a few showers in that time, I know some farmer friends who didn’t get anything.
So what did we do to keep our dahlias happy without breaking the bank?
For the past 2 years I’ve been using a system called “pulse watering”. This is a process I first heard about 2 years ago on a podcast that I love. I was listening to the No-Till Flowers podcast by Jennie Love (of Love’n Fresh Flowers in PA). She was interviewing a farmer from Tasmania and you know Australians know how to deal with all kinds of crazy weather! It’s episode 25 from season 3 if you are interested.
So what is pulse watering? It’s where you set your irrigation system up to water in short bursts multiple times per day instead of one long period daily or every few days.
The technique was originally used on sandy soil from what I can tell but I’ve adapted it for use in my clay soil. You’ll need an irrigation timer with the ability to water in multiple bursts and the ability to set it for unique timing. I’ve been using a Hunter Technologies system for years. The specific system I use is called Hydrawise. I have a 12 channel controller for my farm (that we have yet to max out). My farm is divided into 7 zones. Each zone is multiple beds. I determined the size of each zone by the area (for example: a whole hoop house is one zone) and the total feet of drip tape in that area. According to the number of gallons per hour your water source (well, city water, etc) will give you- this determines how many feet of drip tape you can run at one time.
Update: I recently bought this timer from Drip Depot for my vegetable garden because it has the ability to set it to water in multiple increments per day. So far it’s working great- having the irrigation running for short bursts really helped our garden through a recent heat wave of 100 degree temperatures.
So with my controller, I can set a zone to run multiple times a day for shorter time spans. It took me about 2 weeks to determine how long each burst should be and how many bursts per day. I originally trialed this in a hoop house so I wouldn’t have rain interference and could see how it actually worked. I almost flooded the hoop house on the first run! I had it set for way too many bursts per day. I would start with 4-5 and around 5-10 minutes. I find the length varies by field position. For example, my lower field has a slope to it (6’ drop) so I have to run it longer because the irrigation fills from the bottom first and can take up to 5 minutes before it reaches the top. So if I want at least 5 minutes of run time, I need to run my burst for 10 minutes to make sure each bed gets at least 5 minutes. (Yes, this means the lower beds always get more water which I take into account when deciding what to plant there.)
Update: It’s also beneficial to start from a wet soil state. If your soil is dry, you will have to run longer bursts to begin to get your soil back to a semi-moist state. So I try to start when the soil is wet after a rain. I usually start running it a day before I feel like the plants are really going to need it. You’re looking for a moistness level where the plants are using up a good bit of the water that you are putting out daily without completely drying out. But not so moist that your tubers are sitting in wet soil and rotting. It really just takes a little time to figure out how long to run it for your soil.
So why use this method over the tried and true- water deeply less often method? Well first off- that wasn’t working. In the extreme heat of our summers these days, the beds needed more water. I was finding that my beds were dry by early afternoon - the hottest part of the day. I was having to supplement with overhead watering which is not very water wise efficient. Pulse watering will actually use less water once you get it started. When you begin, it doesn’t look like it works because you only see a small circle of water. But over time, the water begins to spread out (this is especially helpful in sandy soils where water goes straight down.) Essentially, your bed never completely dries out. If you begin the process a day or two after a heavy rain, you’ll see the effects faster. Starting from a dry soil takes longer but will work just as well.
The addition of the straw mulch we began using last year completed the process. The mulch keeps the moisture in the soil and makes pulse watering even more efficient. Having clay soil helps too- it holds water better than sandy soil (especially if you’ve been working on increasing your organic matter.)
I’m not sure if I’ve explained this super well (but go listen to that podcast for more in-depth explanation)- however, it’s been a life-saver for my dahlias. The mid day drooping that is pretty normal for hot climates is not near as substantial, some varieties don’t droop at all.
I hope this idea helps you manage your dahlias in this extreme heat- I know it’s eased my anxiety over them!
Disclaimer: I am not an irrigation expert- in fact, it’s one of my most dreaded tasks on the farm. If you are trying to set up an irrigation system for the first time, consult an expert- try out dripworks.com, rainflo.com, berryhilldrip.com, dripdepot.com - those are all good sources of information as well as great places to get the supplies you need. My goal here is to offer a different way of thinking about running your system that I have found to save water and increase my plant health.

Overwintered Dahlias- The Summary
I harvested the first blooms from our over-wintered dahlias this week! They are beautiful and I’m slightly addicted to dahlias even more than usual right now!

The first 2 harvested this past Sunday.
This blog serves to educate but also as a record of trials and experiments so I want to record the process here for you.
I guess it technically begins last Spring. I planted 2 rows of Blizzard tubers. I was seriously thinking about overwintering so I allowed them a bit more space. I planted 3 rows of 45 tubers in a 36” bed, 45’ long. So glad I did— they are huge this Spring.
The beds bloomed beautifully last year. In the Fall, I cut them down to the ground and tarped over them. This planting area doesn’t have raised beds and the beds aren’t raised too much above the ground level. (One of the 3 beds rotted over the winter- it was on the edge of the tarp and I think too much water got in.)
I pulled the tarps off in early March. I should have pulled off in mid February with the warm winter we had. This is a note to self for next year— pay attention to climate conditions and take tarp off earlier. Also I plan to monitor soil temps in this area next winter. When I see them hitting 60- I’ll definitely get the tarp off.
The plants were sprouted some beneath the tarp when it came off. This is a huge issue but it does make it easier if you need to weed, fertilize, add compost if the plants aren’t sprouted yet.

After removing the tarp in March
The plants began to grow but were checked about 10 days later by a frost. This is pretty normal for over-wintering dahlias in our climate. We get random harsh Spring frosts. You can protect your plants if you like but they will resprout.

After the frost mid March
They will resprout within 2 weeks usually. Fortunately we didn’t have another frost hard enough to take them down. It is a bit warmer near the ground like that.

One month later on April 19, 2024
So they were off to see how fast they could bloom. I pinched the last week of April. They could have used it about a week earlier but we had a very rainy spring and it was hard to find a dry window to do the pinch. We missed a few stems so some of the first blooms have broomstick handles.
We also fertilized at this point. Next year, we’ll lay it down right after we pull the tarp off. They can definitely use it when they get started.

Early May
We got them mulched in early May. They don’t look like they’ve grown much here b/c they are recovering from the pinch at this point.

First bud- May 9
I discovered the first bud the next week. I also documented some flooding and drainage issues in the row next door. This was the row that rotted over the winter. We corrected this row before planting- we added lots of compost and gypsum to help with the drainage. We mulched it after planting to keep the weeds down.


In the 3rd week of May we got our netting up- about 2 weeks later than we should have but fortunately not too late.

We also began the bagging process.

And about a week later— Blooms!! We were cutting the first 2, followed by a bucket more a few days later!


I’ve loved this process! I’ll definitely be doing more of it in years to come. It hasn’t been without it’s challenges. Bug control is a lot more important in early season- so many more things you have to watch out for. Just this morning we had to throw out a 1/3 of our harvest because they had so many thrips on them. We’ll keep spraying and doing what we can to address it. But I would say the good outweighs the bad!

Dahlia Q & A: May Edition
May is one of the busiest times in the “Dahlia Growing Calendar.” Almost every growing zone is planting and all the questions come flooding in! I get a lot of similar ones so I figure if one person has the question, then most likely others do too. The following are either actual questions I’ve gotten over the last month or combinations of similar questions.
Q. I’m planting my dahlias, should I add bonemeal to the hole when planting? What kind of fertilizer should I use?
A. First off, what does your soil test tell you? The reason this question is so commonly asked is because people skip the soil test. It’s vital to anything you grow!! If you’ve never taken one, click here. It’s very easy! You can mail your sample to your local extension service lab or take it in person. It’s worth it— I promise.
So to answer the question above— Do you add bonemeal? Bonemeal is a good source of calcium and phosphorus so if your soil test results tell you that you need this, then yes- it’s a great way to add it to your soil. But don’t go adding it because you heard somewhere it was a good thing to do— fertilizers are expensive so don’t waste money. Also you may throw your soil nutrients into excess levels which can be just as problematic as not having enough of a nutrient.
As for fertilization after planting, I’ve got a whole blog post about it here.
Q. I pre-sprouted my dahlias using the plastic baggy method, what do I do now?
A. So I have never used this method because it’s not conducive to growing 1000’s but I did a bit of research so here goes: If you have a plant in a plastic bag, it’s basically a mini greenhouse. So keep this in mind when moving them outside to harden them off. You’ll need to move them gradually from a shady place to a warmer spot with more sun over a period of several days. Get them planted out before the sprouts get too tall- preferably not over an inch or so. If you are curious about other methods of waking up tubers, take a read here.

Q. When you start and stop fertilizing dahlias?
A. I begin fertilizing as soon as they are up a few inches. We begin our spray maintenance program and this includes fertilizer, fungicide and organic pesticides. They young plants are super vulnerable to pests at this stage so we try to stay on top of it.
I stop fertilizing about 3-4 weeks before I’m planning to dig. This may be my last frost date or it may be before. My frosts can come late here so I just plan my dig date. If we get a frost, great! If not, no big deal. You don’t want a whole lot of new growth for the tubers to support in those last few weeks. It usually around early October when we stop fertilizing. We do however continue the pest and fungus control. 3-4 weeks also works even if you plan to leave them in the ground. Just back that date up from your average last frost date. It’ll be okay if you are off by a week or two.

Q. What makes a dahlia formal or informal?
A. I’m not quite sure who came up with the dahlia forms originally. But if you are curious as to what they are and would like to see them explained well- the American Dahlia Society has a great explanation here.
