Dahlias

Dahlia Game Plan 2024: Choosing Varieties

What dahlias should I grow? What will thrive in this hot humid climate?

I can’t tell you how many times I’ve been asked that question. Often people assume that I just pick what I think is pretty. And yes- looks play into it. But the longer I grow in a hot climate, I understand that it takes more than just good looks to thrive here!

So what factors do I consider when choosing varieties for our trial gardens?

Customer preference: I grow a lot of flowers for florists who do very fancy weddings so that influences my color choices- white (always white!), pinks, peaches, neutral blending colors and a few burgundies mostly. Maybe you grow for a farmers market- that would influence your color choices - brights and fun colors!
If you have a home garden, this would mean you choose a color you like or that fits in your garden color scheme. Thankfully there are tons of dahlias out there so you can choose several in your color and then see if they fit the rest of the characteristics.

Heat tolerance: You hear this term thrown around a lot in the dahlia world- especially down South here. But what does it mean? Well that may depend on who you ask. But for me it means a few things:

  1. The center of the dahlia stays closed in high temperatures.

  2. The plant stays healthy with minimal maintenance through high temps

  3. The bloom has a decent (4-6 days) vase life in high temps. Some dahlias will bloom in high heat but then will only last 2-3 days.

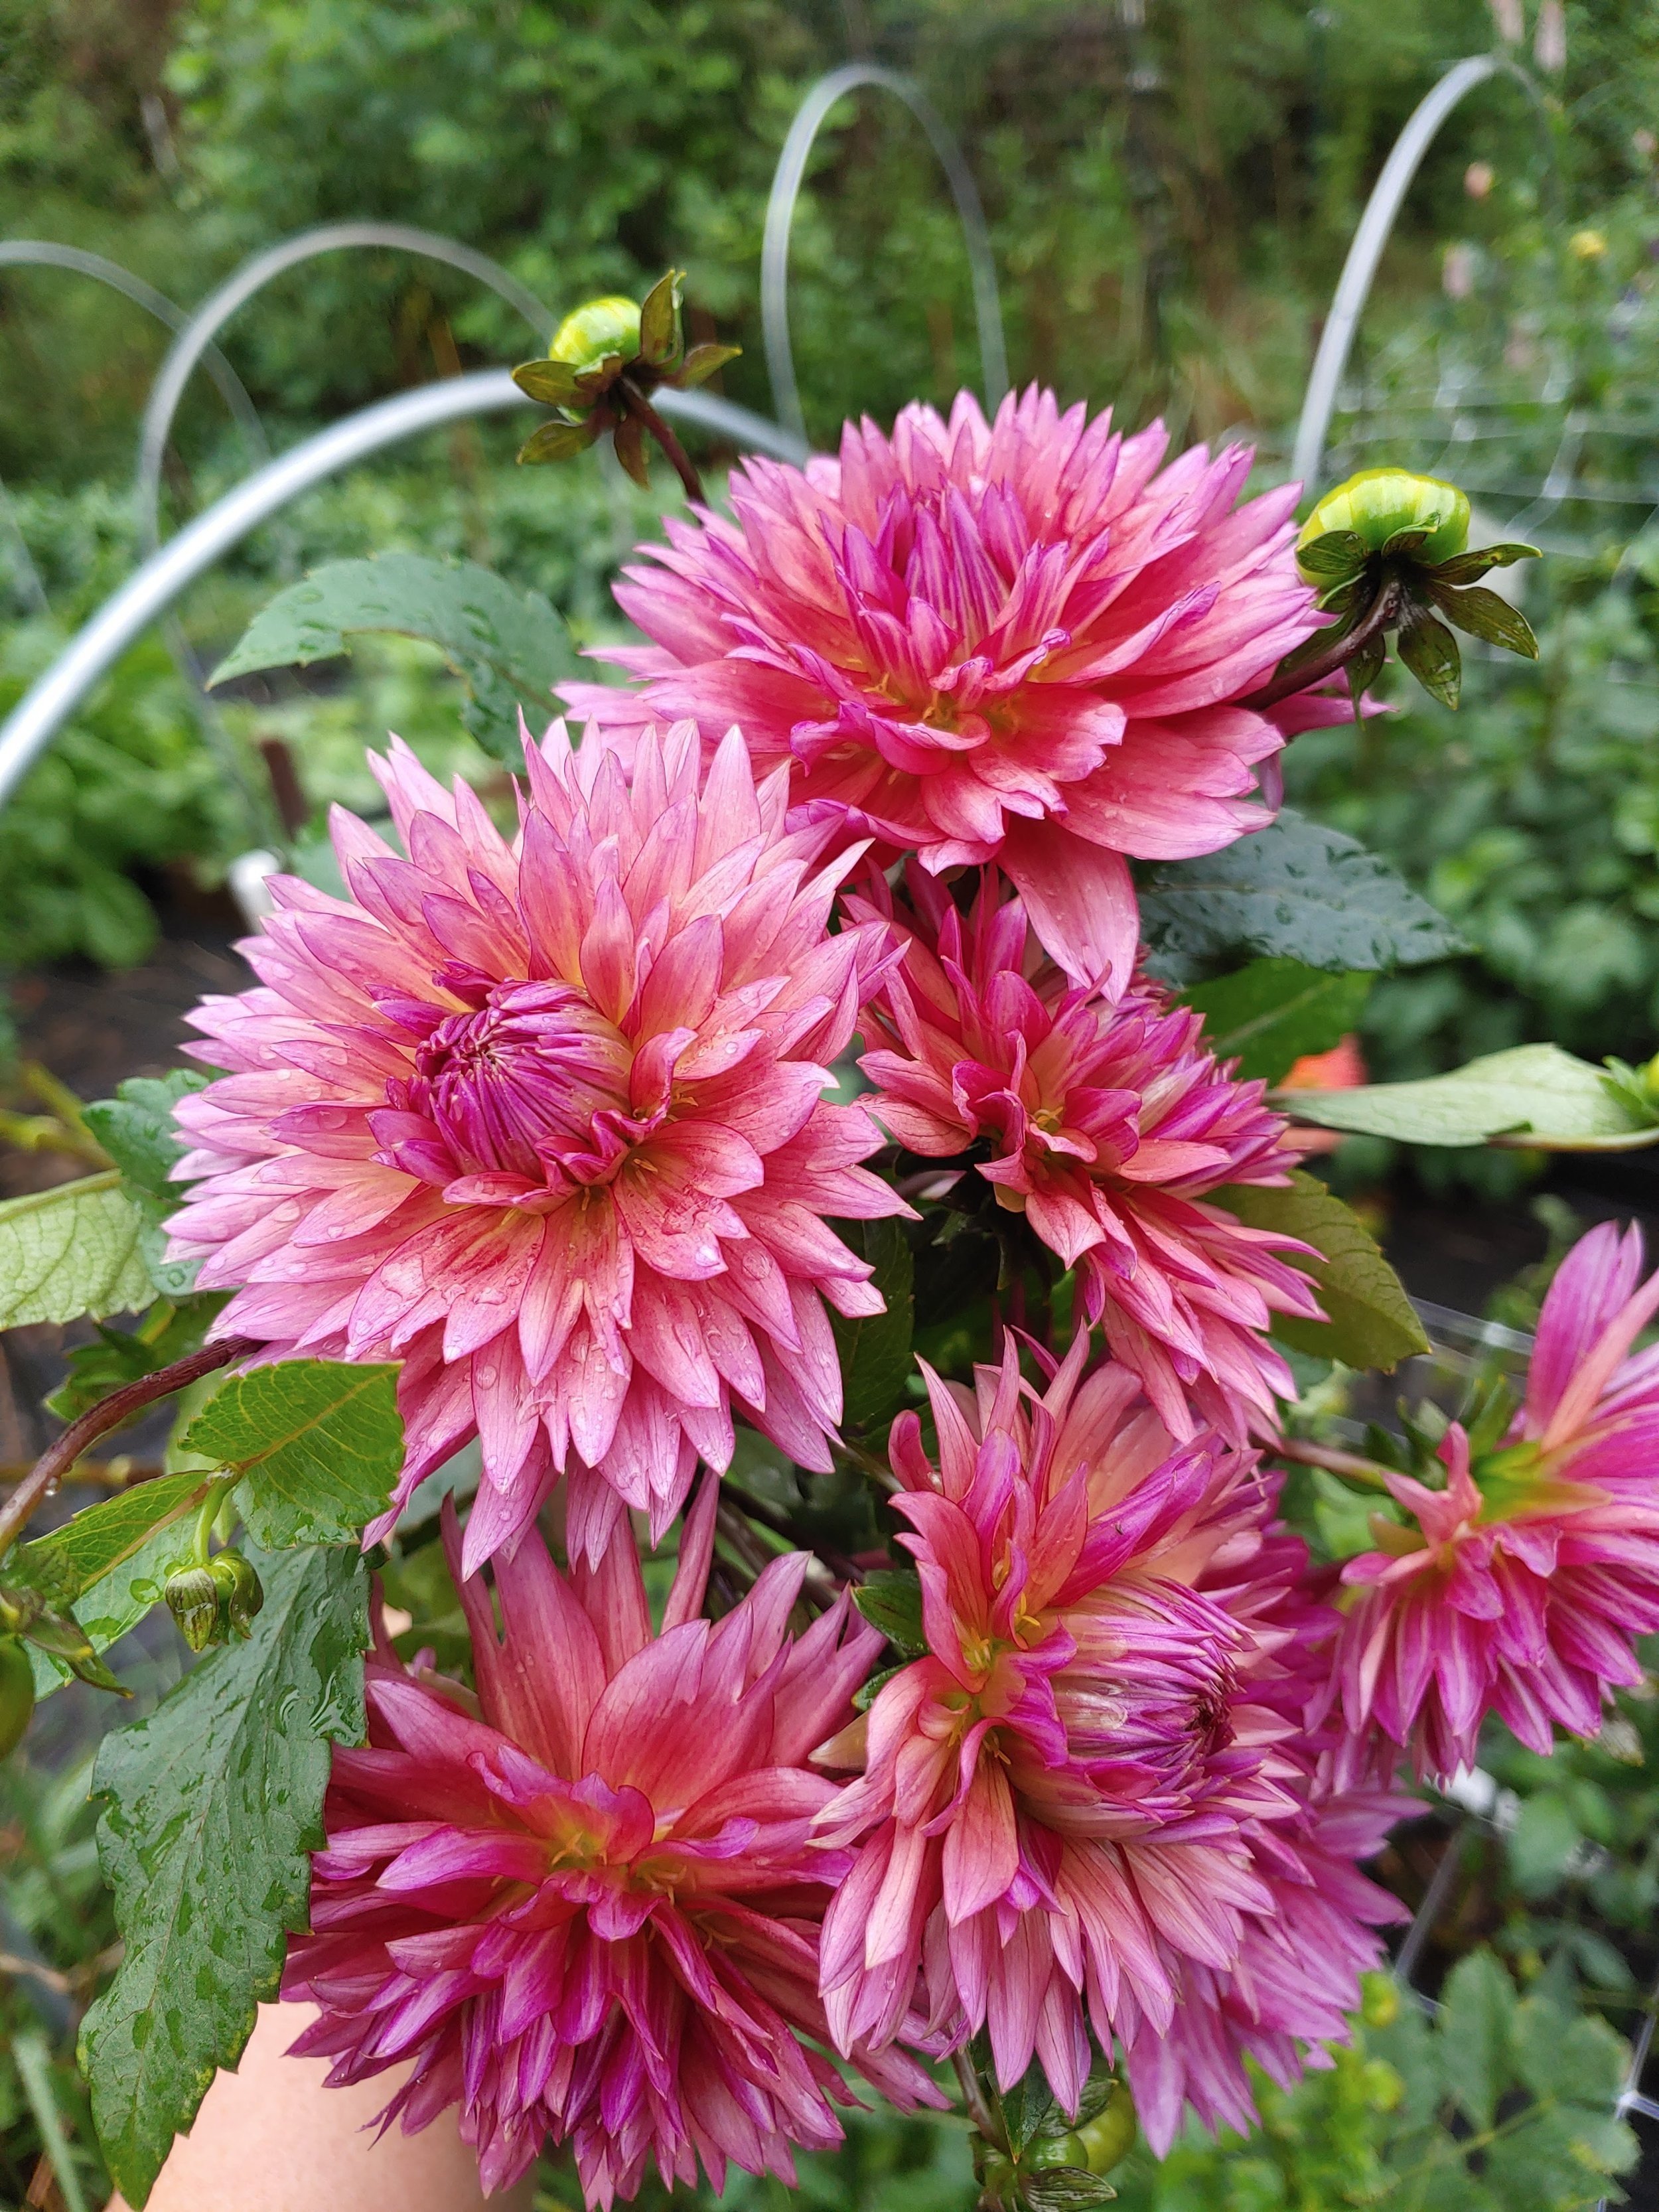
Peaches N Cream is an excellent example of a highly heat tolerant variety

Classification: There are lots of classes of dahlias but mainly I’m concerned with balls, decorative, waterlily, and formal to semi-formal types. Those work well as cut flowers and are also what my customers prefer.

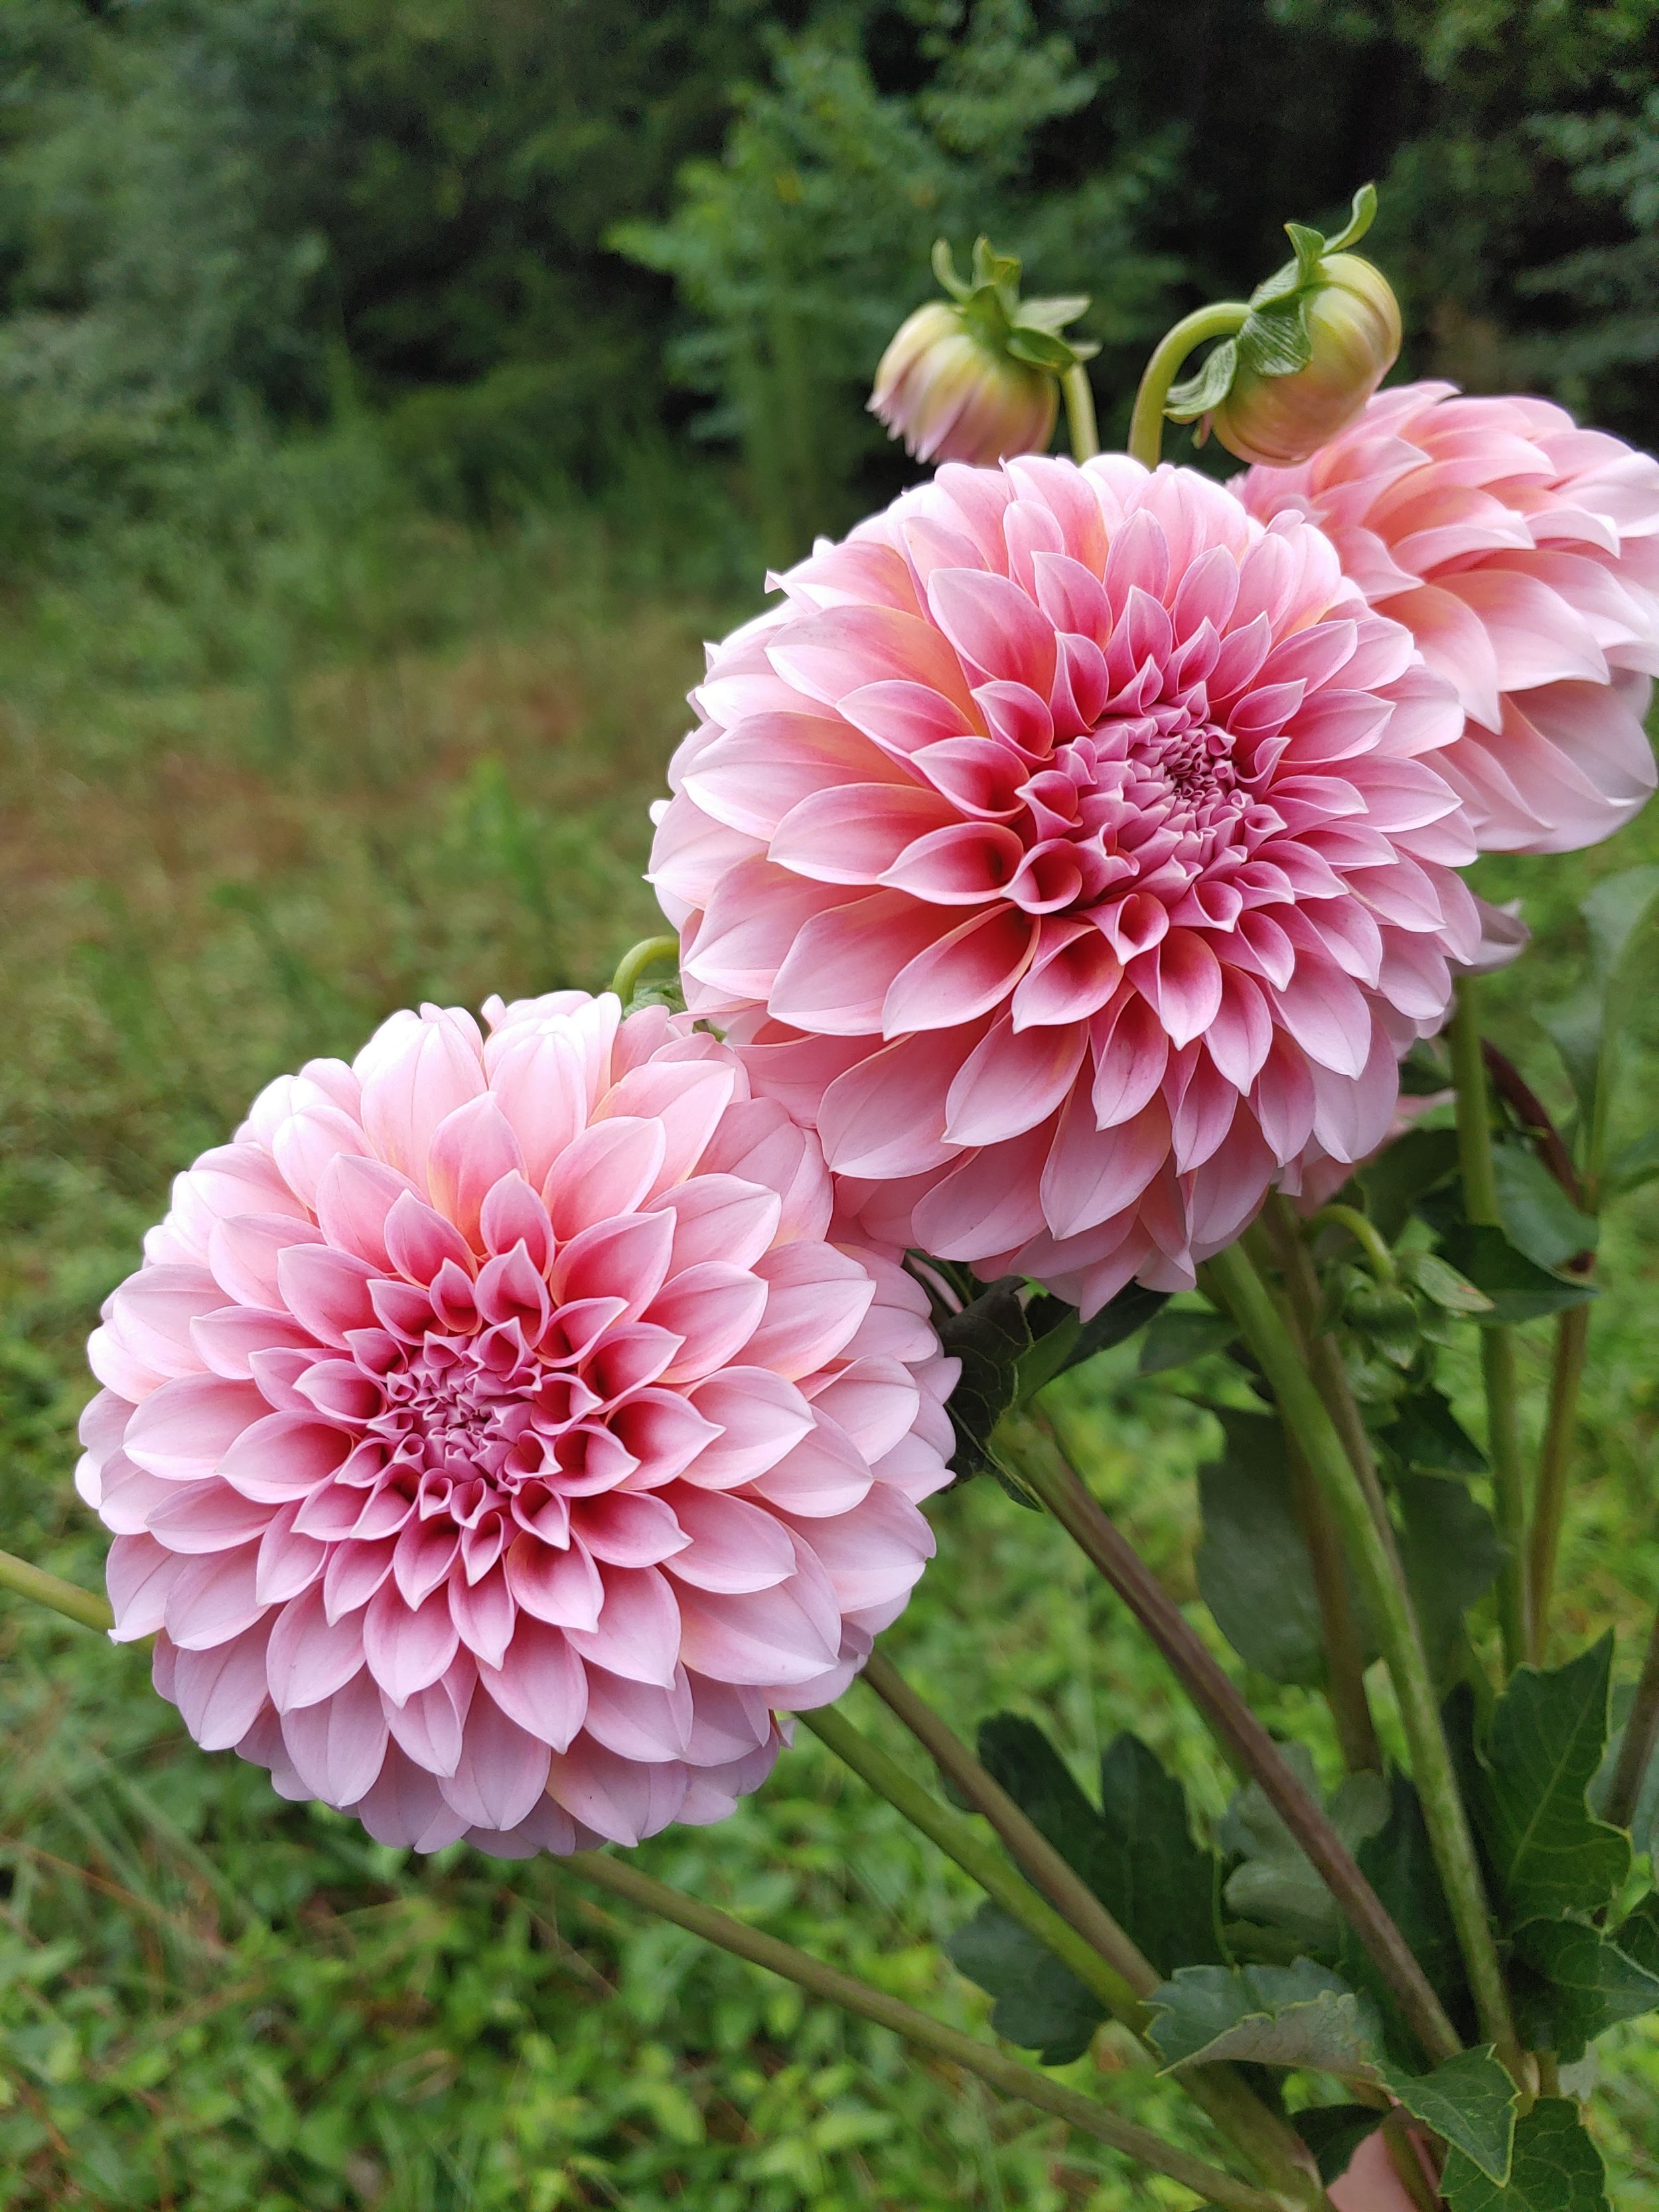
Size: I do love the WOW factor of a 12” bloom but the reality is that my customers have no use for it. So I grow a few large blooms but mostly stick to things in the 3-6” size range.

One nice thing about growing in the South is that larger varieties do tend to shrink a bit here. Cafes are regularly more 6-7” in size than their normal dinner plate scale you may see elsewhere.

Orientation: Dahlia blooms can sit several different ways on a stem and that plays a bit factor in how you arrange/design with the bloom. Some face upwards, some face forwards (often called “clock facing”) and some sit at a 45 degree angle. The 45 angle is probably the most desirable and what I try to find. But I’m not going to turn down Cafe Au Lait just because she’s usually clock facing!

Petal Density: I’ve learned through many years of observation that dahlias with higher petal densities hold their shapes better. Ball dahlias with high density of petals tend to not blow their centers as quickly. You do have to let these open up a little longer to get a really full look but it’s worth the extra day or two.

Height: For me, I tend to choose varieties under 5’ because I live in an area that can get strong tropical storms. I cut out all the super tall dahlias (looking at you Lady Nathalie) because they always blew over no matter how many layers of netting we used!

Bloom time: I really like dahlias that bloom early. One- because I’m impatient to see them but also because I grow in a long climate area and I can usually get 2 strong flushes out of early blooming varieties. On the flip side, our long climate gives us a chance to grow varieties that take 120+ days to bloom (looking at you Nicholas) My favorite early varieties are Peaches N Cream, Sweet Fabienne, and Linda’s Baby.

Bred in the right climate: Years ago you couldn’t find dahlias that were bred in hot climates, but these days there are a few places you can get them. I really do think the breeding climate makes a difference. I see dahlias from hot climate breeders thrive from year one. Whereas sometimes I have to grow a dahlia from elsewhere a few years to get it acclimated to our climate. So look around and find out who’s breeding close by.

We all have different things we are looking for in our dahlias. But over the years the above characteristics are what I have found that attribute to varieties that are successful in my field.

Dahlia Game Plan 2024: Bug Control Part 2

Last time we talked a lot about preventing bugs. Because if you can keep them out, you don’t have to worry about this second part- Controlling them!

One big point I made last time was to scout your plants. This helps to know when bugs are coming into your garden. Knowing when certain pests are going to appear year to year helps to prevent huge outbreaks of them. Using sprays as a control and spraying a few days before you predict the pest will appear may help you kill the pest in the early stages. You will need several years of data to predict this though. That’s why we talked about keeping records of your scouting expeditions into your garden. Scouting will help you get better each year.

But what do you do if you missed the signs and you’ve got a bug problem? Spraying a pesticide can be an effective solution. We stick to organic pesticides around here. We have a lot of wildlife- some intentional like our pets, pigs and ducks and some we attract due to water and food sources we make available.

Few tips about spraying before we get to what to spray.

  1. Spray early in the day or early evening. Mid Day, Full Sun spraying can burn your plants.

  2. Don’t spray if it’s very windy

  3. Try your spray out on a plant or two if you are uncertain as to how it will affect your plants

  4. Use a backpack or hand pump type sprayer for even application

  5. Always read the fine print and measure precisely when mixing your solution- Don’t Guess!!

It is possible for resistance to pesticides to build up so you also want to alternate your sprays. Always have at least two on hand.

Caitlyn’s Joy

I always keep Captain Jack’s Dead Bug Spray and a pyrethrin spray in stock. Capt Jacks is a spinosad based spray and this is a systemic- meaning it’s going to go into the plant and the bug will need to munch on your plant to ingest it.
Pyrethrins come in multiple brand names and work very similarly. Look for “OMRI” on the label if you want to ensure it’s organic.

We do maintenance spraying on a weekly basis and swap out each week. However, some pesticides allow for tighter windows of every few days if needed. If you have a large outbreak of a pest, this may be needed in order to gain control. So application frequency depends on how many bugs are you dealing with?

This is why I prefer to do maintenance spraying. I grow in a hot humid climate with lots of bugs. There’s no doubt that I’m going to have bugs that want to eat my flowers. So why wait until they damage my crop beyond repair. We spray to stay ahead of large outbreaks and also to prevent the spread of virus.

So what if you don’t want to spray? Well… to protect your blooms, you can use the organza bag method. This will give you blemish free blooms. However, you must remember that there are still lots of bugs that are eating your leaves and hopping from plant to plant. So if you have a virus on one plant, it’s moving to the next if you do nothing to control those pests. I highly recommend that if you want to swap tubers or cuttings with friends that you use some method of pest control to keep down the spread of virus. Dahlia viruses are so prevalent these days that I think we all need to do what we can!

Dahlia Game Plan 2024: Bug Control- Part 1

I’ve been getting so many emails about how to get rid of bugs that I know you all are ready for this post! So let’s get started! This is going to be a two part series because it’s just too much for one post.

There are (unfortunately) lots of bugs that like Dahlias- at least here in my hot Southern climate. If you live elsewhere, you may be fortunate enough to not have to deal with some of these (lucky you). I like to break the common pests list into 2 categories: those that do petal damage and those that do plant damage. Some do both.

Petal Damage:
-Thrips
-Japanese Beetles
-Cucumber Beetles
-Earwigs3
-Grasshoppers

Chewed up Peaches N Cream

Plant Damage:
-Thrips
-Leafhoppers
-Tarnished Plant Bugs
-Spider Mites
***Now you may wonder- Why do we care if a leaf gets damaged or nibbled? Well unfortunately, the plant damage caused by these pests is how viruses spread. So we have to care about it. ***

Luckily, the control methods for plant damaging pests often work for petal damaging pests and vice versa. However before we get to controlling pests, let’s talk about preventing them!

Prevention is key and the key to preventing pests is to scout and observe your crops! So what does that mean?

To be an effective scouter, you need to walk your field/garden on at least a weekly basis to specifically look for pests (diseases too). We have a big field so we walk with a clip board and the camera open on our phones. Pictures are a great documentation record. You can easily track changes from week to week. After the weekly scout, notes are compared. This information will then factor into what pest control or prevention methods we will use later on in the week.

Also after several years, you’ll be able to know when certain pests are going to appear in your area. This is when prevention really plays the biggest role in your bug battle.

Common Forms of Pest Prevention:
1. Timing - Adjusting the timing of your planting can mean you avoid certain pests attacks. For example, Japanese Beetles attack the worst during late May- early July in my area. They do the most damage to petals. So by moving our planting time to May, it means we don’t have lots of blooms until August. Thus avoiding the petal damage done by Japanese Beetles.
Now, I know a lot of home gardeners leave their tubers in the ground and this means blooms in June. So what are you to do? Well, the easiest idea would be to prune your plants back in early June and delay bug development. But if you must have blooms, I’d suggest the organza bag method. It’s the most full proof for preventing petal damage.

2. Water - Water is a powerful and easy prevention method. A few years ago we started using an overhead sprinkler to cool our dahlias in the middle of the day during the hot summer months. It worked well- 5-10 minutes twice a day during the hot part of the day. However, I also noticed that I didn’t have any powdery mildew on my crop until mid fall (when we stopped using the water to cool) and also the spider mite population was very low. So I started researching to see if it was just coincidence or if there was something real there. Turns out that powdery mildew comes on during period of heat and dryness but with high humidity. So by wetting the plants down each day, we were keeping the dryness at bay and cooling them. Also the water rinses off any PM spores that might be hanging out on the leaves. Spider mites also tend to attack when plants are stressed from heat and drought. So controlling those conditions led to a lower population of spider mites in the field.
Another way to use water is to simply have water in/near your field/garden. Bird baths, fish ponds, frog ponds, etc. Water brings in beneficial insects and animals very quickly. They all need it to survive. So if you provide it, they will come. Back in 2018, we added a duck pond and frog pond to our farm as means of controlling drainage/water run off. I saw a huge increase in the number of birds on our farm over the next year. Bullfrogs like crazy too!

3. Spray - There are a lot of pest control sprays out there than can be used when pest populations are low to prevent larger outbreaks. This leads into part 2 of this short series so we’ll talk about it more next time.

Dahlia Game Plan 2024: Getting Organized- Fertilization

The new year has begun and it’s time to get ready because dahlia season will be here before we know it! For some of us it’s only a month away and others will have to wait until late Spring.

This series is designed to help you develop a more organized approach to growing your dahlias. Today I want to introduce you to my spreadsheet that I use for tracking fertilization and pest control.

So why do I track these 2 things specifically?
- Because there’s more than just me working around here. This way my employees know the bigger picture of what is happening in the dahlia field.
- Because in a few years, I’ll have valuable data that I can use to project things like: How much fertilizer do I need to buy at the beginning of the season? When do the Japanese Beetles usually show up?
- Because it keeps me accountable to make sure my dahlias are getting cared for regularly

Today we are going to concentrate on the fertilization side. Pest Control is coming in the next blog.

First off consistency is very important. We like to eat regularly, so do our plants. Dahlias aren’t a plant it and forget it type of thing. Consistency can look different depending on your goals and amount of time. We are a commercial farm so we fertilize every week. But maybe every other week works for you or even once a month.

Just keep in mind you will see different results depending on how often you fertilize. I recommend at least every other week for the home gardener.

Sylvia, Pink Sylvia, Caitlyn’s Joy and Sweet Nathalie

Now- what are we fertilizing with? Dahlias need different nutrients at different stages. From sprout to around the 2 month mark, they need a complete fertilizer (Complete fertilizer has nitrogen, potassium and phosphorus) which has a higher percentage of nitrogen.

I really like to use liquid organic fertilizers in this instance. My favorite is to mix fish emulsion with the Rose and Flowering fertilizer from Neptune’s harvest. This gets the nitrogen to the highest percentage in your mix but also gives the plants some phosphorus (P) and potassium (K). I like to go ahead and give the P and K in the early stages because I feel it really helps out the early bloomers. They are going to be setting buds around the 40 day mark.

Once you see bud development, it’s time to swap your strategy around. Now the plants need a higher percentage of phosphorus and potassium. But you can’t neglect the nitrogen. You just don’t need as much. I especially think the nitrogen is important if you have a long flowering season. They are going to need a lot of food to keep going.

I like to use a few different things. Alaska Morbloom is great- 0-10-10. I would add a low dose of some nitrogen (fish emulsion, kelp, etc.) if this is the only fertilizer I was using. I also like the Southern Ag Bloom Booster- 10-30-20. (There are a lot of companies that make a similar product to this as well).

I do recommend taking a trip to your local nursery or feed and seed. See what they have in stock. Fertilizer can be heavy and expensive to ship. And it’s always good to support your local businesses. Remember there are a lot of similar products out there- it’s more important you know what nutrients to focus on during the different stages of growth.

Peaches N Cream

So how do we apply it? Well if you are really lucky, you have a fertigation system that feeds it through your irrigation system. Unfortunately I don’t. We use a battery powered backpack sprayer. I highly recommend the My4Sons brand. I’ve had mine for years.

You can also mix ingredients in your spraying. You don’t have to spray each one individually. But you do need to research online or read the bottle to make sure it mixes well with others. If you have an oil based product in your mix, I recommend using an emulsifier product to keep everything mixed up.

If you are working on a small scale, a watering can or pitcher works just as well. They also make hand crank sprayers. Dahlias benefit from a foliar spray because they have such broad leaves.

Coseytown Clem

Lastly do make sure you are watering consistently. Hydration is just as important as feed for the plant! Irrigation systems are pretty easy to set up. And winter is a great time to research how to do it!

So Game Plan Step 1- Get Organized and decide what your fertilization schedule will be this year.

Back to the Basics with Dahlias

If you are new to dahlias this post should give you some help to get started. If you’ve been growing a few years, this will be a good refresher course. So Back to the Basics we go!

1. Before you buy a tuber, survey your yard, add any compost- let’s get our mindset in place. Growing plants is a life long journey. Perfection won’t be gained in year 1 or 10 even. It’s a journey we embark upon to learn more about the natural world, to bring beauty into our lives, to teach us many lessons (least of all patience), and to share the beauty/bounty we grow with others. There is no succeed or fail, only lessons learned, knowledge gained, and relationships formed (with people and nature).

KA Mocha Katie

2. Remember what plants need- Every plant needs light, water, and something to grow in (usually soil). Dahlias specifically need full sun (6+ hours a day), rich soil with good drainage, and moderate water during the green growth stage and more water when blooming.

3. Dahlias need support. Most dahlias are tall plants- tall enough to need support. So place a stake or wire cage when you plant or install support netting after a full row.

4. Dahlias are hungry plants. So don’t skimp on the compost or fertilizer— Make sure your soil has enough nutrients to feed your plants properly. They prefer soils higher in phosphorus and potassium, lower in nitrogen. Too much nitrogen will create lush green plants with little to no blooms. Get a soil test from your local extension so you have a baseline to begin.

5. The more you cut, the more they bloom. I often hear of new growers being afraid to cut their blooms but the more you cut, the more the plant is triggered into producing more blooms! If you pinch out the central growing tip when the plant is around 18”-2’ tall, it will cause the plant to branch and give you more stems.

6. Dahlias are the ultimate generous gardener plant. Place one tuber in the ground in the Spring and dig up a whole clump in the fall. Or if you live in a warm climate, overwinter them in the ground and divide your generous clump in the spring and turn all your friends into Dahlia Lovers too!

Sonic Bloom

So if you read through this and thought- but I still didn’t have the results I wanted with my dahlias.

***Read through again. Really look into each step and evaluate your growing. The majority of issues with growing dahlias can be traced back to the simplest things. ***

For example, for years, I always told myself- I’ll get the netting up before they get too tall! HA!!! And for years I had so many floppy plants- lost loads of stems that I could have sold! So now I put my netting up as soon as a row gets planted. The planting is not finished unless the support netting has been installed.

For the first several years, I didn’t soil test and I had lackluster blooms. They would be small or misshapen. I finally tested my soil and found I was very low in the crucial nutrients that create bountiful blooms.

It took me several years to really believe that I could cut 2’ stems on my dahlias without damaging the plants. But then I grew a variety that was 8’ tall. I had to cut long stems in order to keep it manageable. That taught me that if I cut the first stems long, then I would continue to have long usable stems throughout the season (instead of short weak ones).

All that to say— Don’t Ignore the Basics!!! When I see new growers who have bountiful blooms on healthy plants, I can always trace it back to following the basics.

So go grab a few tubers to try this year and then over the next few months, begin to plan how you will implement the basics in your garden. Follow along with me here, lots more info coming. Also lots of info already available. See that tag under the title that says “Dahlias”. Click that and it will take you to all the posts about dahlias on this blog.

Want to go deeper? Try out our Dahlia Growing in the South Virtual Workshop!