

Why Soil Tests Are Important?
I’m not sure what it is, but for a significant portion of us there seems to be one thing we overlook in our beginning gardening years: the soil test! I will admit I was guilty of it too- I think I was a few years into my veggie garden until I got one. In fact— I think it was taking the Master Gardener Certification Class that finally kicked me into gear to get one.
So that said- Today I’d like to talk about why soil tests are so important with a few anecdotes from my farming/gardening experience.
To begin we are going to talk about sweet peas- my favorite crop after dahlias. I’ve had an issue with bud drop (stems suddenly losing every bud they have) every year since I started growing sweet peas. Some people say this is environmental, some say it’s nutritional. I was talking to an experienced farmer friend this past spring and he suggested getting a soil test done and then having a custom fertilizer blend made just for the sweet pea crop area.
What a great idea I thought! I contacted a fertilizer company who makes custom blends (Seven Springs Farm Supply) and asked what they needed. They just told me to get a soil test and then call them to discuss what my goals were for the crop.
So off to the Sweet Pea Palace (as we call that tunnel) I go and I gather my soil, put in a bag and mail it off to my local extension service (Clemson University) and then I wait. About a week later I got the results back.

And to be honest, I was a bit disappointed. I was actually hoping the soil was going to be deficient in something. Because solving the bud drop issue in sweet peas from a nutritional standpoint would be a whole lot easier than a climate issue.
But as you can see from the above picture, the soil is great! Boron is an element that is suggested to help with bud drop but there’s no issue with that in my soil.
So back to the drawing board on solving my problem— BUT do you see how the soil test helped me? It helped me eliminate a solution. It also saved me money on fertilizer that I didn’t need. It also tells me that most likely I don’t need to add anything to this soil this fall. I will test it again in September before we plant. But as long as we monitor the elements in the sufficient range from year to year, we don’t need a lot of the typical fertilizer elements you would apply.
Now let’s take a look at a plot of soil over the course of 8 years.
The first soil test I can find for my farm is from Fall of 2016. We moved here in Fall of 2015 but you know how moving goes- I probably forgot to take one when I began.

What you see here is pretty typical for soils in my region. Acidic and high in Potassium and Phosphorus and reasonably sufficient in other elements. It’s clay soil - heavy but rich.
Let’s skip ahead 2 years. This is 2018- same area of soil on the farm.

One noticeable change is the pH- it has gone way up to 7.1 which is actually a little high for what I want. So we used elemental sulphur to bring the pH into a more neutral range. You can also see that the majority of the primary nutrient levels have increased.
In the early years of our farm, we used compost made by our pigs. And it’s great stuff— but it’s rich— richer than our clay soil rich! So after seeing excessive levels for a few years, we backed off of adding the pig compost and any extra potassium and phosphorus.
The cation exchange capacity more than doubled too. If you want more info on what this is- click here. Clemson’s site can explain it way better than I can.
Skipping forward to 2021:

So you can see that we were able to lower the pH level— which changing pH can take some time and it’s a good idea to not make huge adjustments in it quickly.
But the biggest difference is the potassium level is much lower. In fact on all the soil tests we took in 2021- most of them showed a lower potassium level, some even showed that we needed to add. This is a good illustration of how long it can take for a nutrient to adjust in your soil.
Building good soil is a continuous process. You need to have goals but they will change as your soil adjusts.
Skipping forward one more year to 2022:

So what’s different? Well the pH went back up. My guess is because we gave that tunnel a good dose of compost. One thing we work on in our soil is organic matter. Organic matter greatly improves clay soil We don’t always need tons of nutrients because clay soils are usually rich but we need as much organic matter as we can get! So adding compost is something we do on a regular basis. Every year? Nope— too expensive to do the whole farm but we rotate around so that every area gets it every 2-3 years. That decision is crop dependent as well. Adding compost raises your pH level.
The potassium levels have risen- we added muriate of potash. This was in rock salt form and I was able to find it at my local feed and seed.
So what’s the lesson here: Taking regular soil tests gives you so much information to make decisions over time. You can really get to know the soil in a certain area. I’m sure an agronomist could have all kinds of fun with these. That’s way out of my skillset but you don’t have to be a soil scientist to read a basic soil test.
Few other things:
1. These are basic soil tests- there are labs where you can get more in-depth analysis done. You can also pay a bit more on these basic ones and find out your organic matter percentage and the nitrate nitrogen levels (we did this for the Sweet Pea test up top).
2. Where you sending your soil test? Begin by googling your local extension service or your state’s best ag university. Or you can send it to Clemson- they will test out of state soil.
3. How often should I take a soil test? Yearly at a minimum. If you are monitoring a change you are making in your soil then I would say every 6 months. Or take one when you need the answer to a question like I did for the sweet peas.
4. If you have a large area of land, take multiple. Divide up your areas and test them separately. We test all our hoop houses separately and then test a few areas in our main field.
5. How do I take a soil test? Go here— Good directions from Clemson. It’s super easy!!
I really hope I’ve convinced you to get a soil test this fall. Fall is a great time to get a soil test done because you can apply any amendments you need and they will do their work over the winter and your Spring soil will be so much better!
So— go put it on your calendar for some time in September to take a soil test!!

Dahlia Game Plan: Harvest and Post- Harvest Care of your Dahlias
You’ve planned, worked hard and now your dahlias are finally in bloom! We’ve come to the last section of our Dahlia Game Plan for this winter. Let’s talk about how/when to harvest your dahlias and how to care for them once cut!

Hilltop Lost Treasure
Harvesting your Flowers:
When cutting stems for cut flowers, you want to cut deep into the plant. Every time I show a new employee how long to cut, there is always an expression of surprise on their face. We use our arms as a measure and cut between the elbow and mid-bicep - kinda’ depends on how long your arms are! Cutting deep into the plant like this encourages the plant to produce more long stems. If you cut shorty stems, then the new stems are going to be shorter than what you cut. So although it may feel like you are taking a lot- you gotta cut deep for continued long stems.
(This is why we’ve spent time setting up that fertilizer regimen- we need to give back to the plants b/c we are expecting a lot out of them. Don’t forget to Feed!!)
Stage of harvest: It varies for different forms but here’s some basic tips-
Ball/Rounded Shapes - 2/3 open, when petals have begun to curve backwards
Decoratives- 50% open
If pollen is already pushing out of the center, then you’ve waited too late.
Blooms will continue to open about another 20%, some more than this.
When to harvest: Cut stems early in the morning- plants are higher in sugars and hydration during that time. Cut before you hit 85 degrees if possible. Place cut stem into water after cutting. If you have to wait more than a few minutes after cutting before getting them into water, recut the stems.
Where to harvest: Cut above a leaf node- this will encourage regrowth for more stems/blooms and keep your plant tidy as you go, remove any foliage that will be below the water line.

Omega
After Harvesting Your Flowers (Post-Harvest Care):
For the home grower:
Cutting into water with flower food helps extend vase life. Place bucket or vase in a cool dark room for a few hours to let blooms hydrate before using or displaying. Chrysal and Floralife are great brands and are easy to find for flower food.
Using an old refrigerator as a cooler and conditioning blooms over night at around 40-45 degrees will add 1-2 days to your average vase life.
Change your water at least every other day, add more flower food. Keep in a cooler spot and away from heat or high direct light.
For the commercial grower:
Harvest early in the morning
Cut into buckets with water and hydrating solution. (Chrysal Professional #2 Transport and Display Solution or Floralife 200)
Once blooms are dry, place into flower cooler for at least overnight, preferably 24 hours.
Store for 3-4 days, no more before selling/delivering to customer. Try to move blooms within 2-3 days of harvest, especially for larger blooms.
Recommend customers use flower food to extend vase life.
Try to ascertain end use to determine when to cut for best results.

Gerrie Hoek
Vase Life: Average vase life on a dahlia is around 5 days. Some varieties/forms last longer, some less. Also blooms last longer when it’s cooler outside and the plants are well-hydrated. Warm temps mean lower vase life unfortunately. But it’s good to know what to expect!
And the positive thing is that— You can just go to your beautiful dahlia garden and cut some more!!
The Layered Garden Bed - Update
Everything is sprouting in my layered bed. The Tahiti daffodils are blooming. One small dahlia sprout came up last week due to the 3+ weeks of warmer than average February temperatures. But the last 3 days of frosts killed it off. It will resprout though! The concept is working beautifully so far!
If you missed Part 1 of this project, click here.
The Layered Garden Bed
While relaxing a bit before Christmas, I was browsing Sarah Raven’s Cut Flower Garden. I read about a method of planting bulbs in a layered method— but in a garden bed setting. I’m familiar with this process for bulb pots. But I’d never considered it on a larger scale.
But why not? Of course I needed to give it a try! I filmed the process of planting the bed and I’ll report back occasionally as the season progresses.
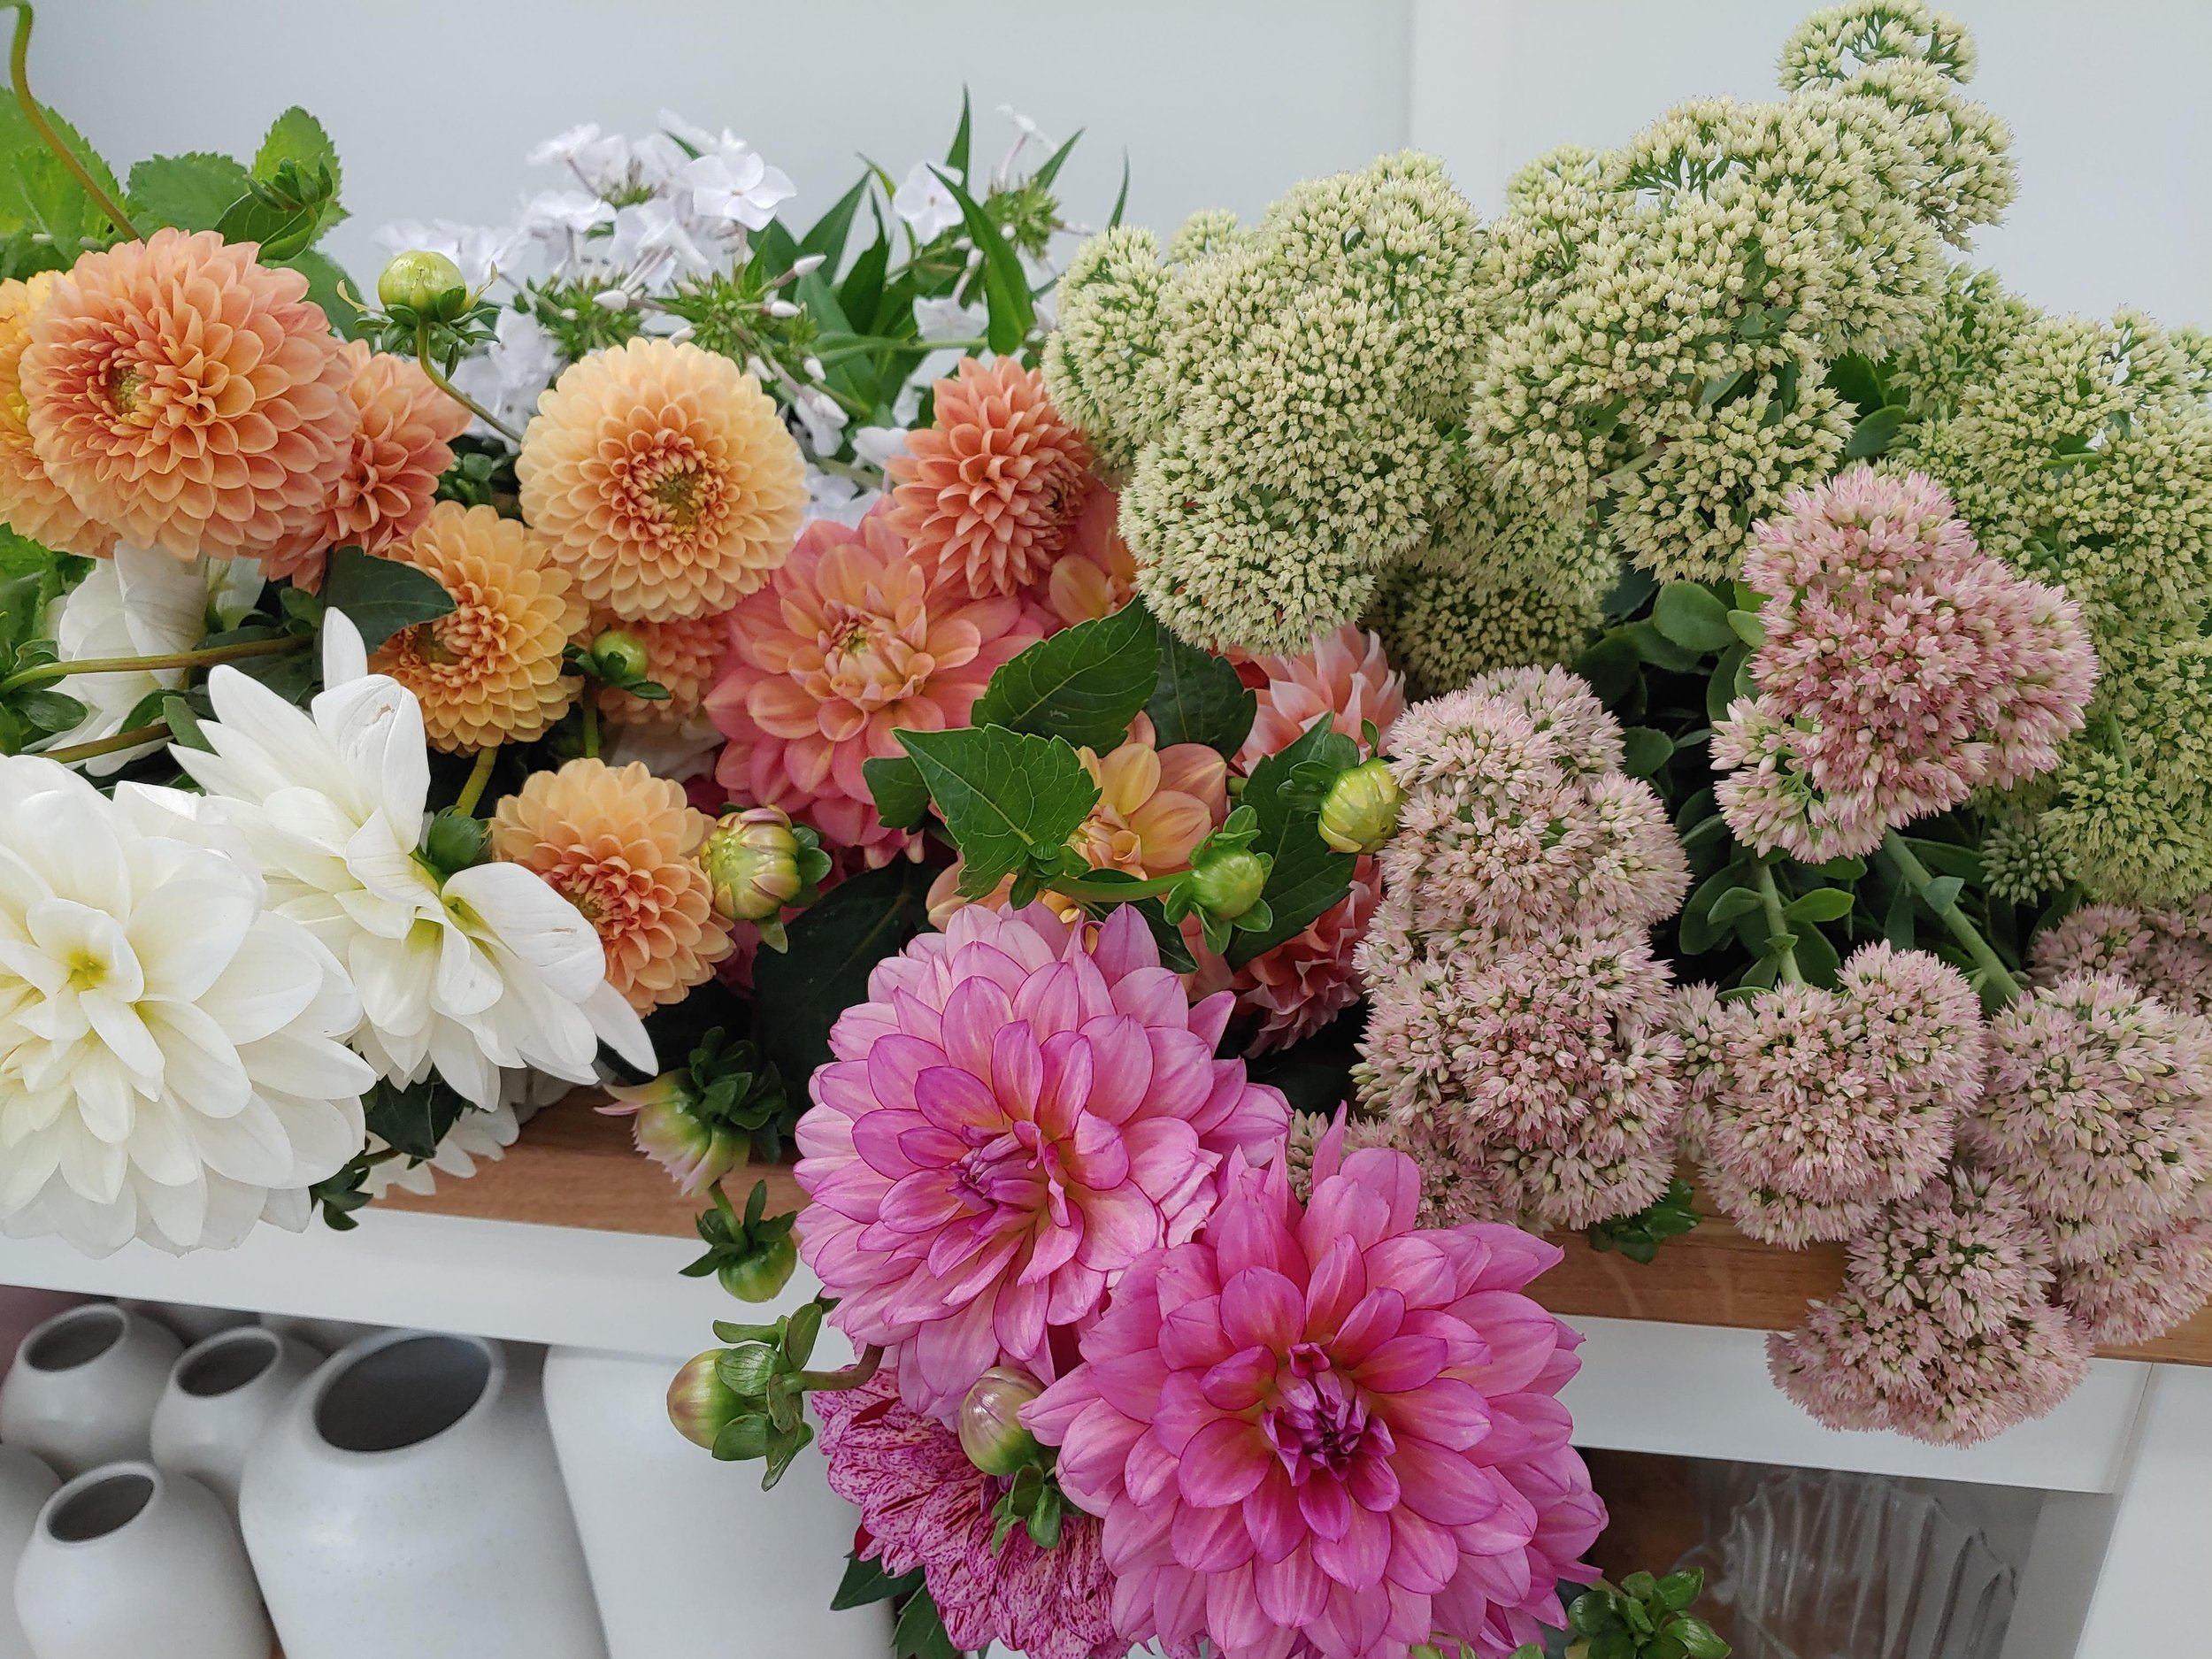
My Favorite Perennials to Add to Dahlia Bouquets
Y’all know I love Dahlias but my second love is perennials! What’s not to like about plants that you plant once, give a bit of love once or twice a year and then enjoy their amazing show year after year!
There are some well known Fall perennials but I’ve been doing a lot of work over the years to find some more unique plants to add to my collection.
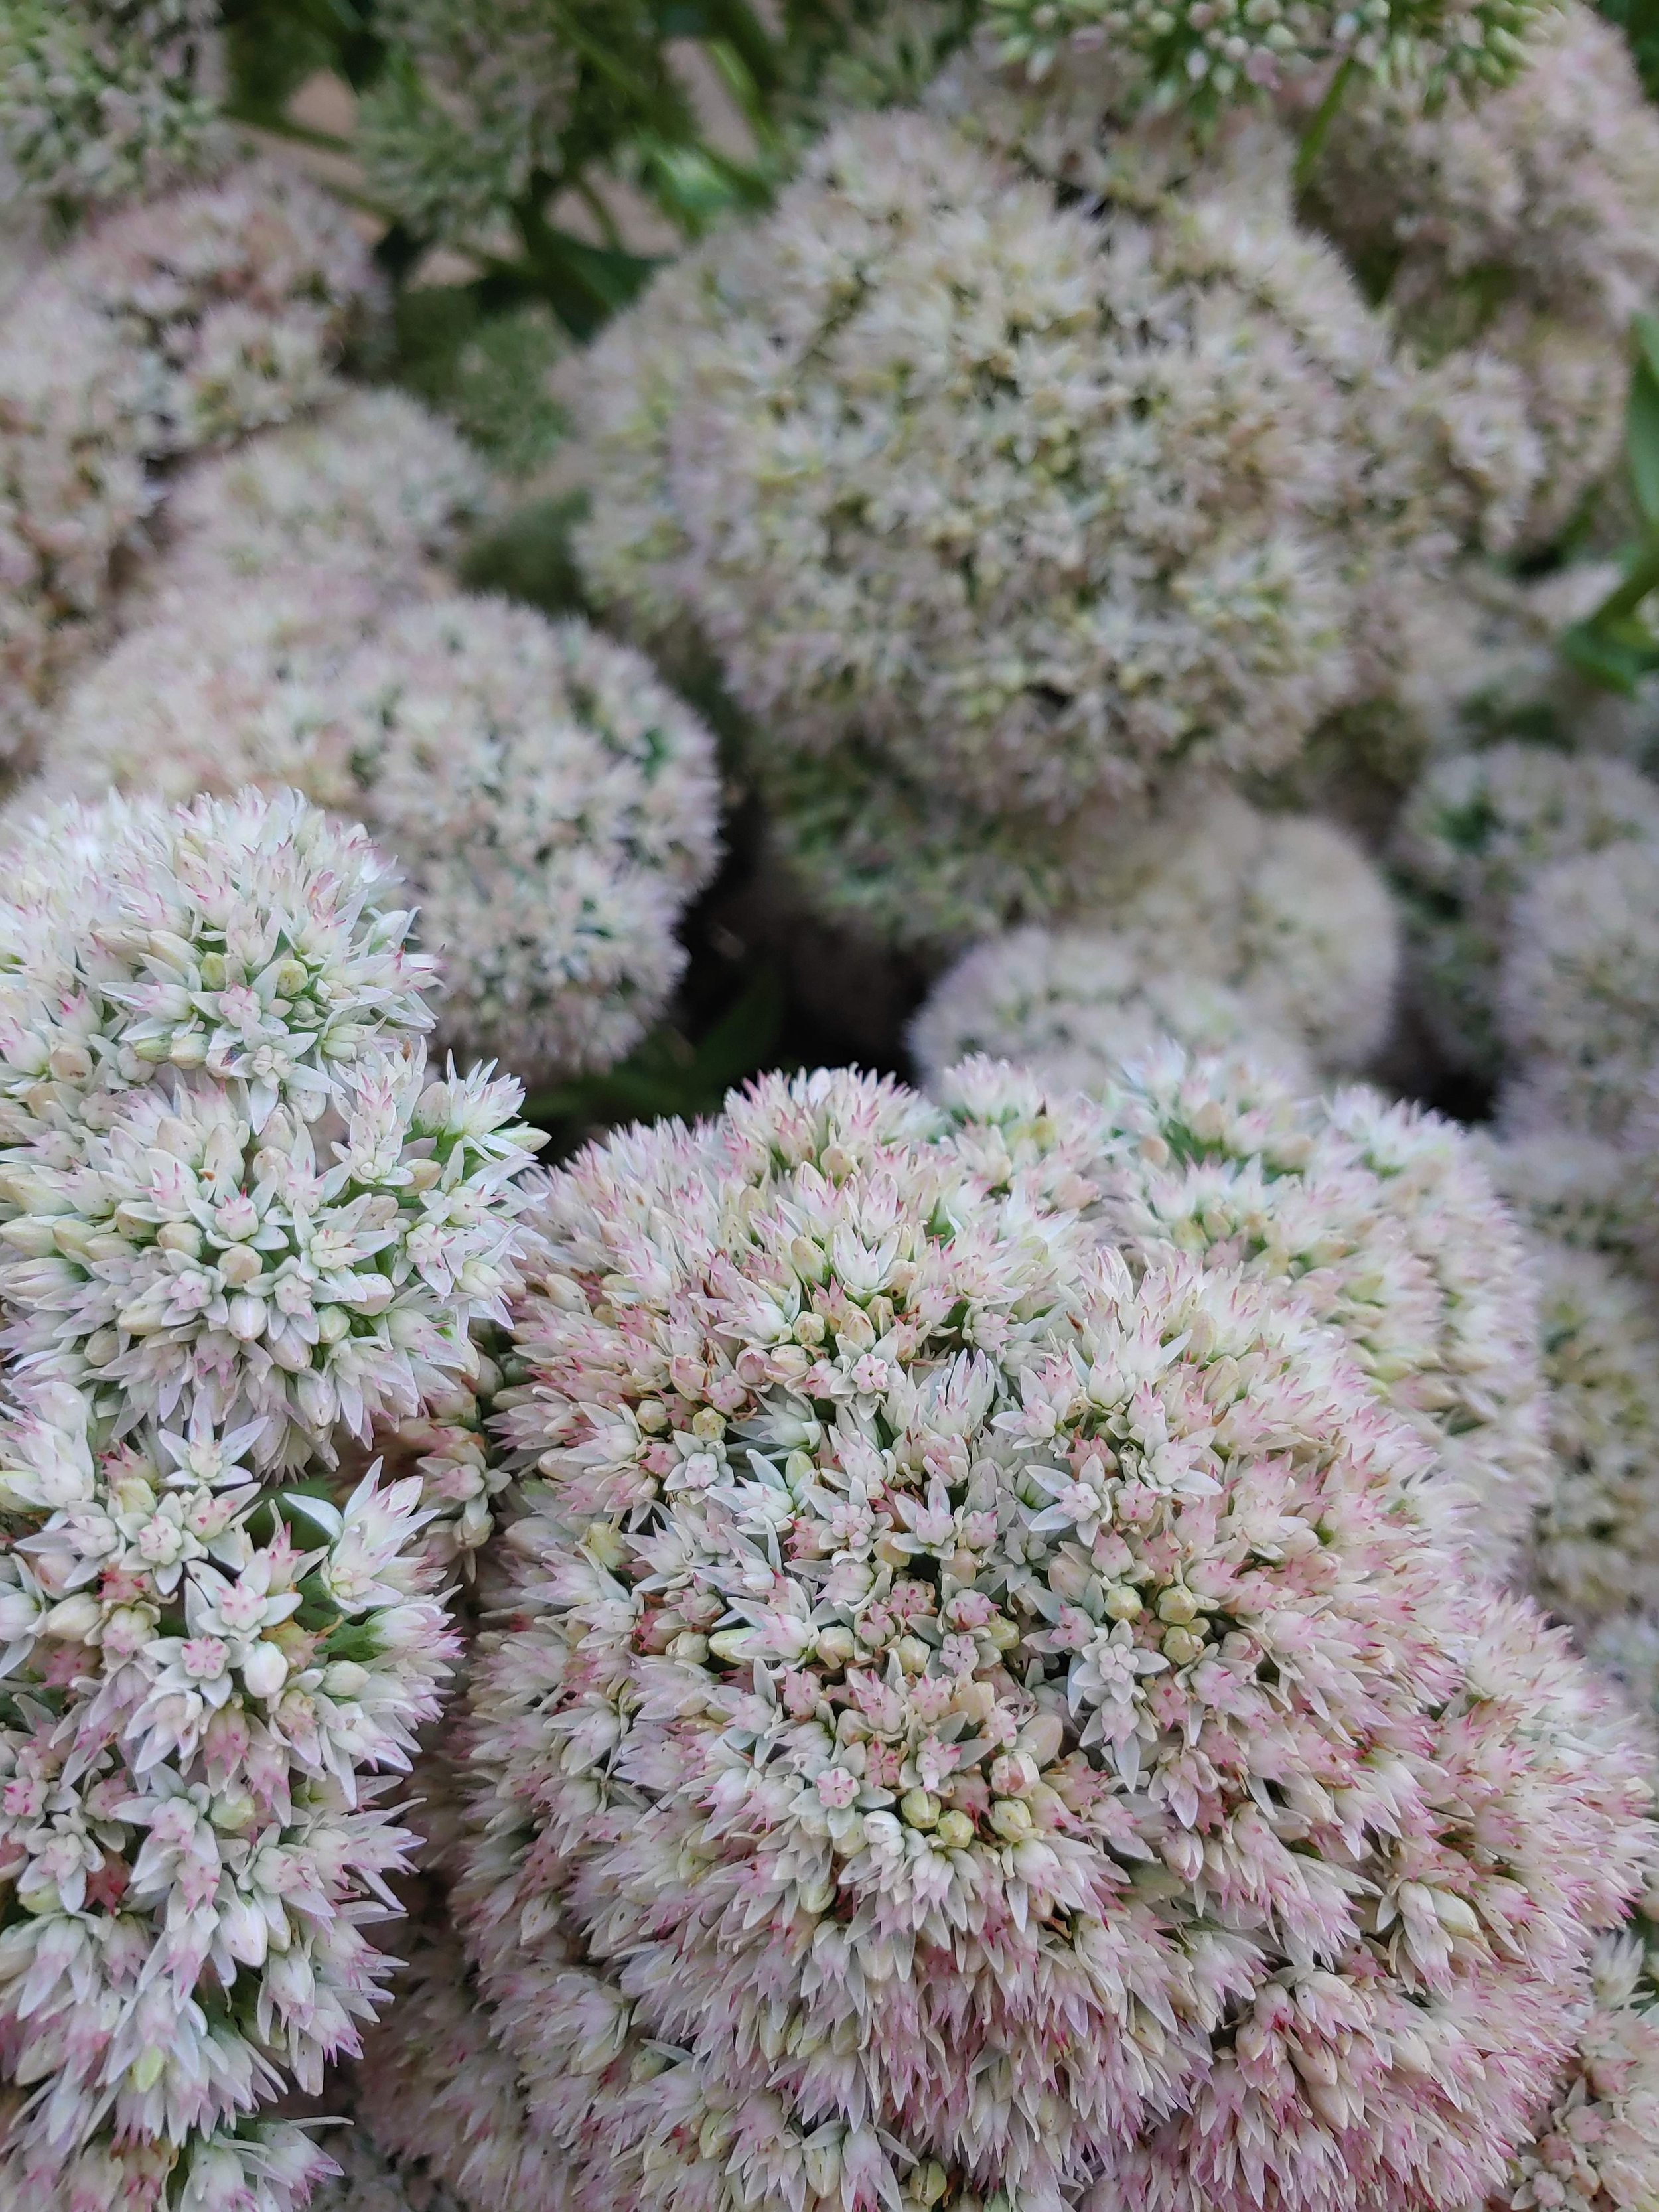
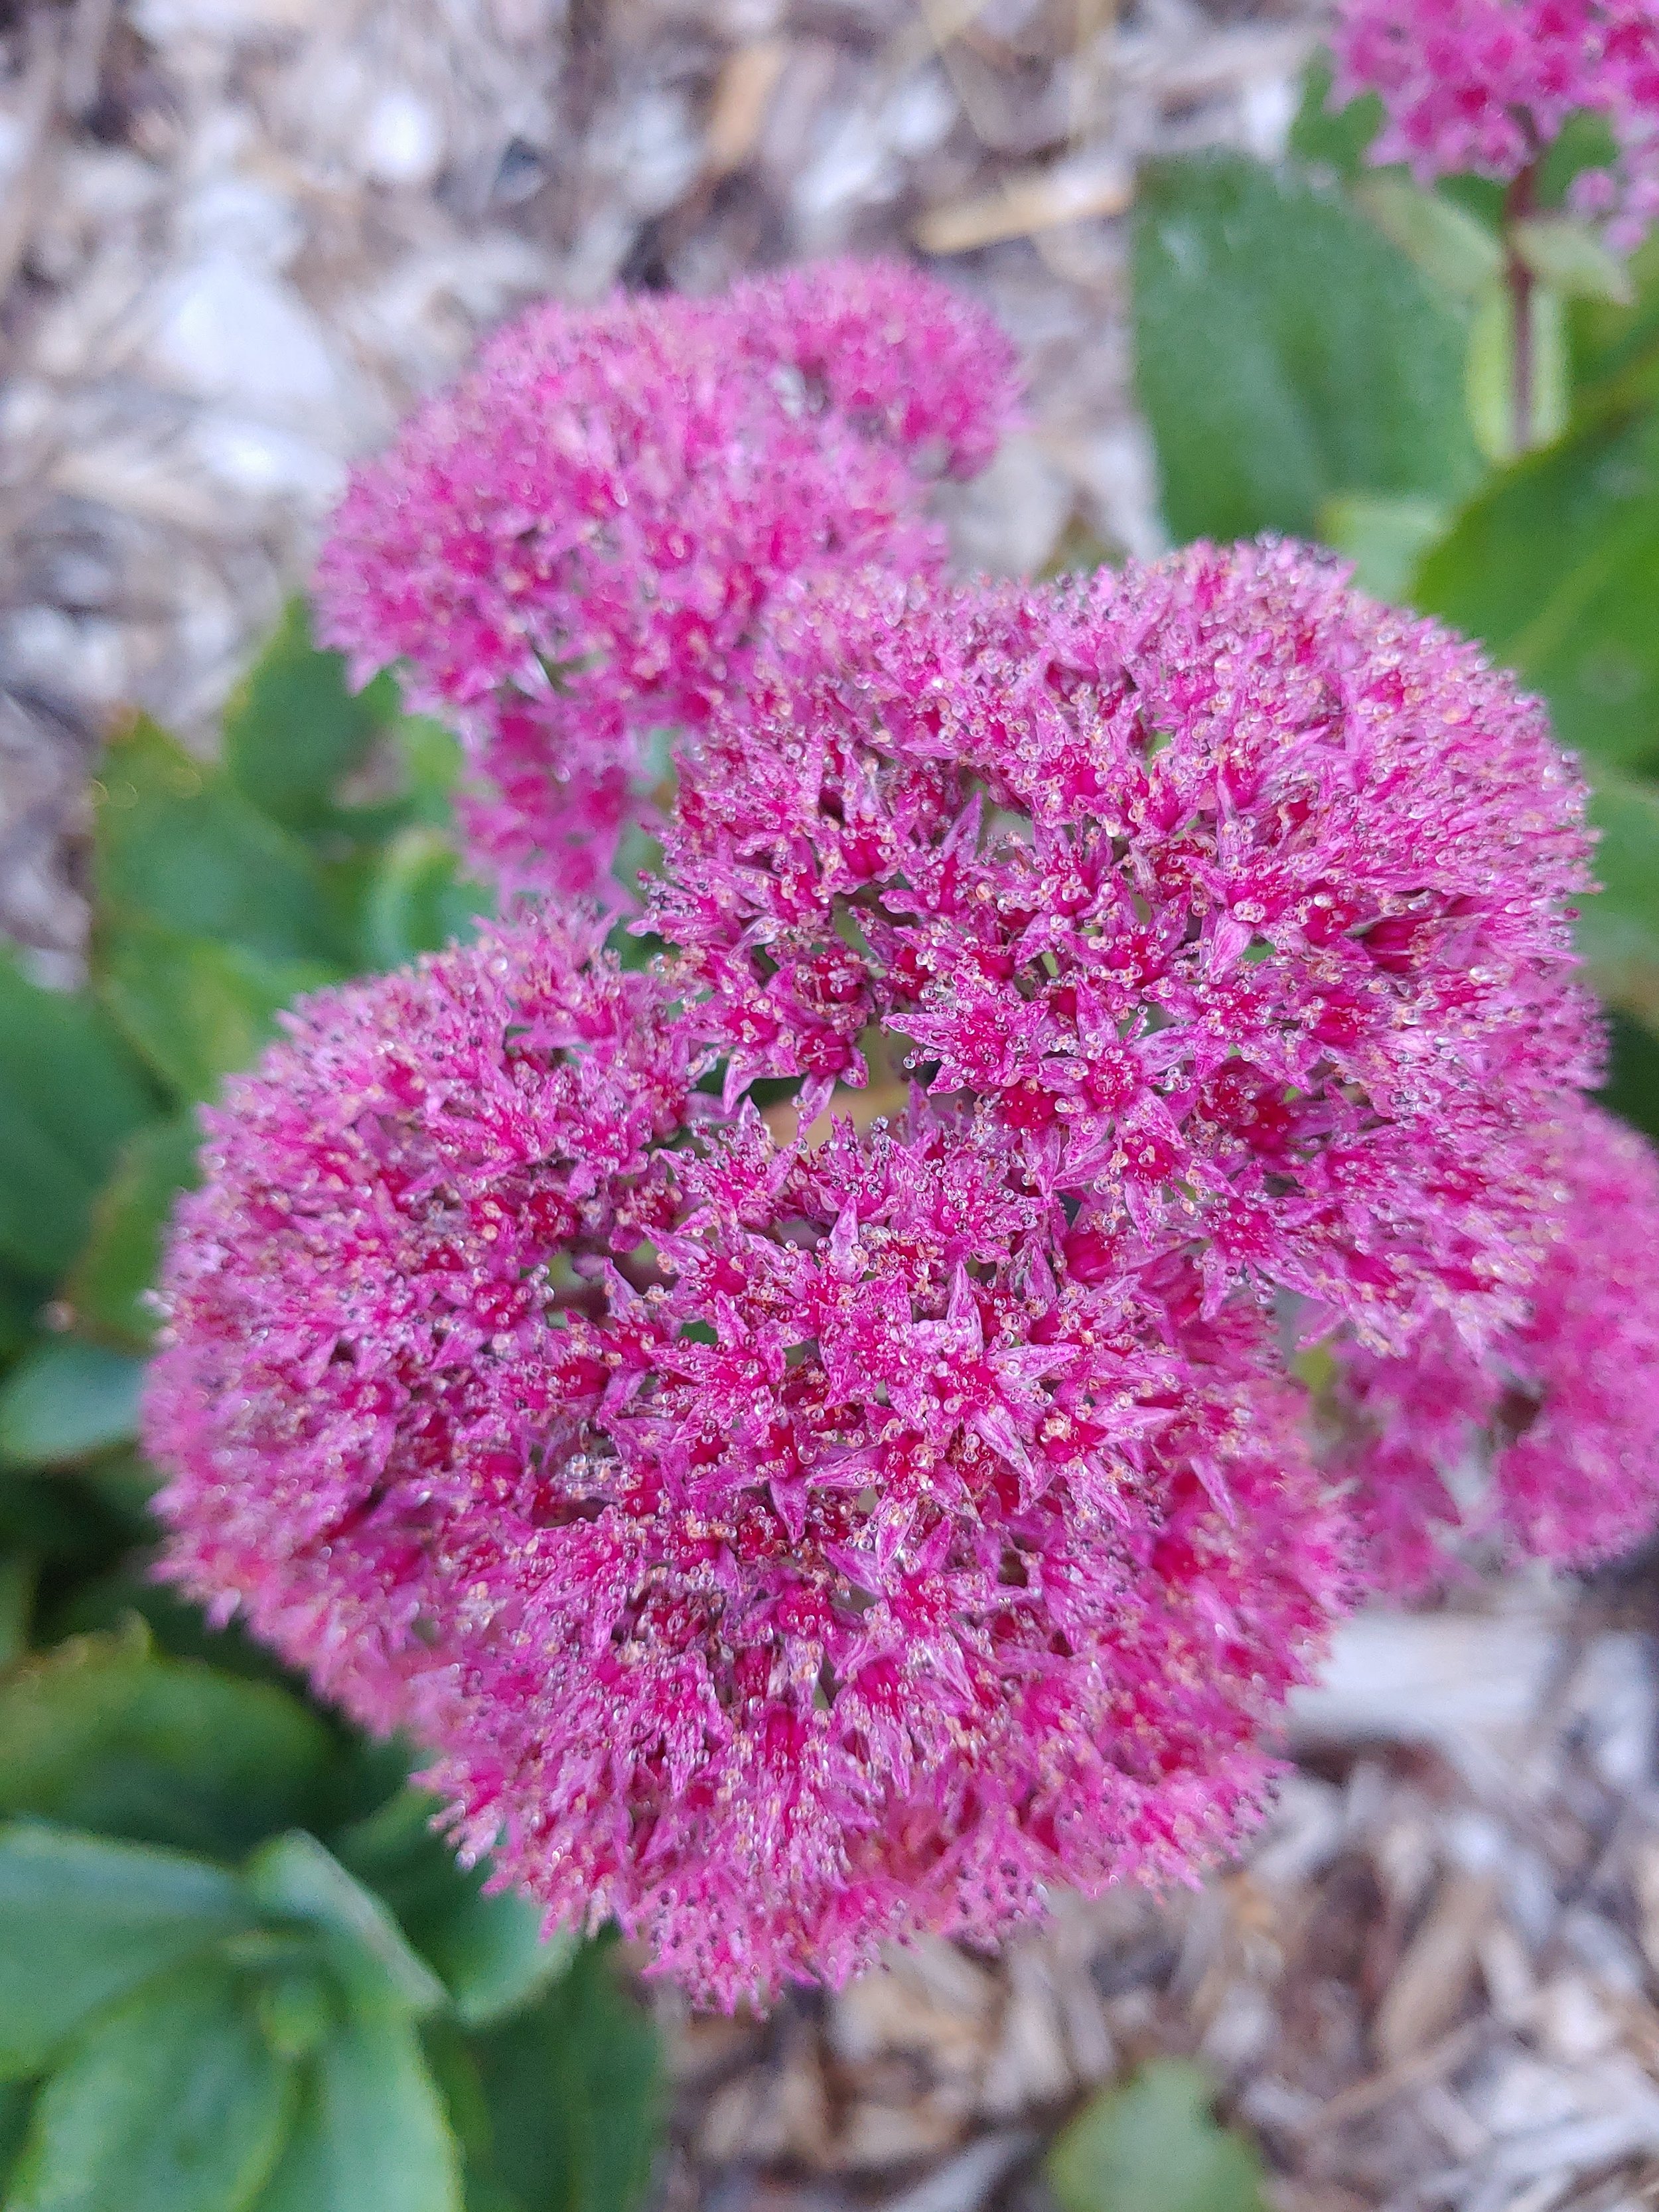
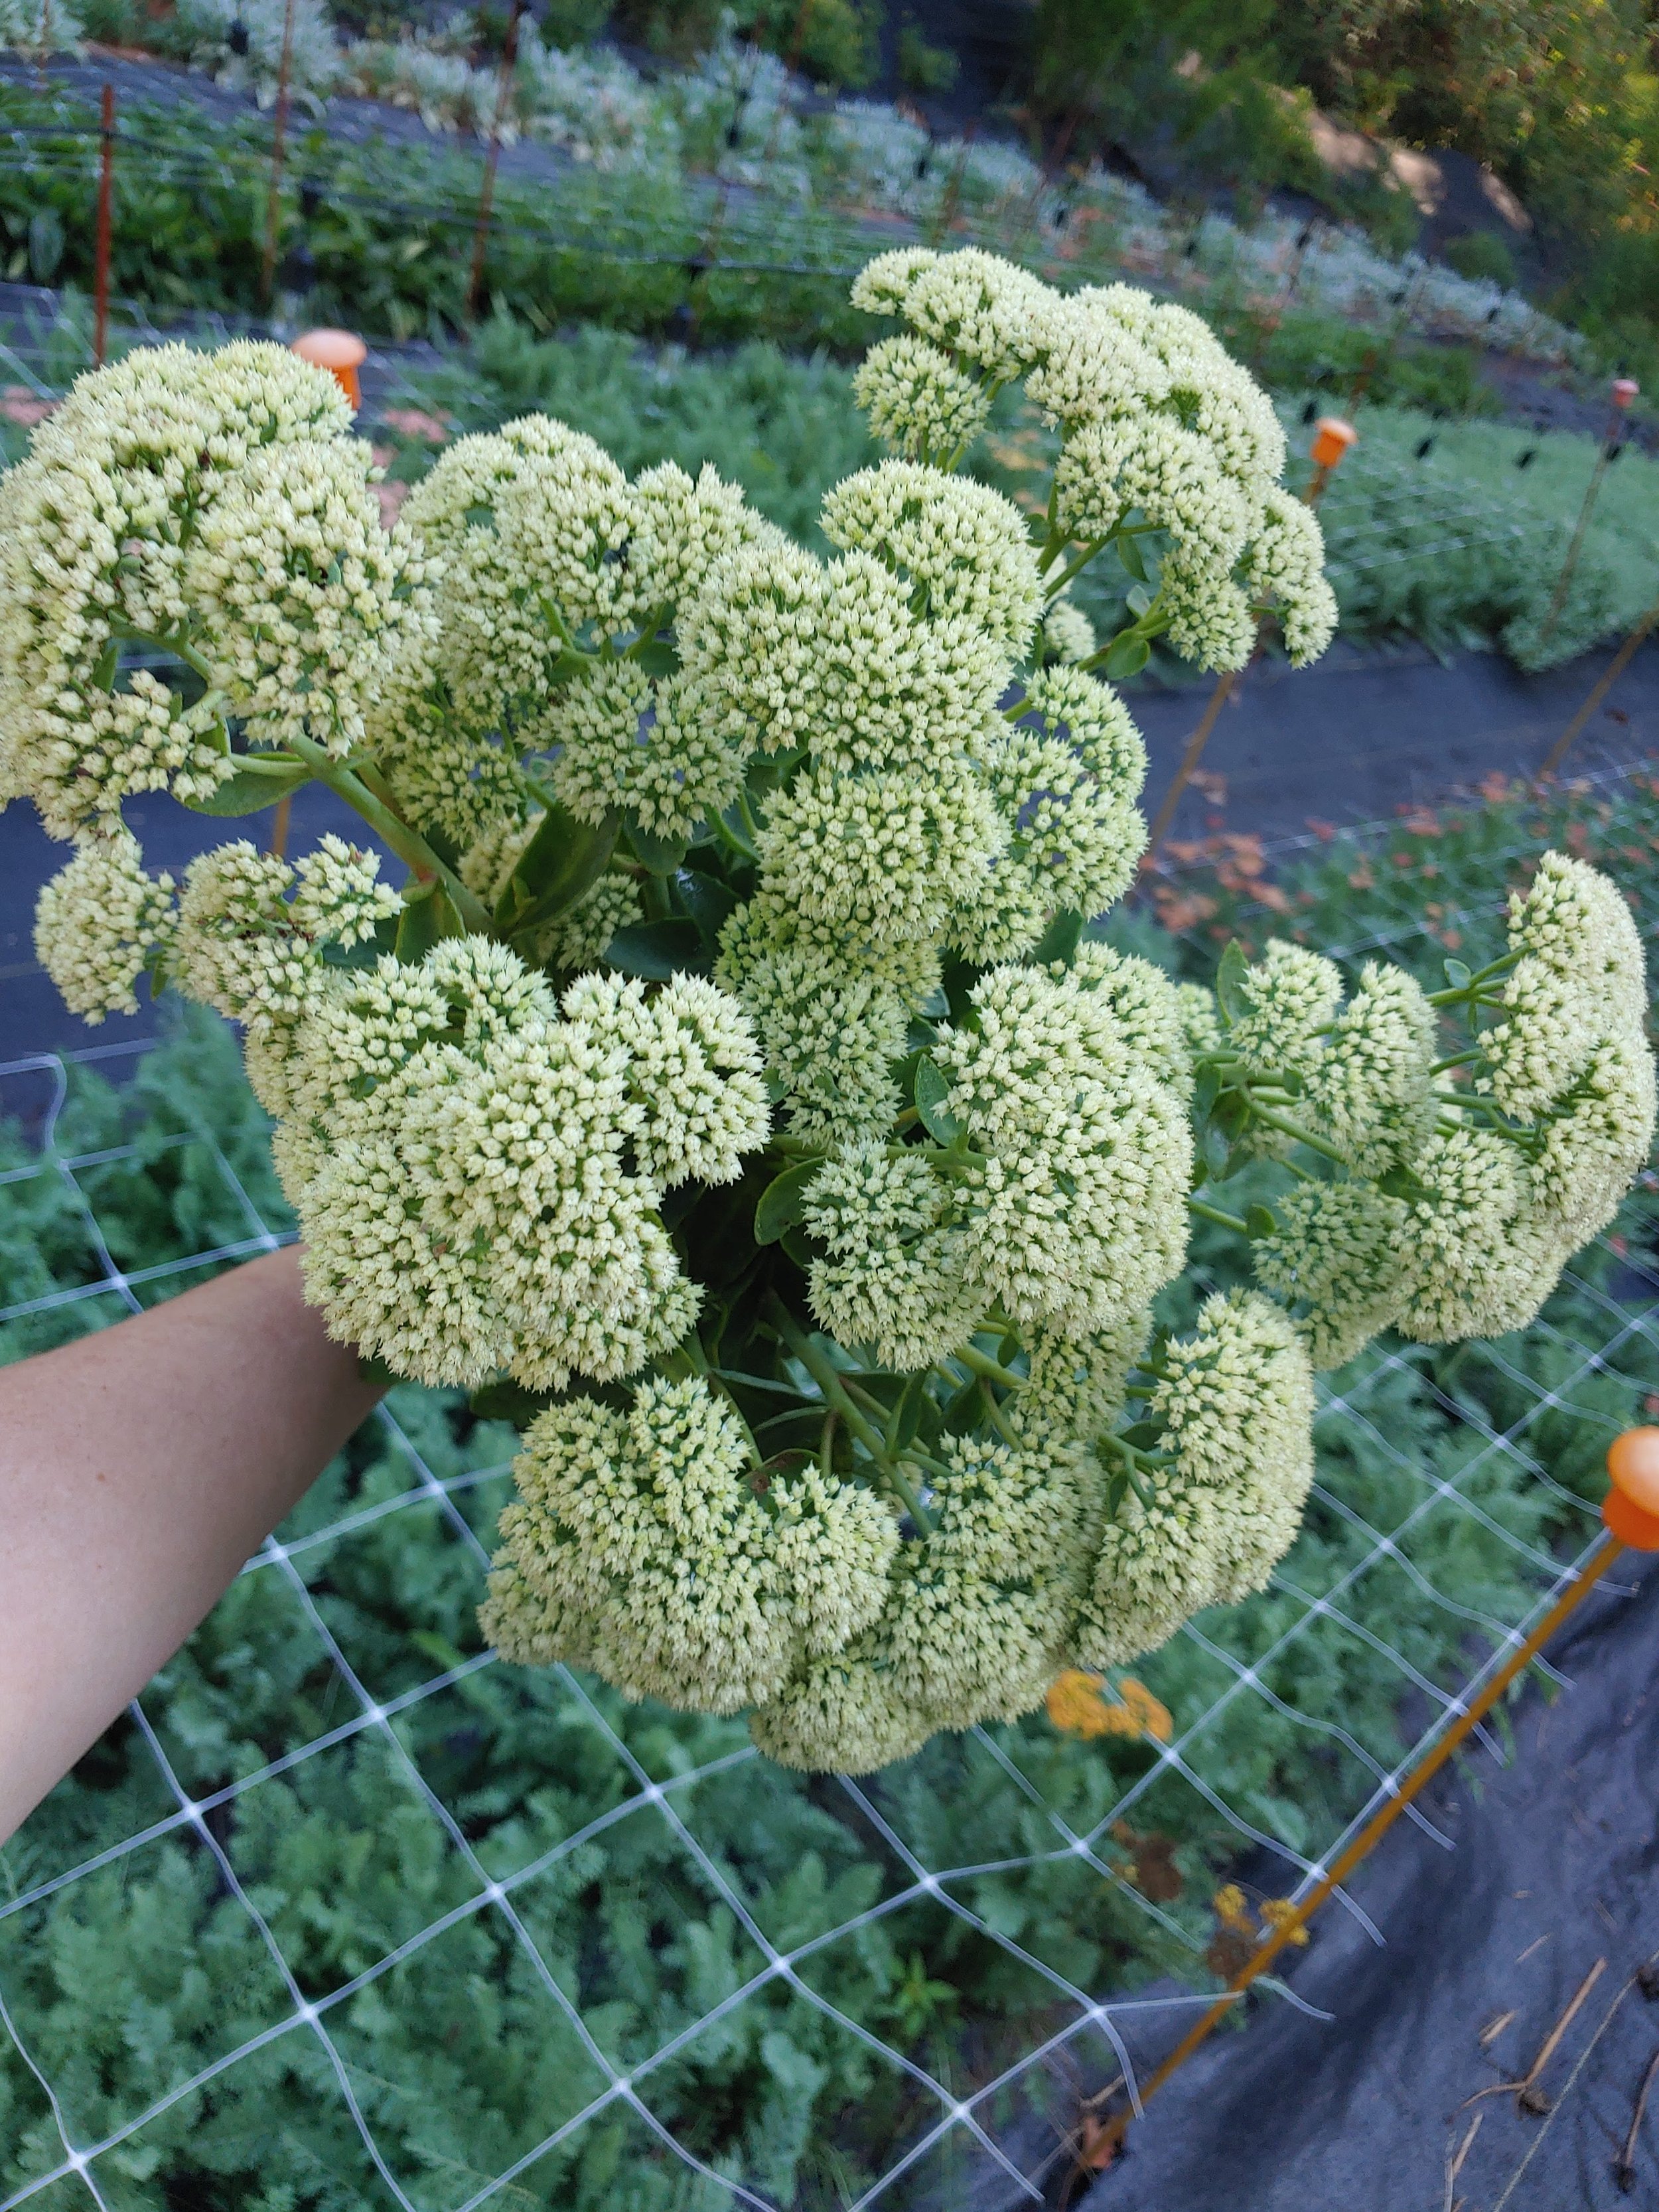
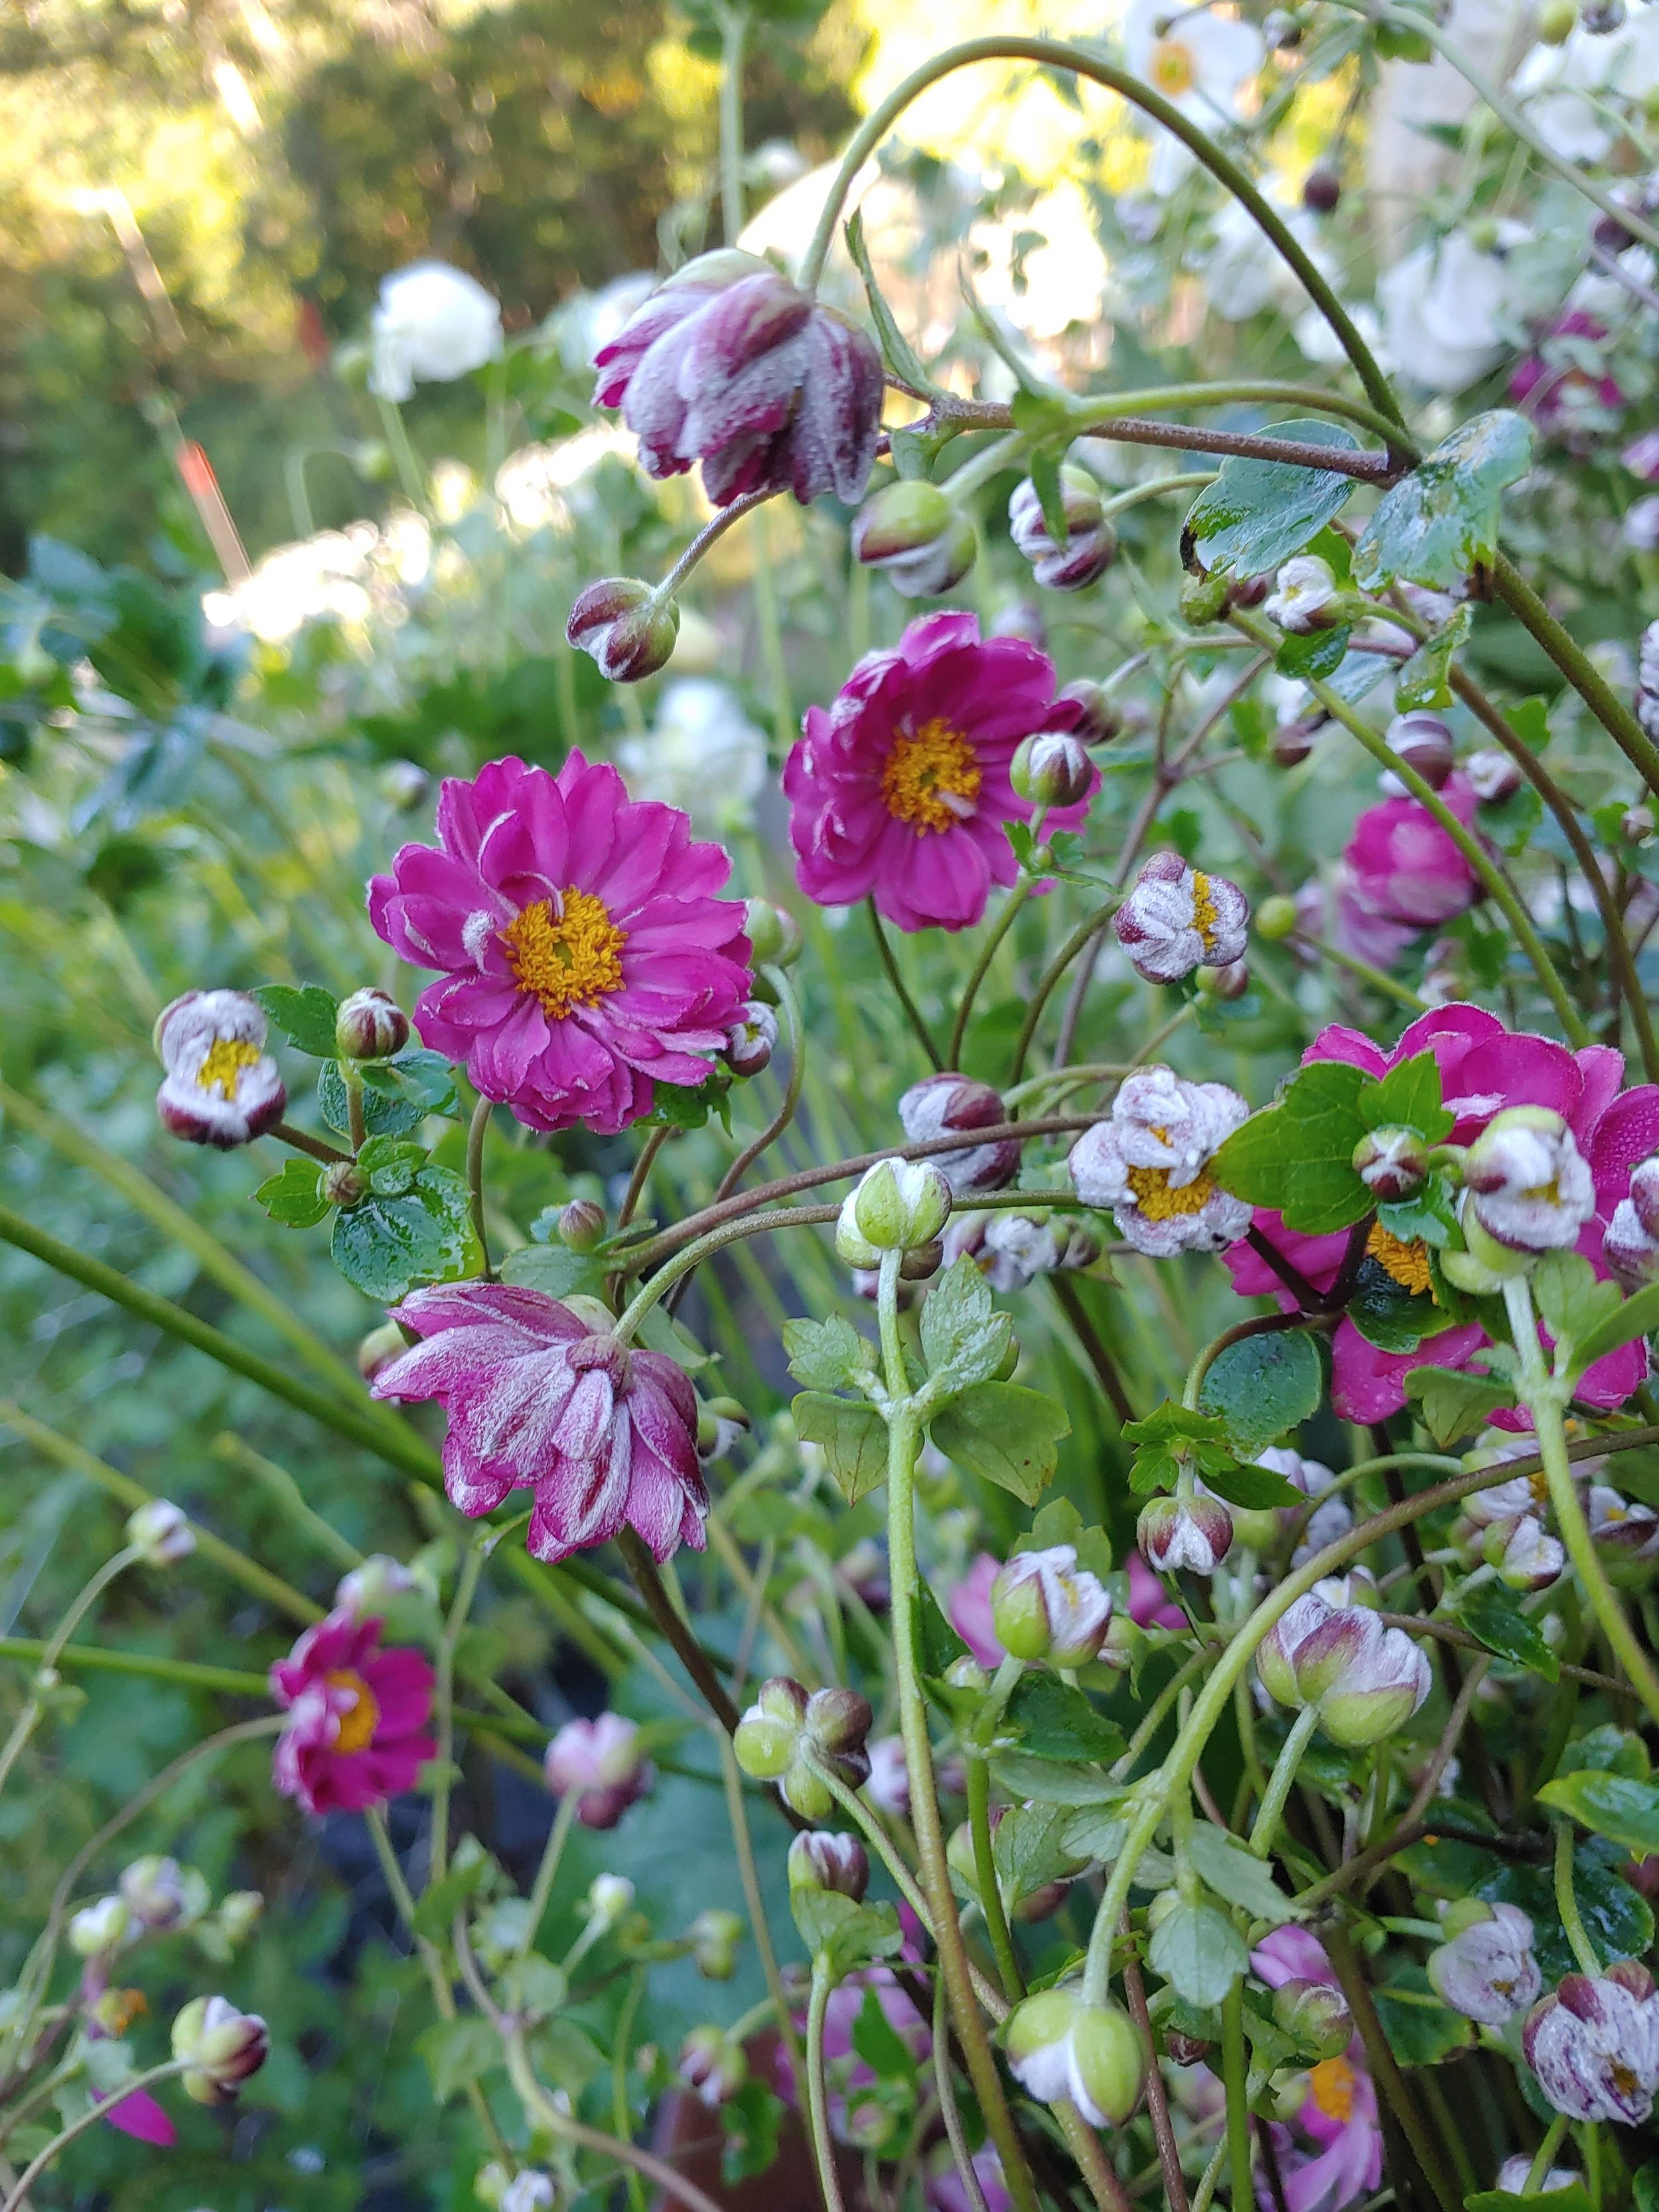
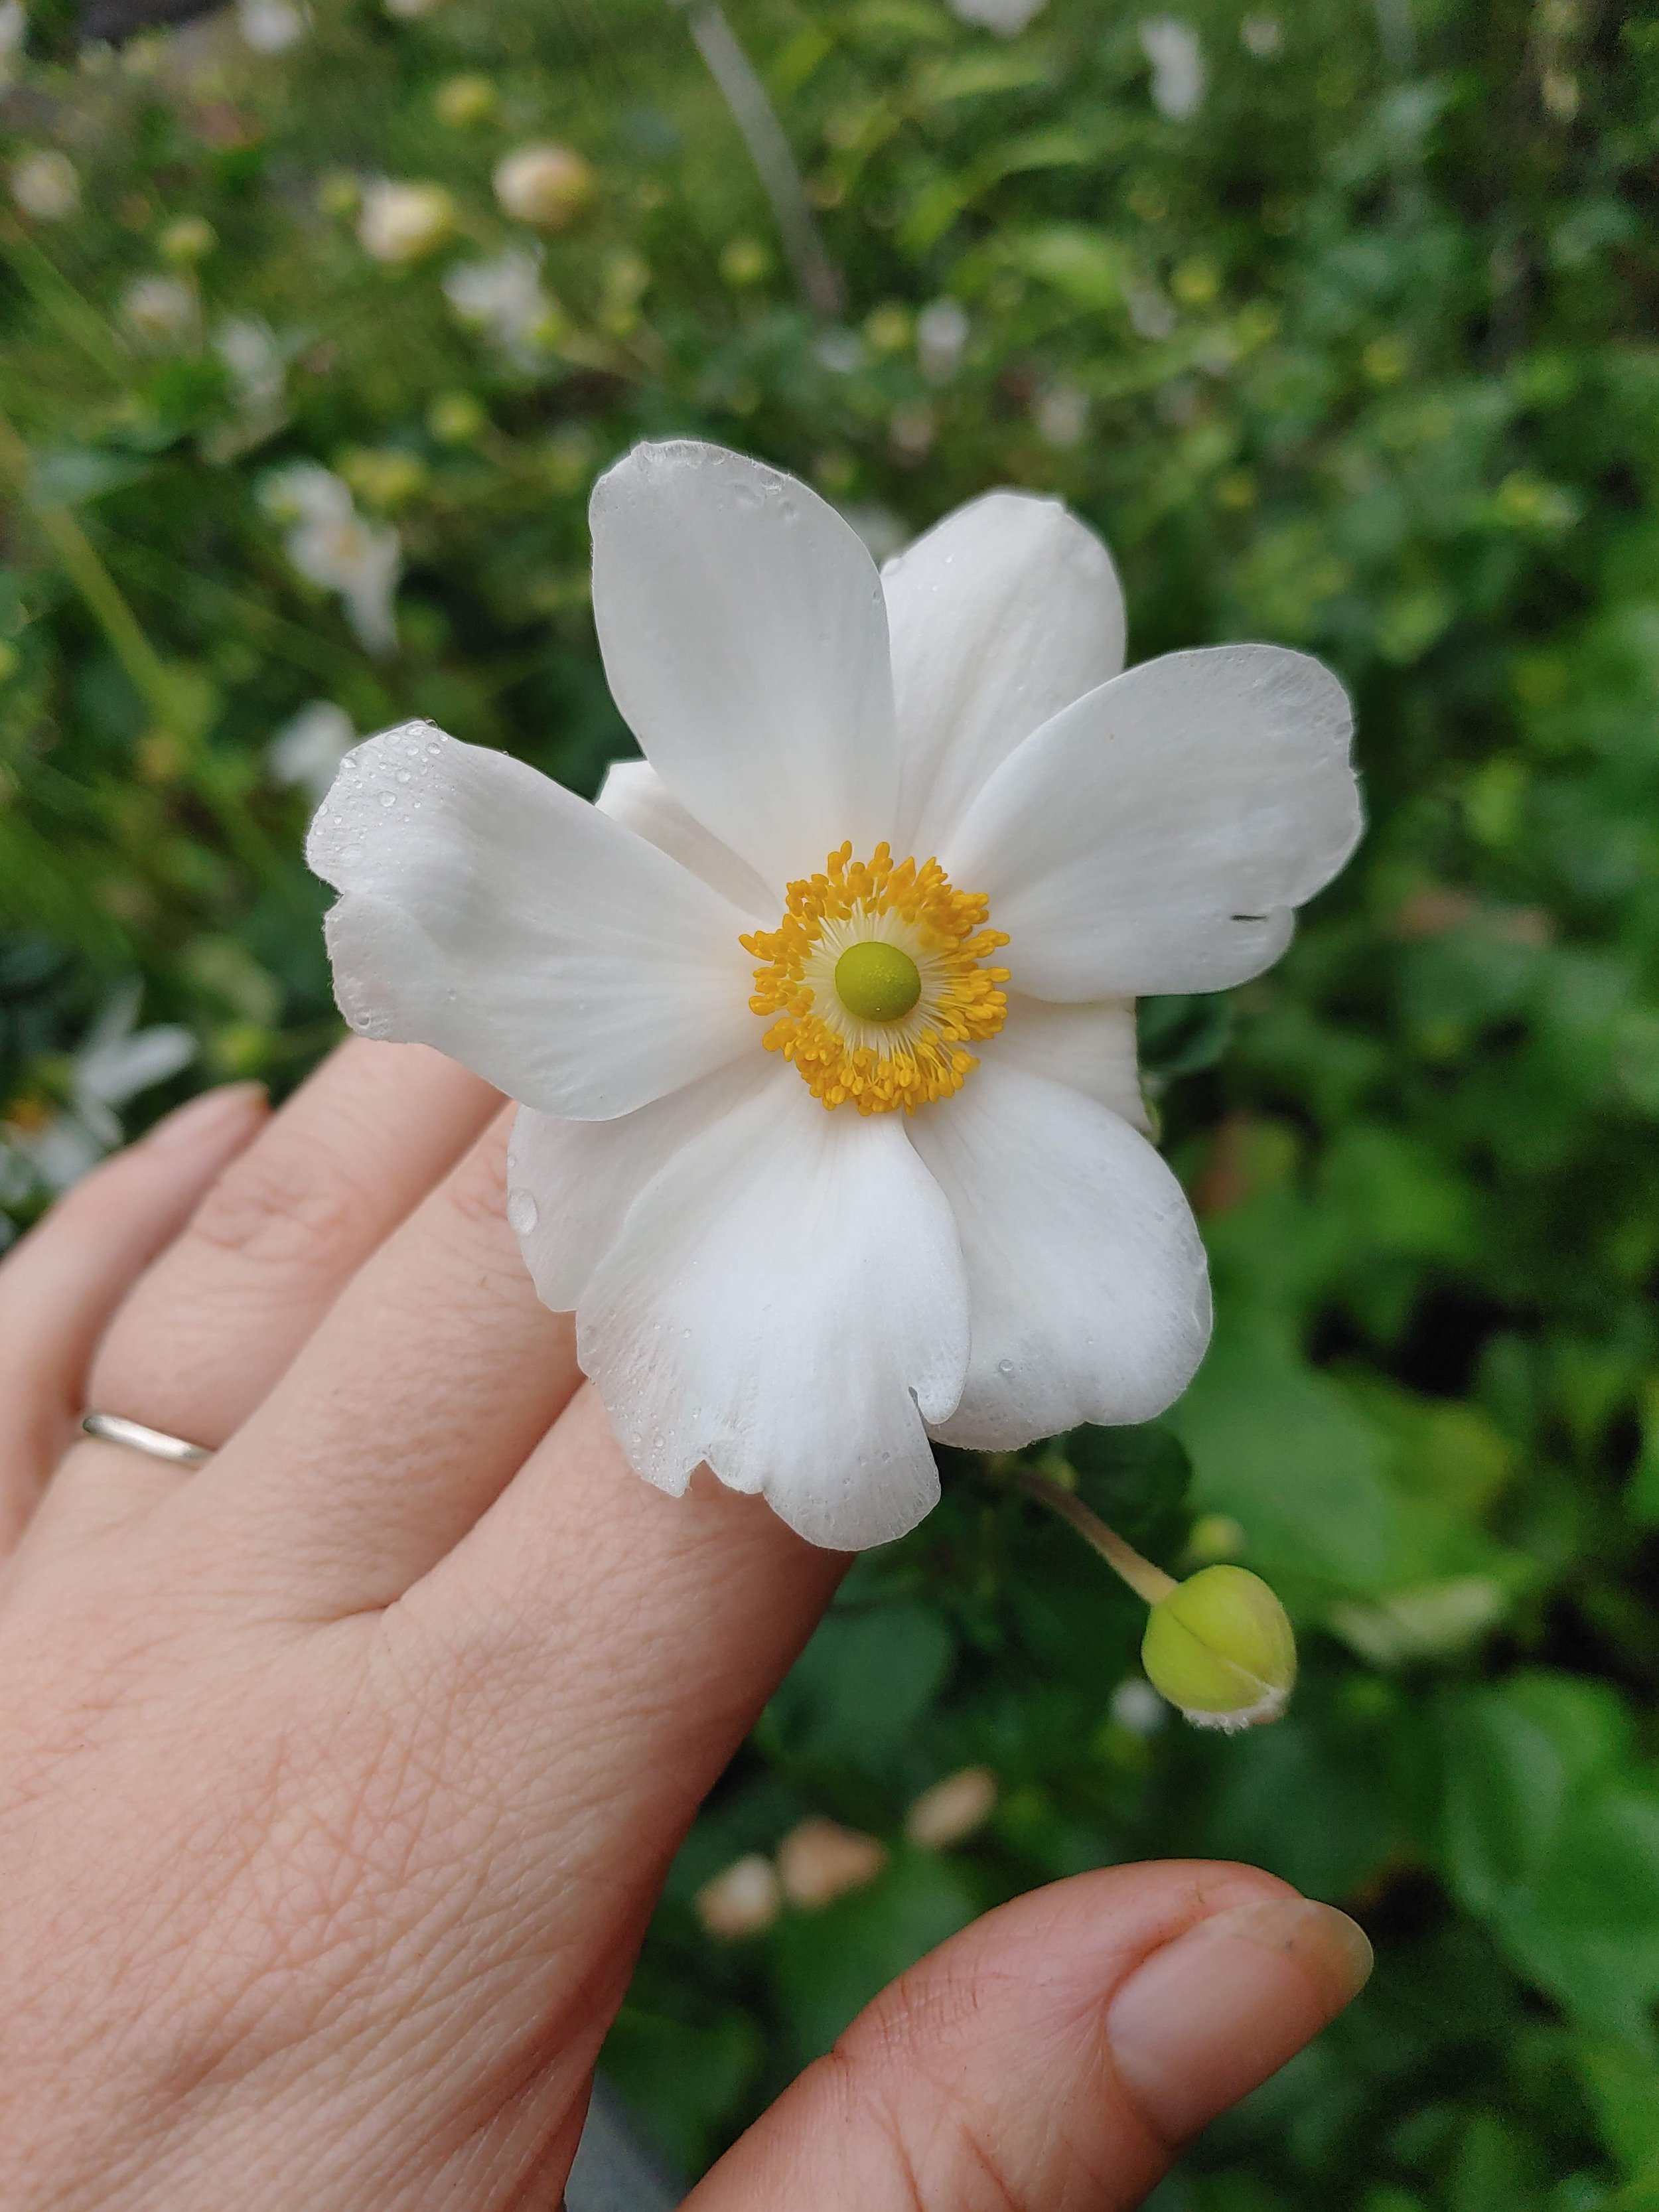
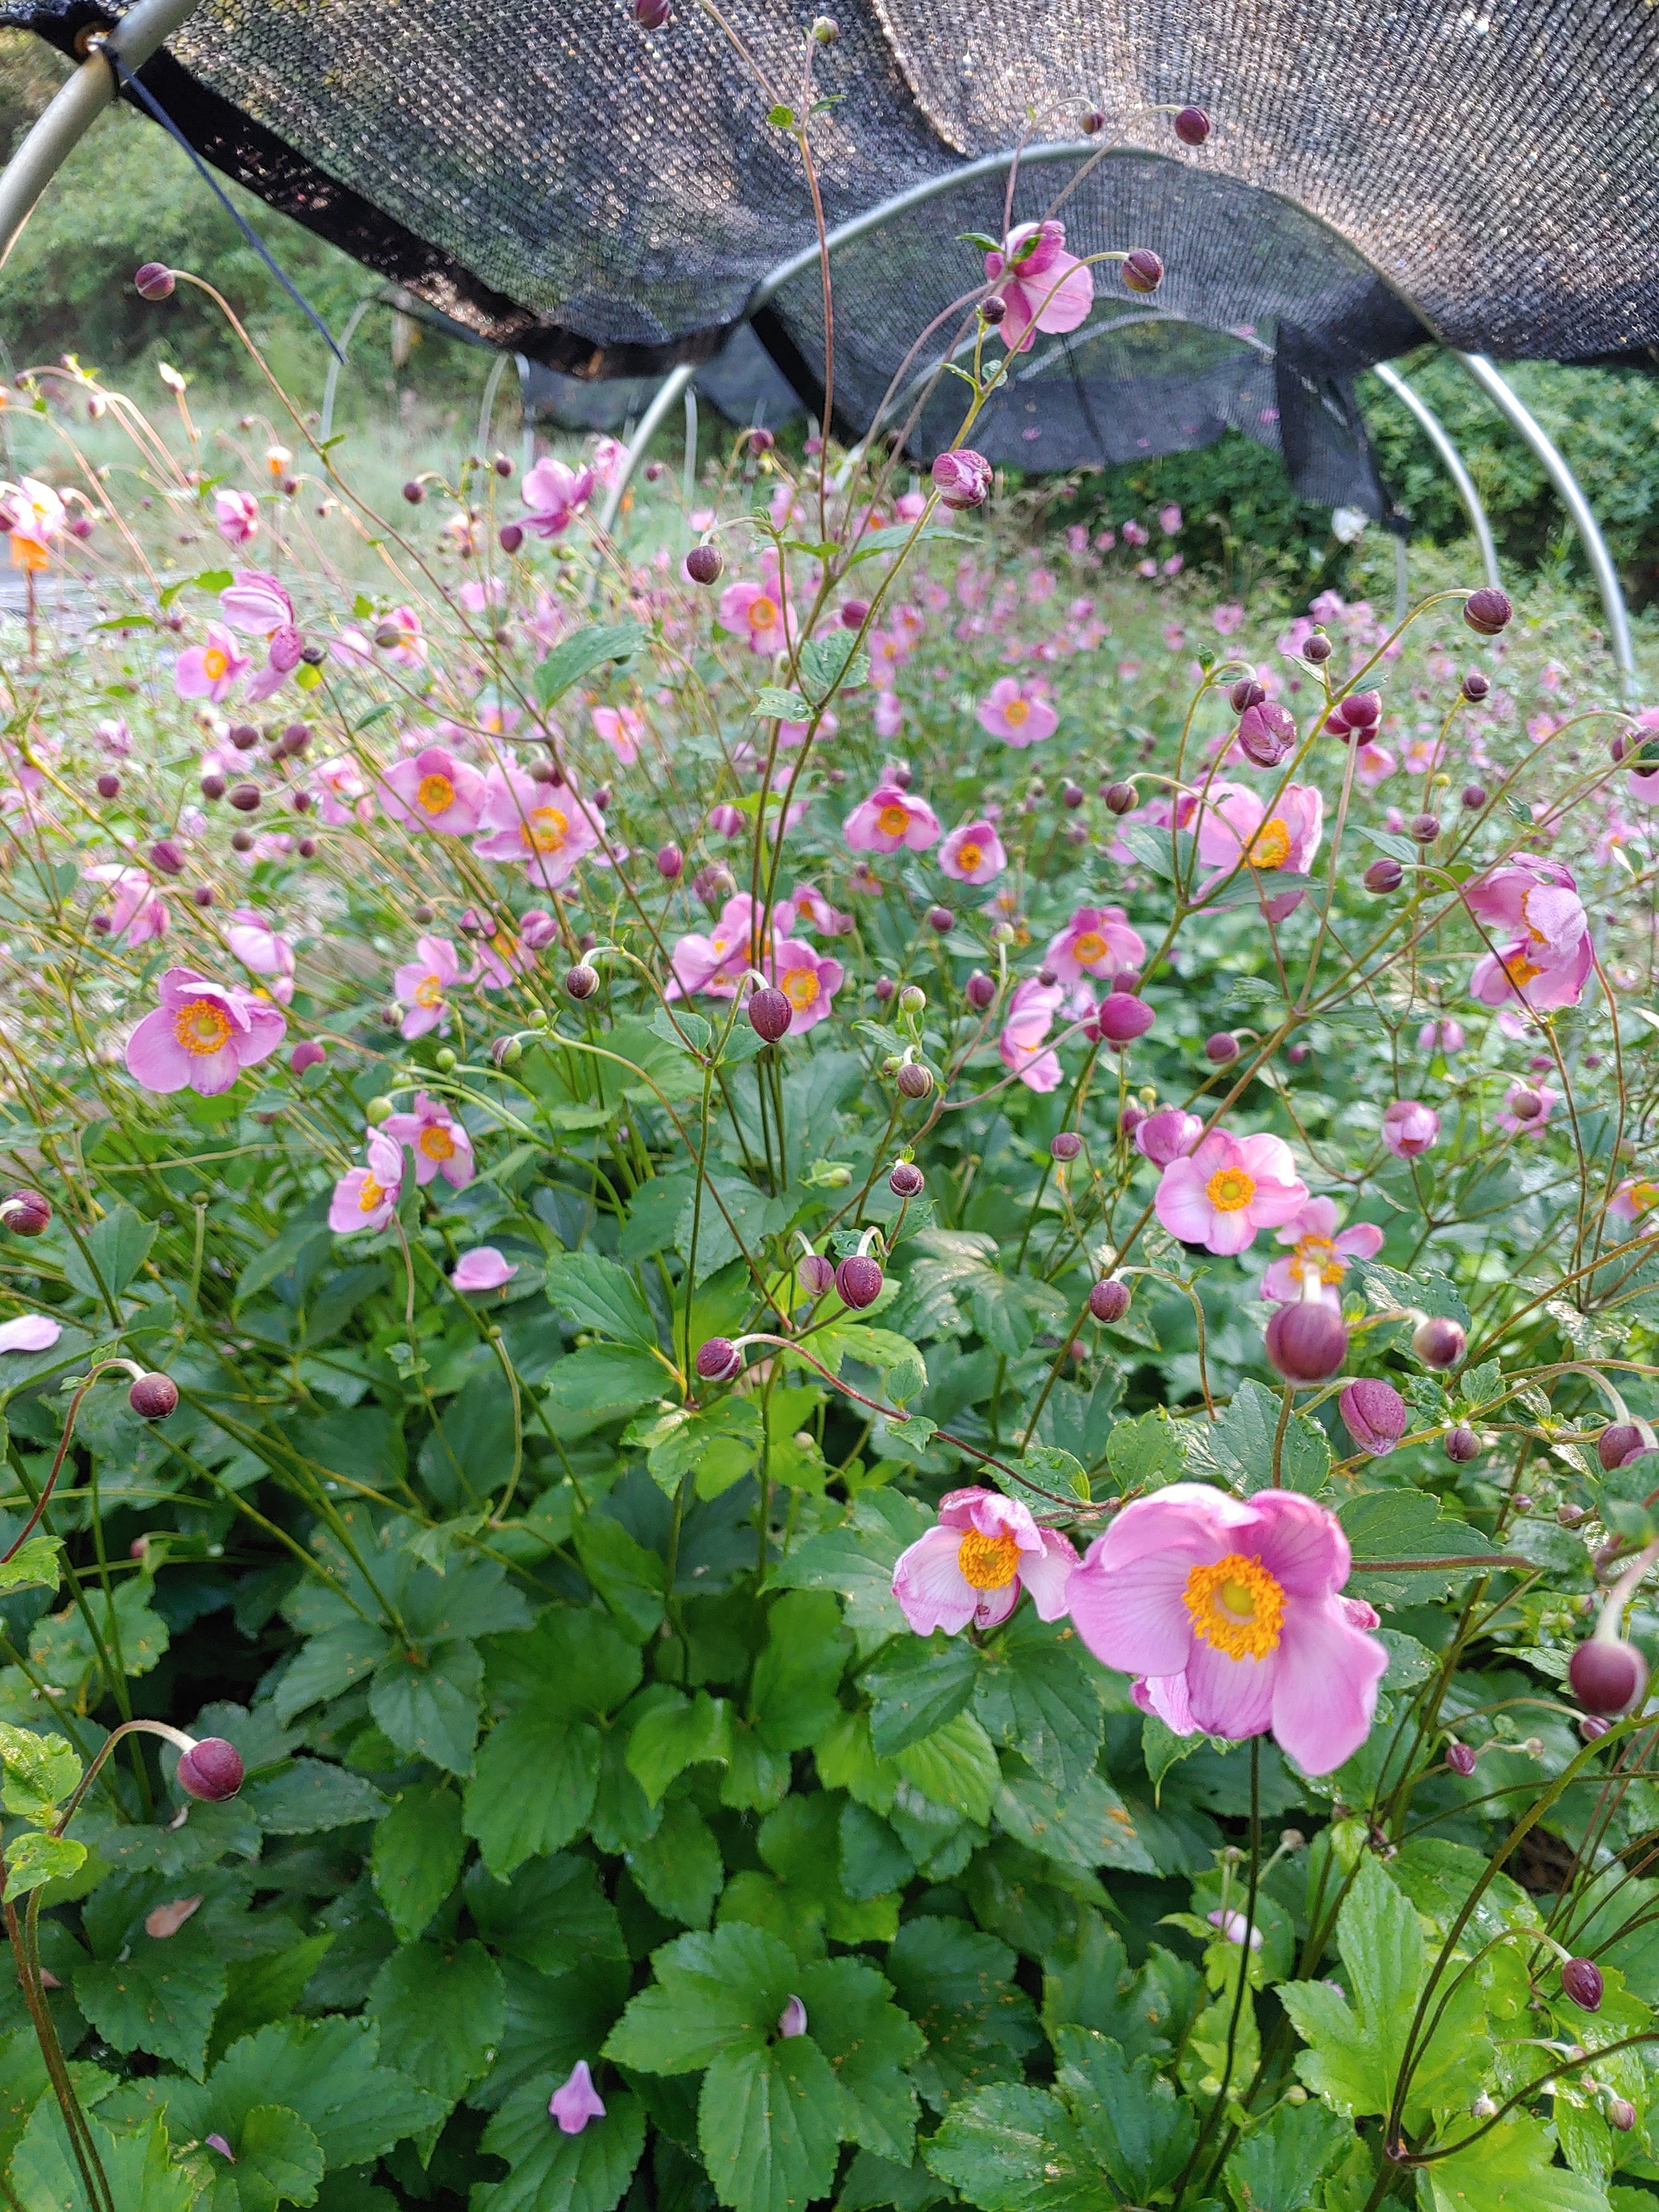
Sedum and Japanese Anemones are two of the most common autumn perennial choices but they are actually two of my favorites because they are so easy to grow.
Sedum is about as close as you will get to a plant it and forget it plant- drought tolerant, rarely bothered by pests, lasts forever in an arrangement, holds up out of water for days. I grow a couple of varieties but my favorite is still Autumn Fire (the darker version of the well known Autumn Joy). Really all you are looking for with sedums is enough stem length for a bouquet— just make sure the variety is at least 20” tall and you’ll be fine. They like full sun and you can easily create more plants by dividing every few years or propagating via rooting the leaves.
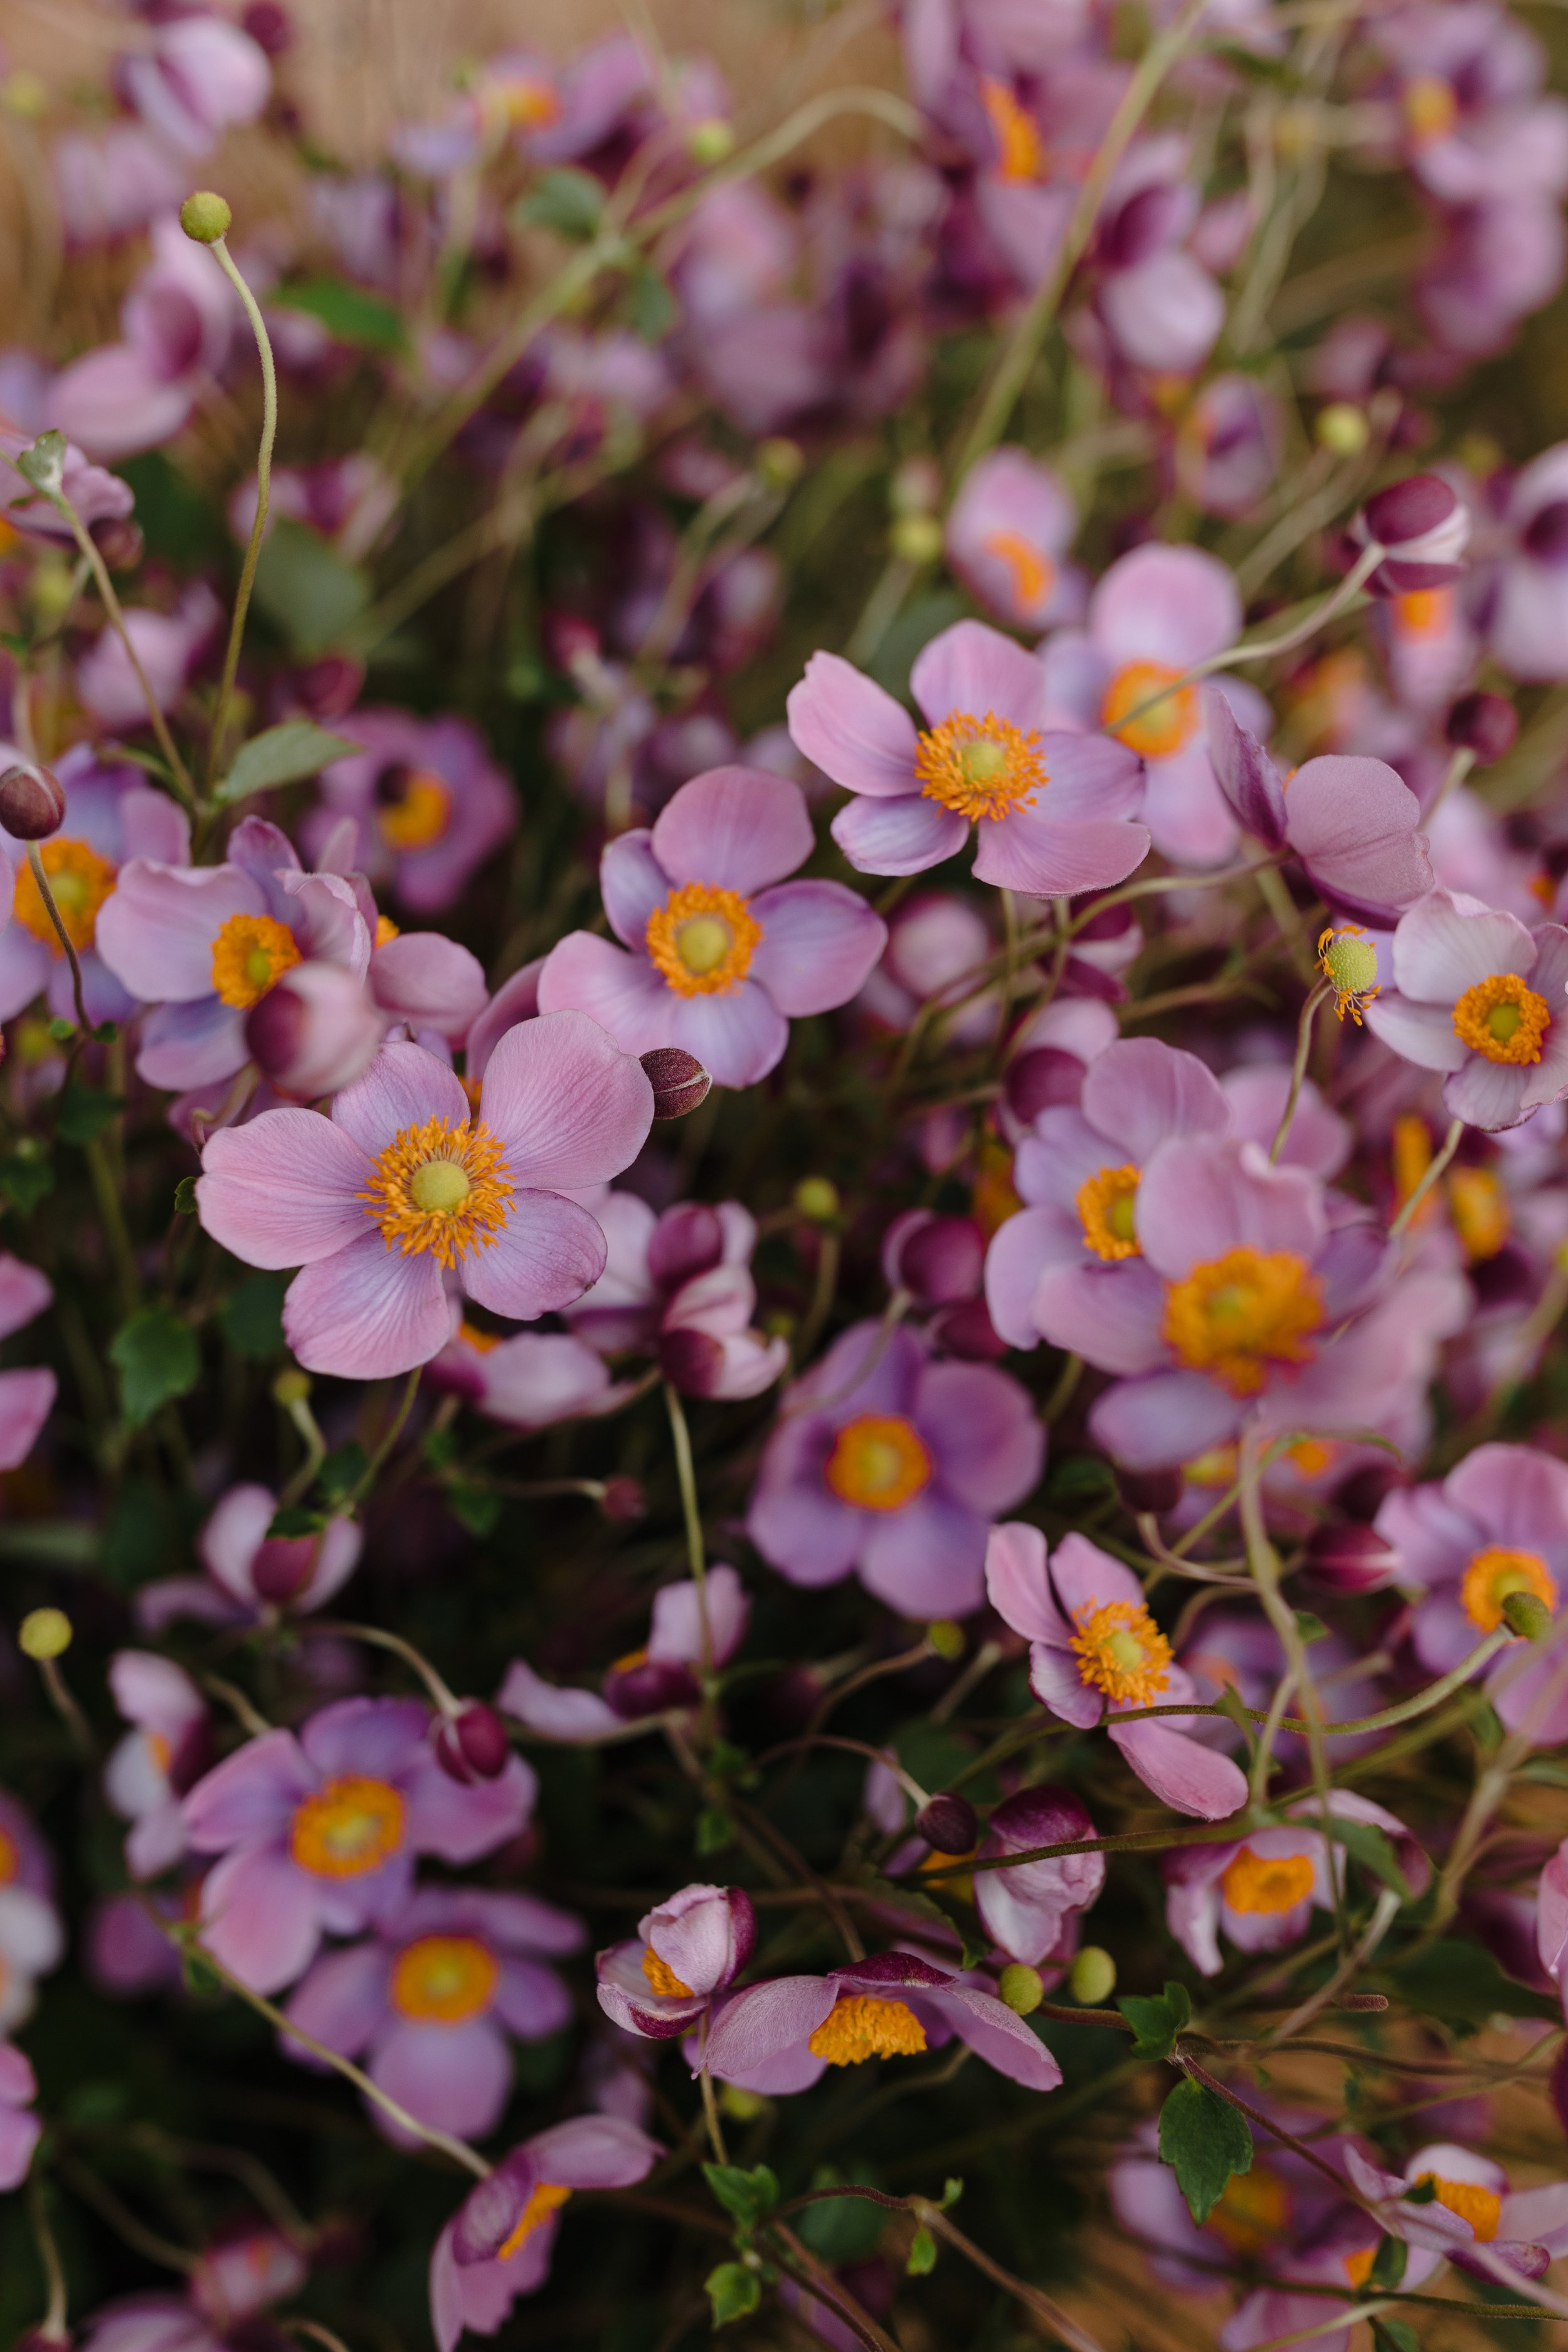
Japanese Anemones are a shade lover here in our warm climate- Partial sun. If you only have a full sun area you may get some sun scorch but as long as you give them plenty of water, they’ll still flower well. They tolerate our heavy clay soil very well- I think because the clay holds water and they prefer their roots to be cool. Once again, you want to look for varieties with a taller stem length- 22” minimum. There are single and double varieties in whites and various shades of pink. They are a bit shorter in vase life - harvest them once the first bloom is very mature and the secondary buds have begun to open.
Now- a few things that aren’t quite as common. There are several really good shrubs that make great cuts for bouquets and bloom/berry in the fall.
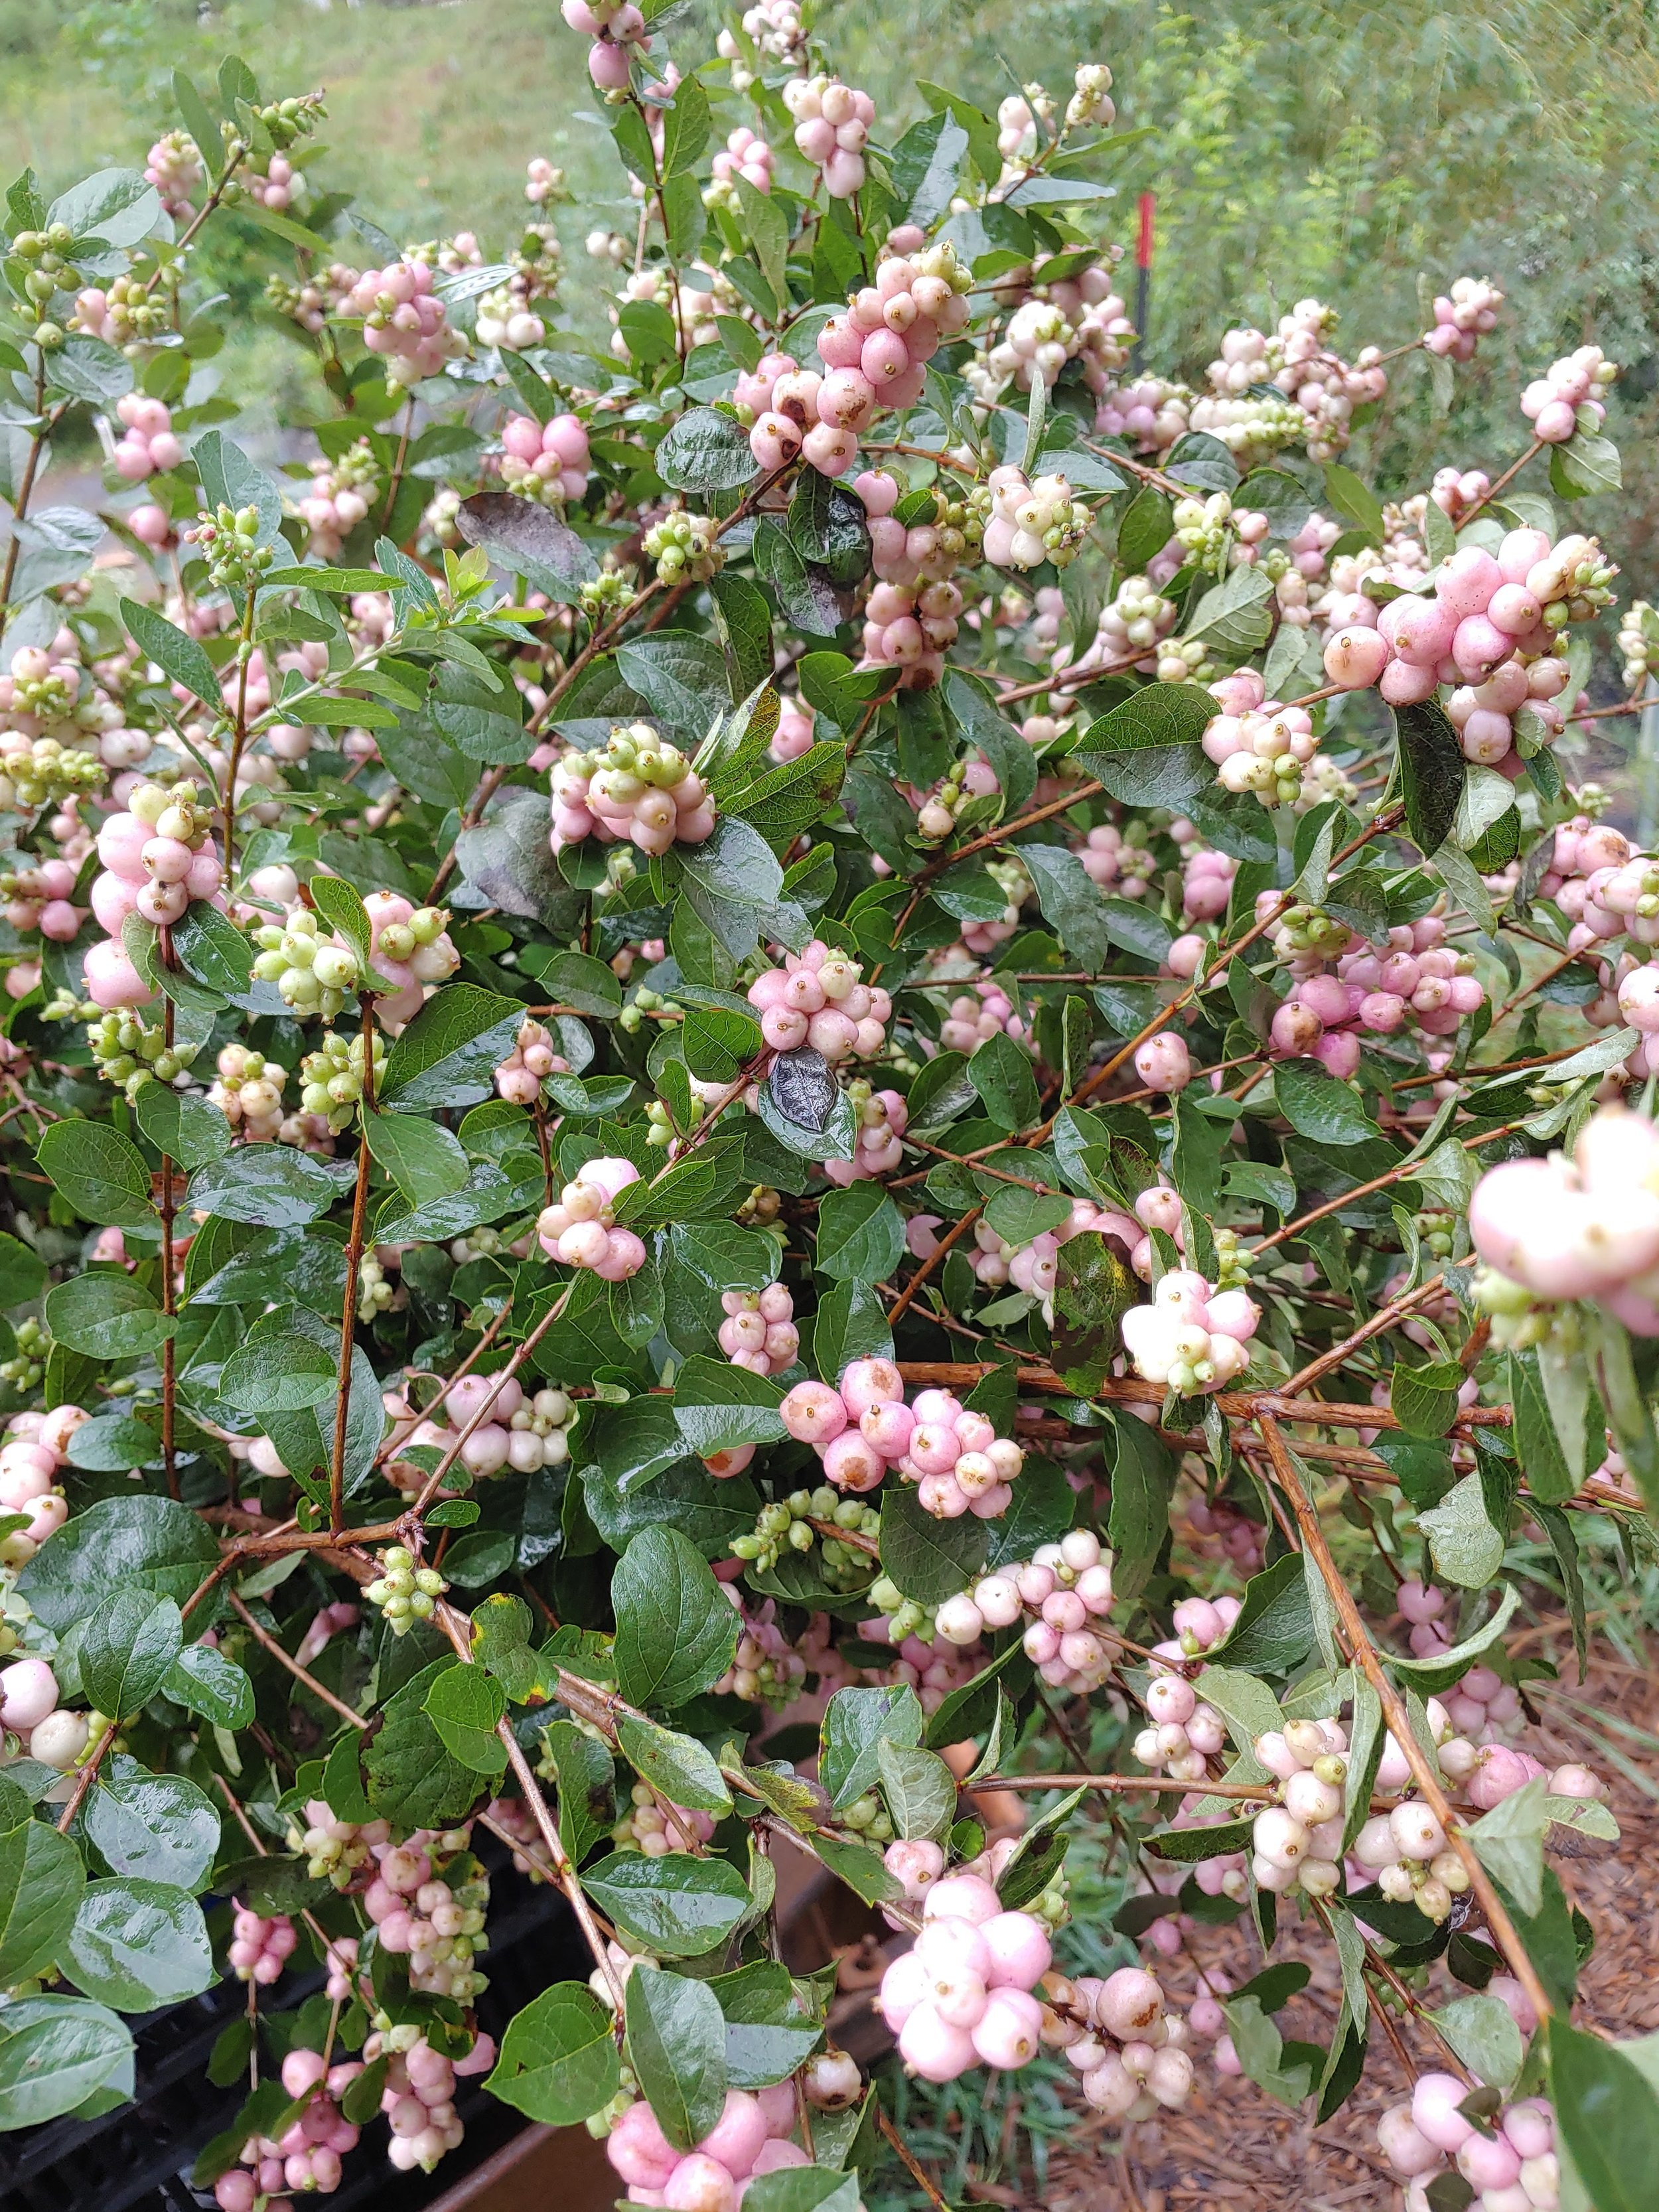
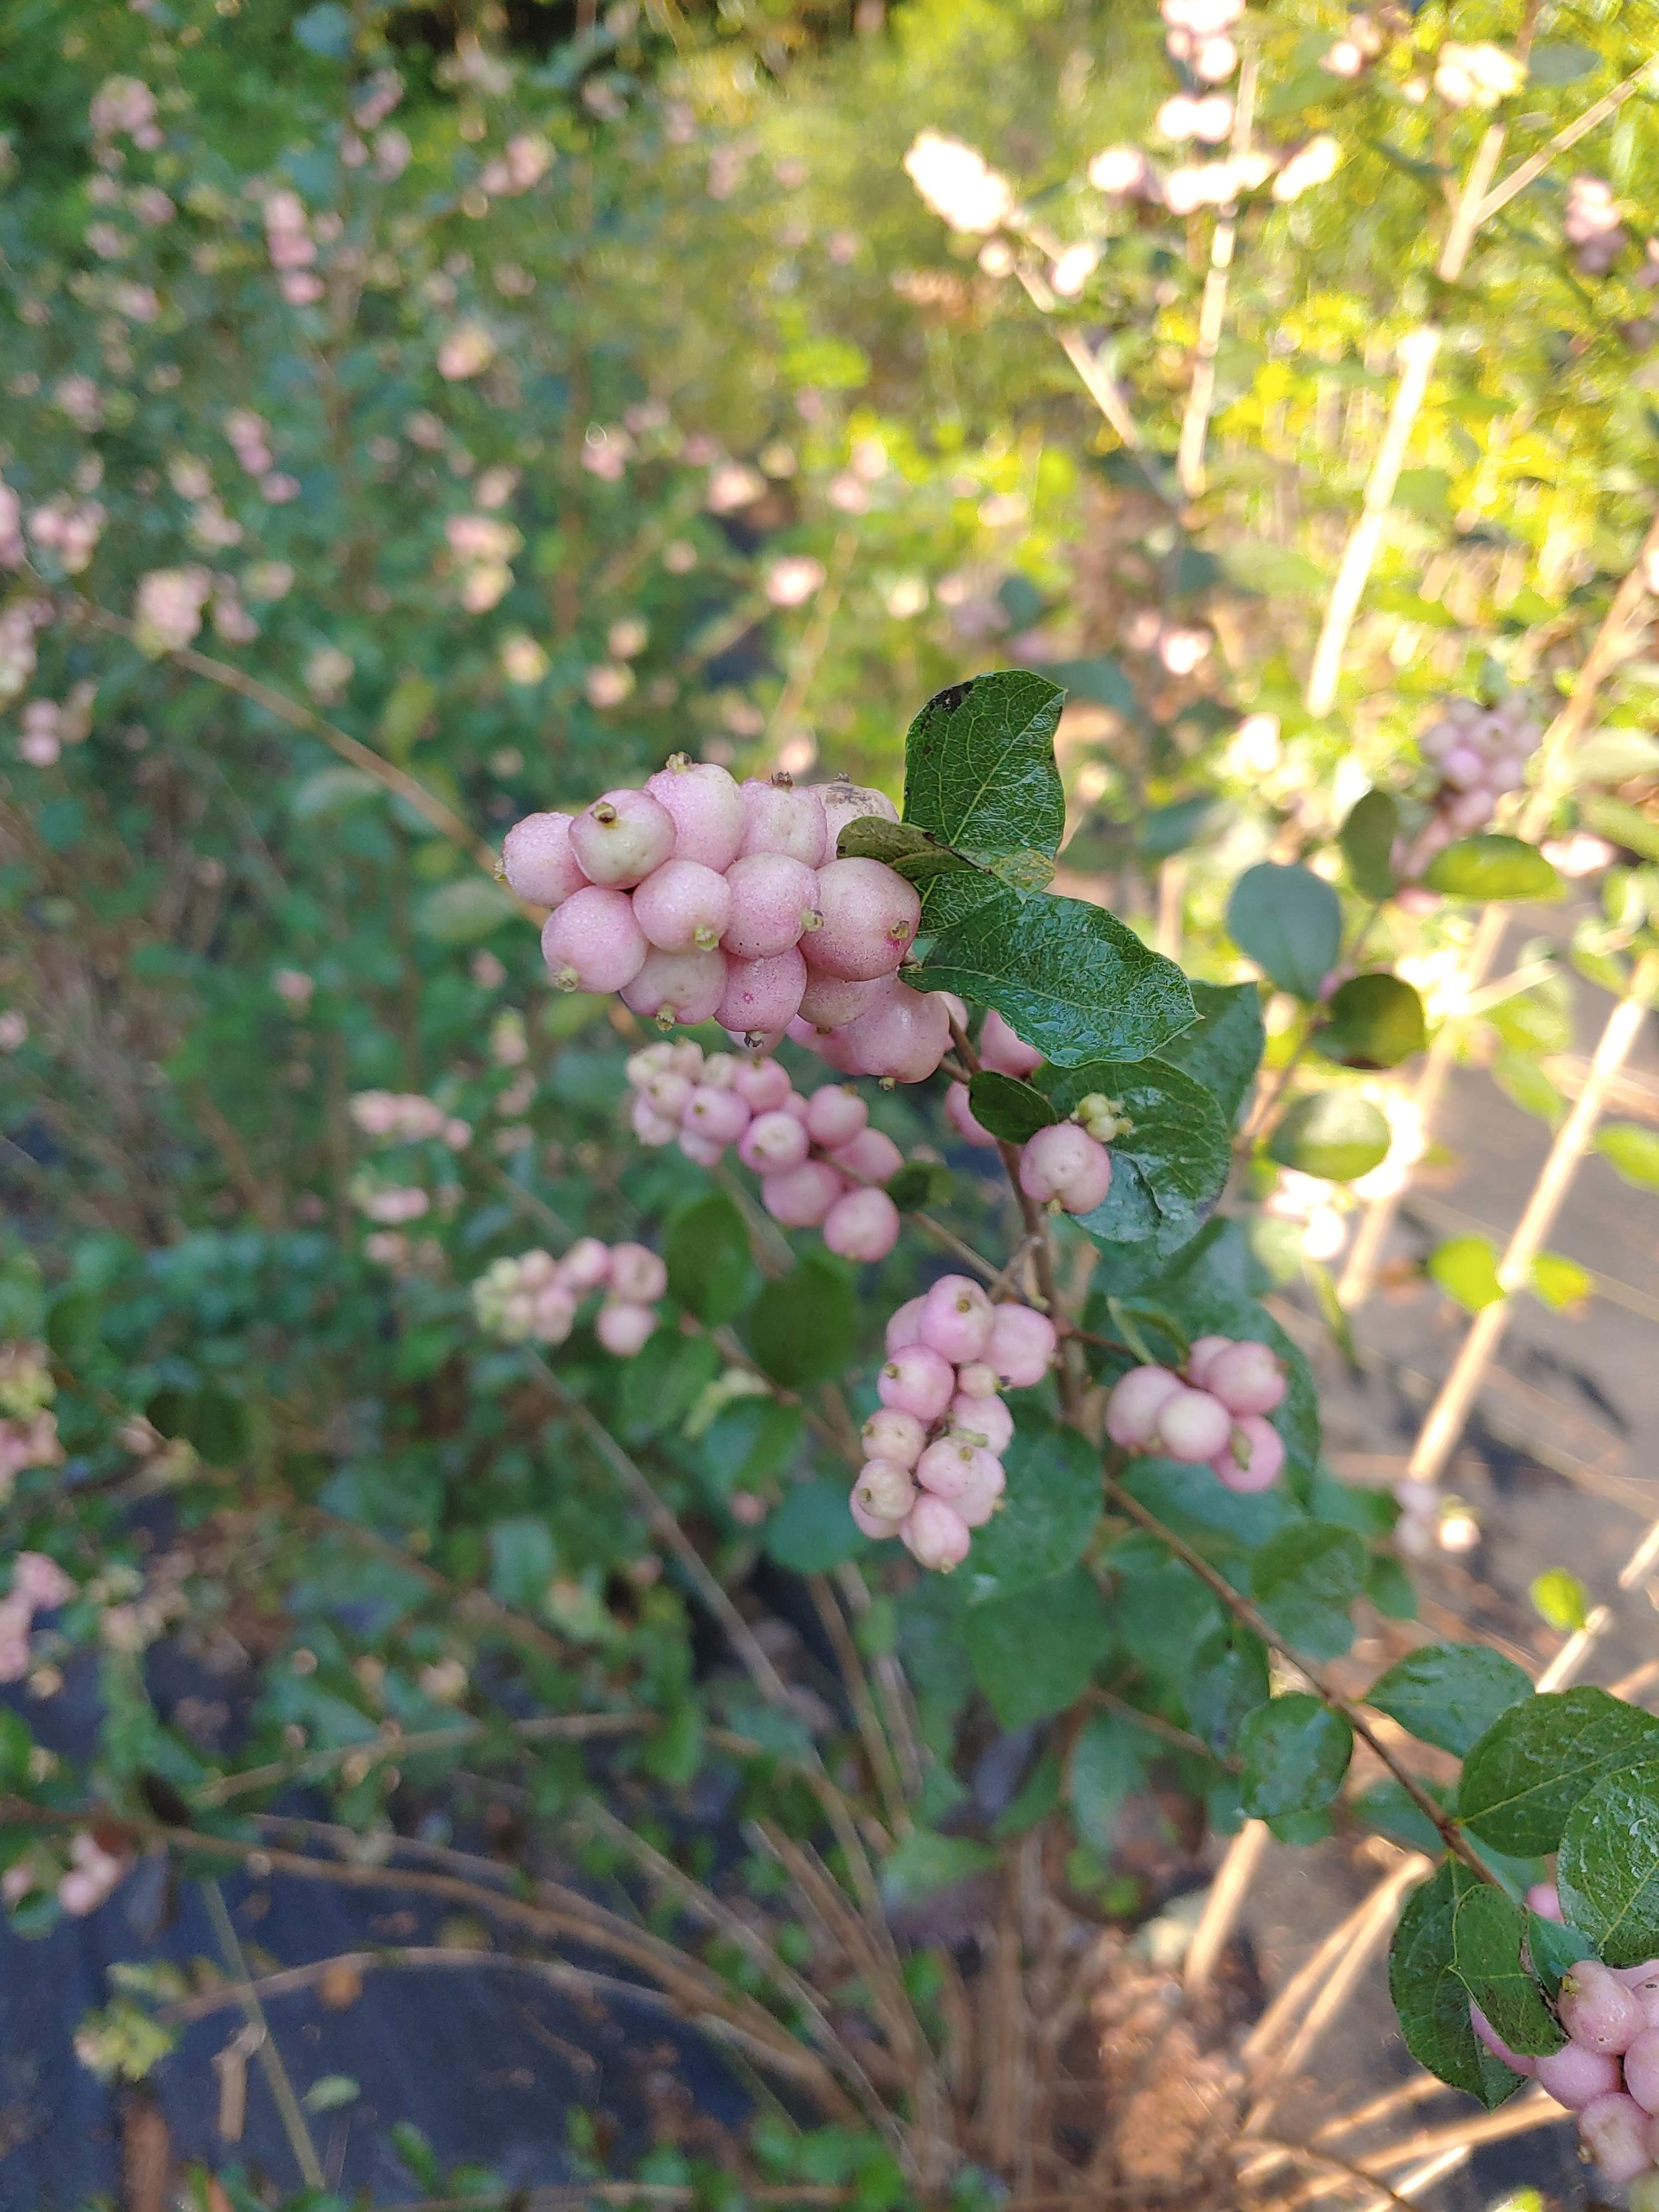
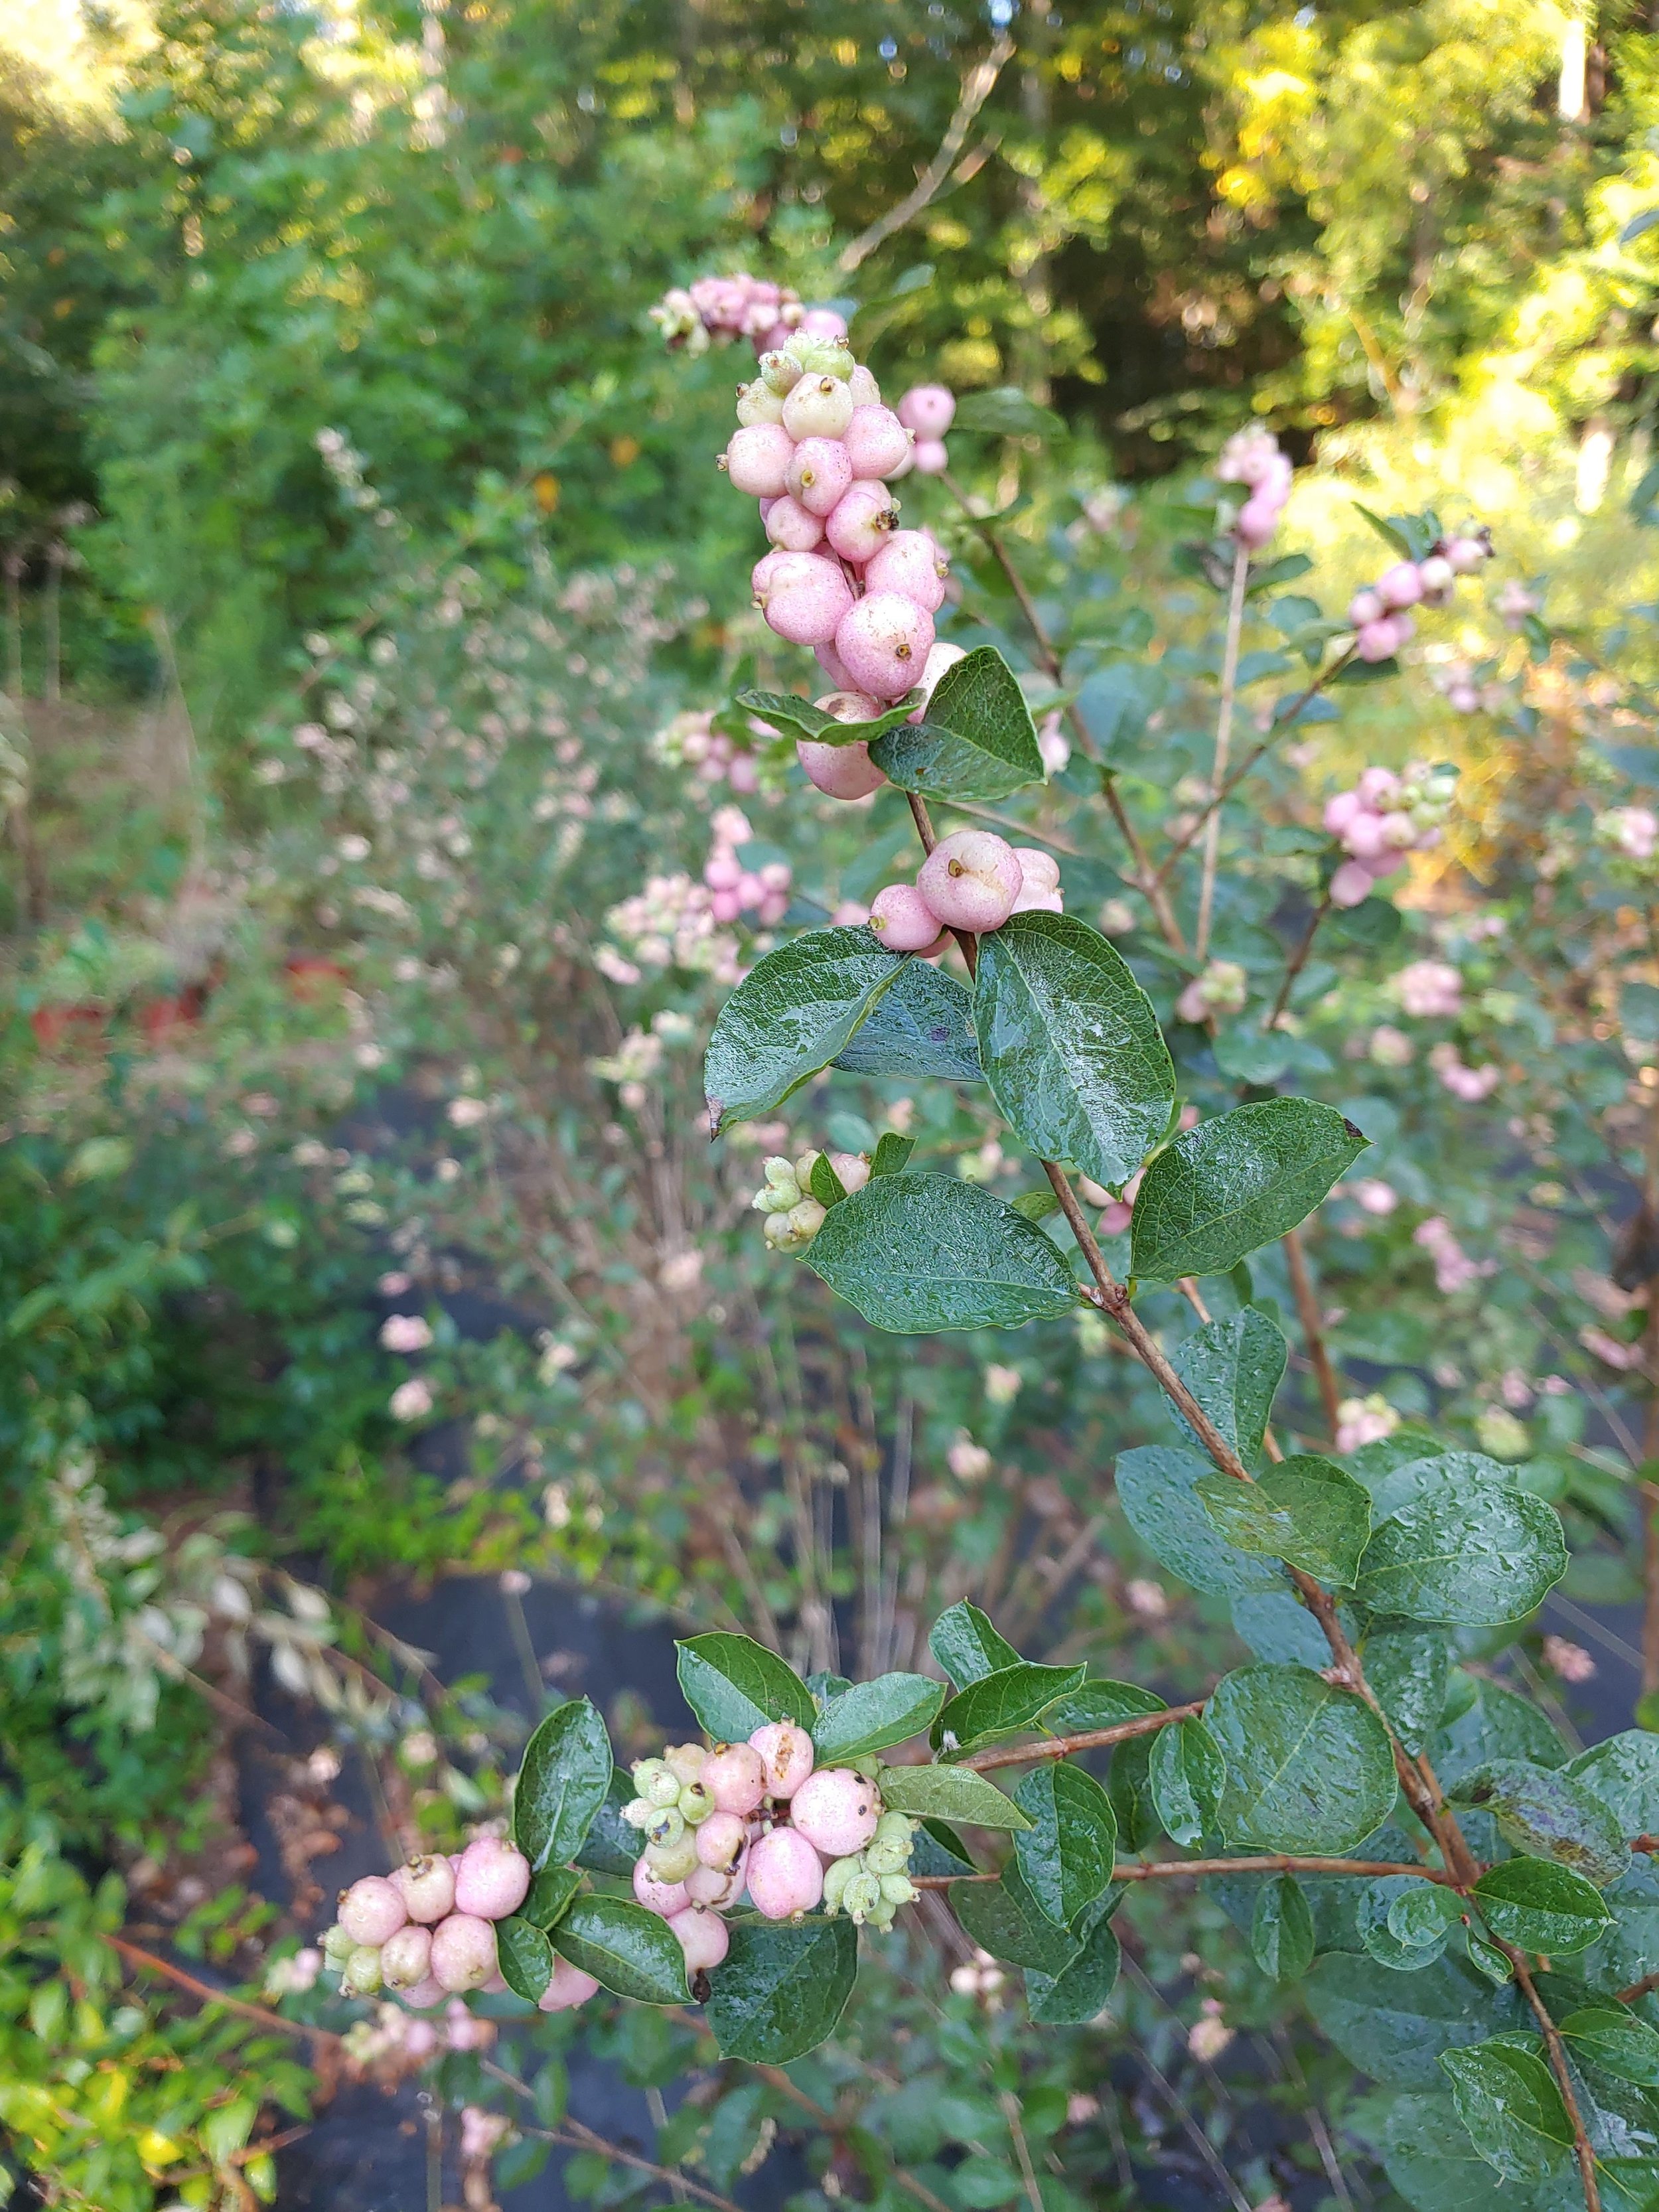
Snowberry is a new favorite for me. I had my first snowberry crop last year and I loved it. I’d plant 100 more bushes if I had room. Snowberries are a medium sized shrub that come in white and shades of pink. They flower in early summer and then those flowers fall off and begin to produce berries. They start off green and then turn either white or pink depending on variety. In my climate (7b), they are harvestable in September. This shrub is easy to grow, I was able to get a small harvest on my second year (I planted 2 year old plants) and deer don’t bother these!
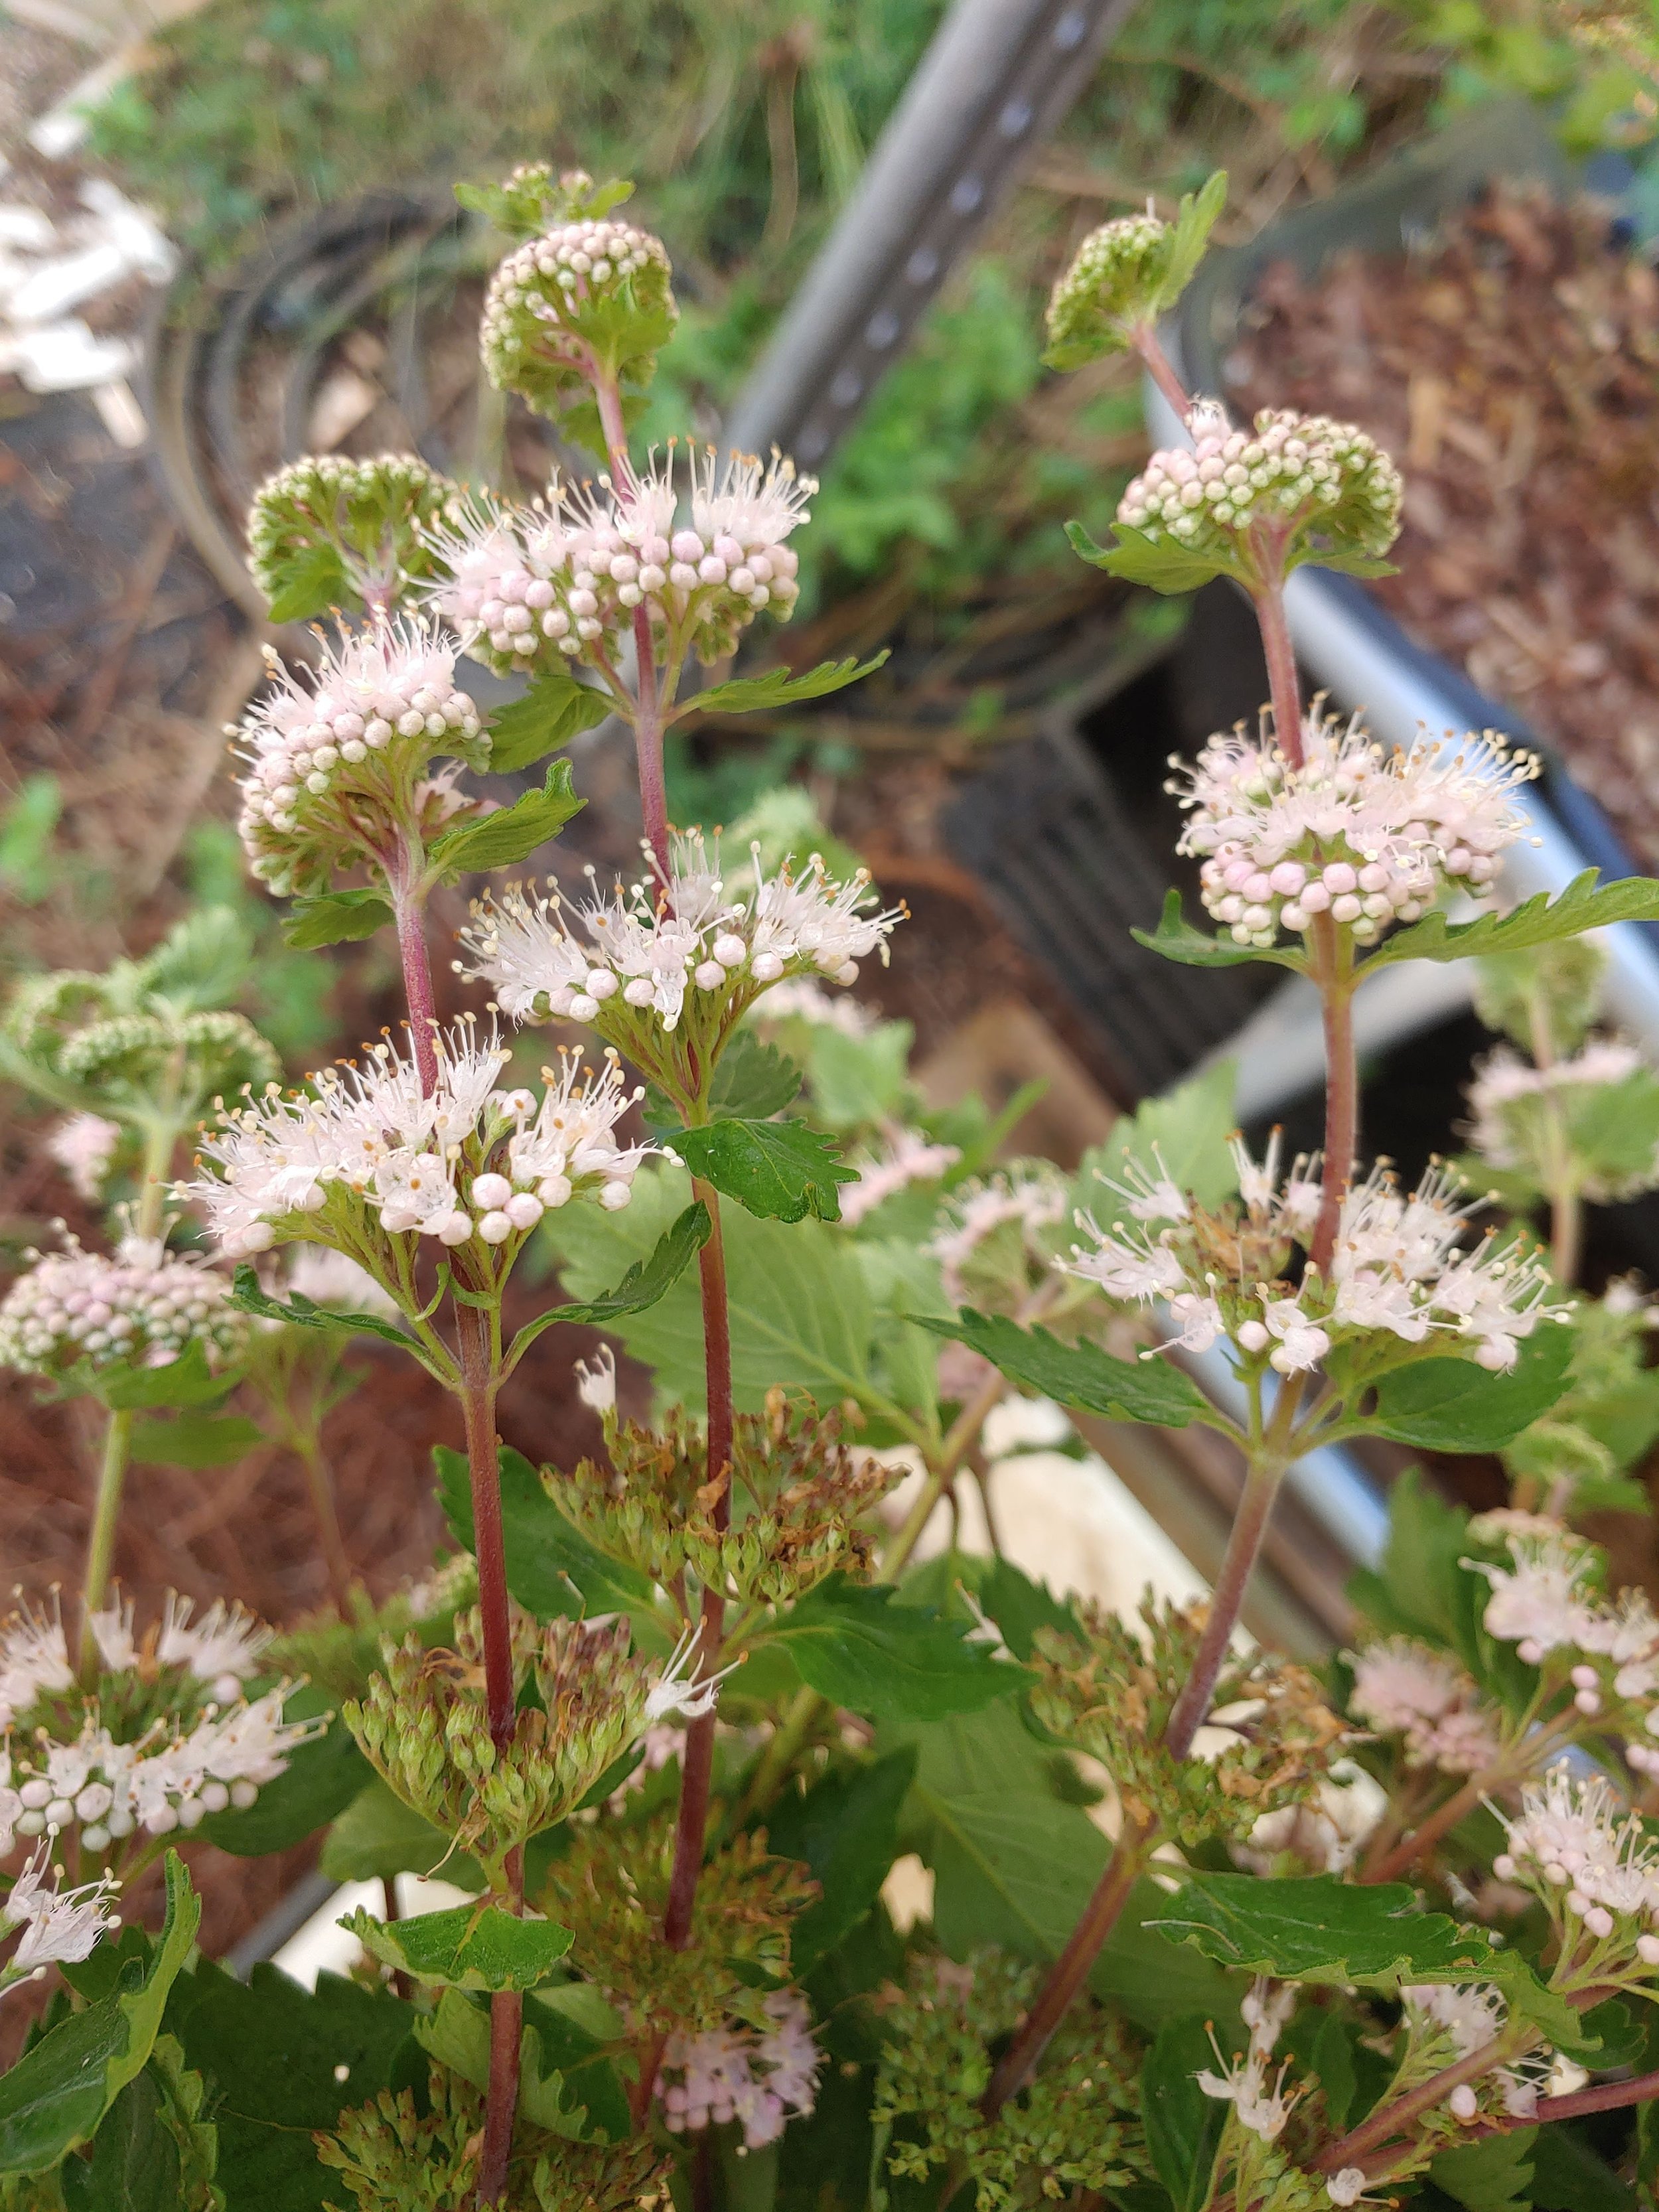
Caryopteris- You’ve heard of this one I’m sure— but have you seen the new colors available? For years, caryopteris has been out there in various shades of blue/purple. But now there are white and pink versions available and even some lighter blues. Some of these new varieties are shorter so you definitely need to check flowering plant height before you buy. I grew Caryopteris Pagoda Blush two years ago and loved it! I was warned beforehand that it’s cold tolerance for our climate was marginal. And - that came true when we hit mid teens one weekend last March. So be forewarned that the newer varieties aren’t as cold hardy. But if you love blue, grab one of the older types (they are taller anyways) and add a new shrub to your garden.
Beautyberry is another great fall shrub. I can’t speak on growing it yet because we are just adding it this year.
Dusty Miller- We definitely need a perennial foliage. Dusty works great in spring and fall in my hot climate, hates the summer but always pulls it out by late fall. I grow mine in a hoop house because I’ve noticed far less disease issues if you keep the rain off it. Candicans is my favorite variety- this is the lacier type. But New Look is great too— more solid leaf type.

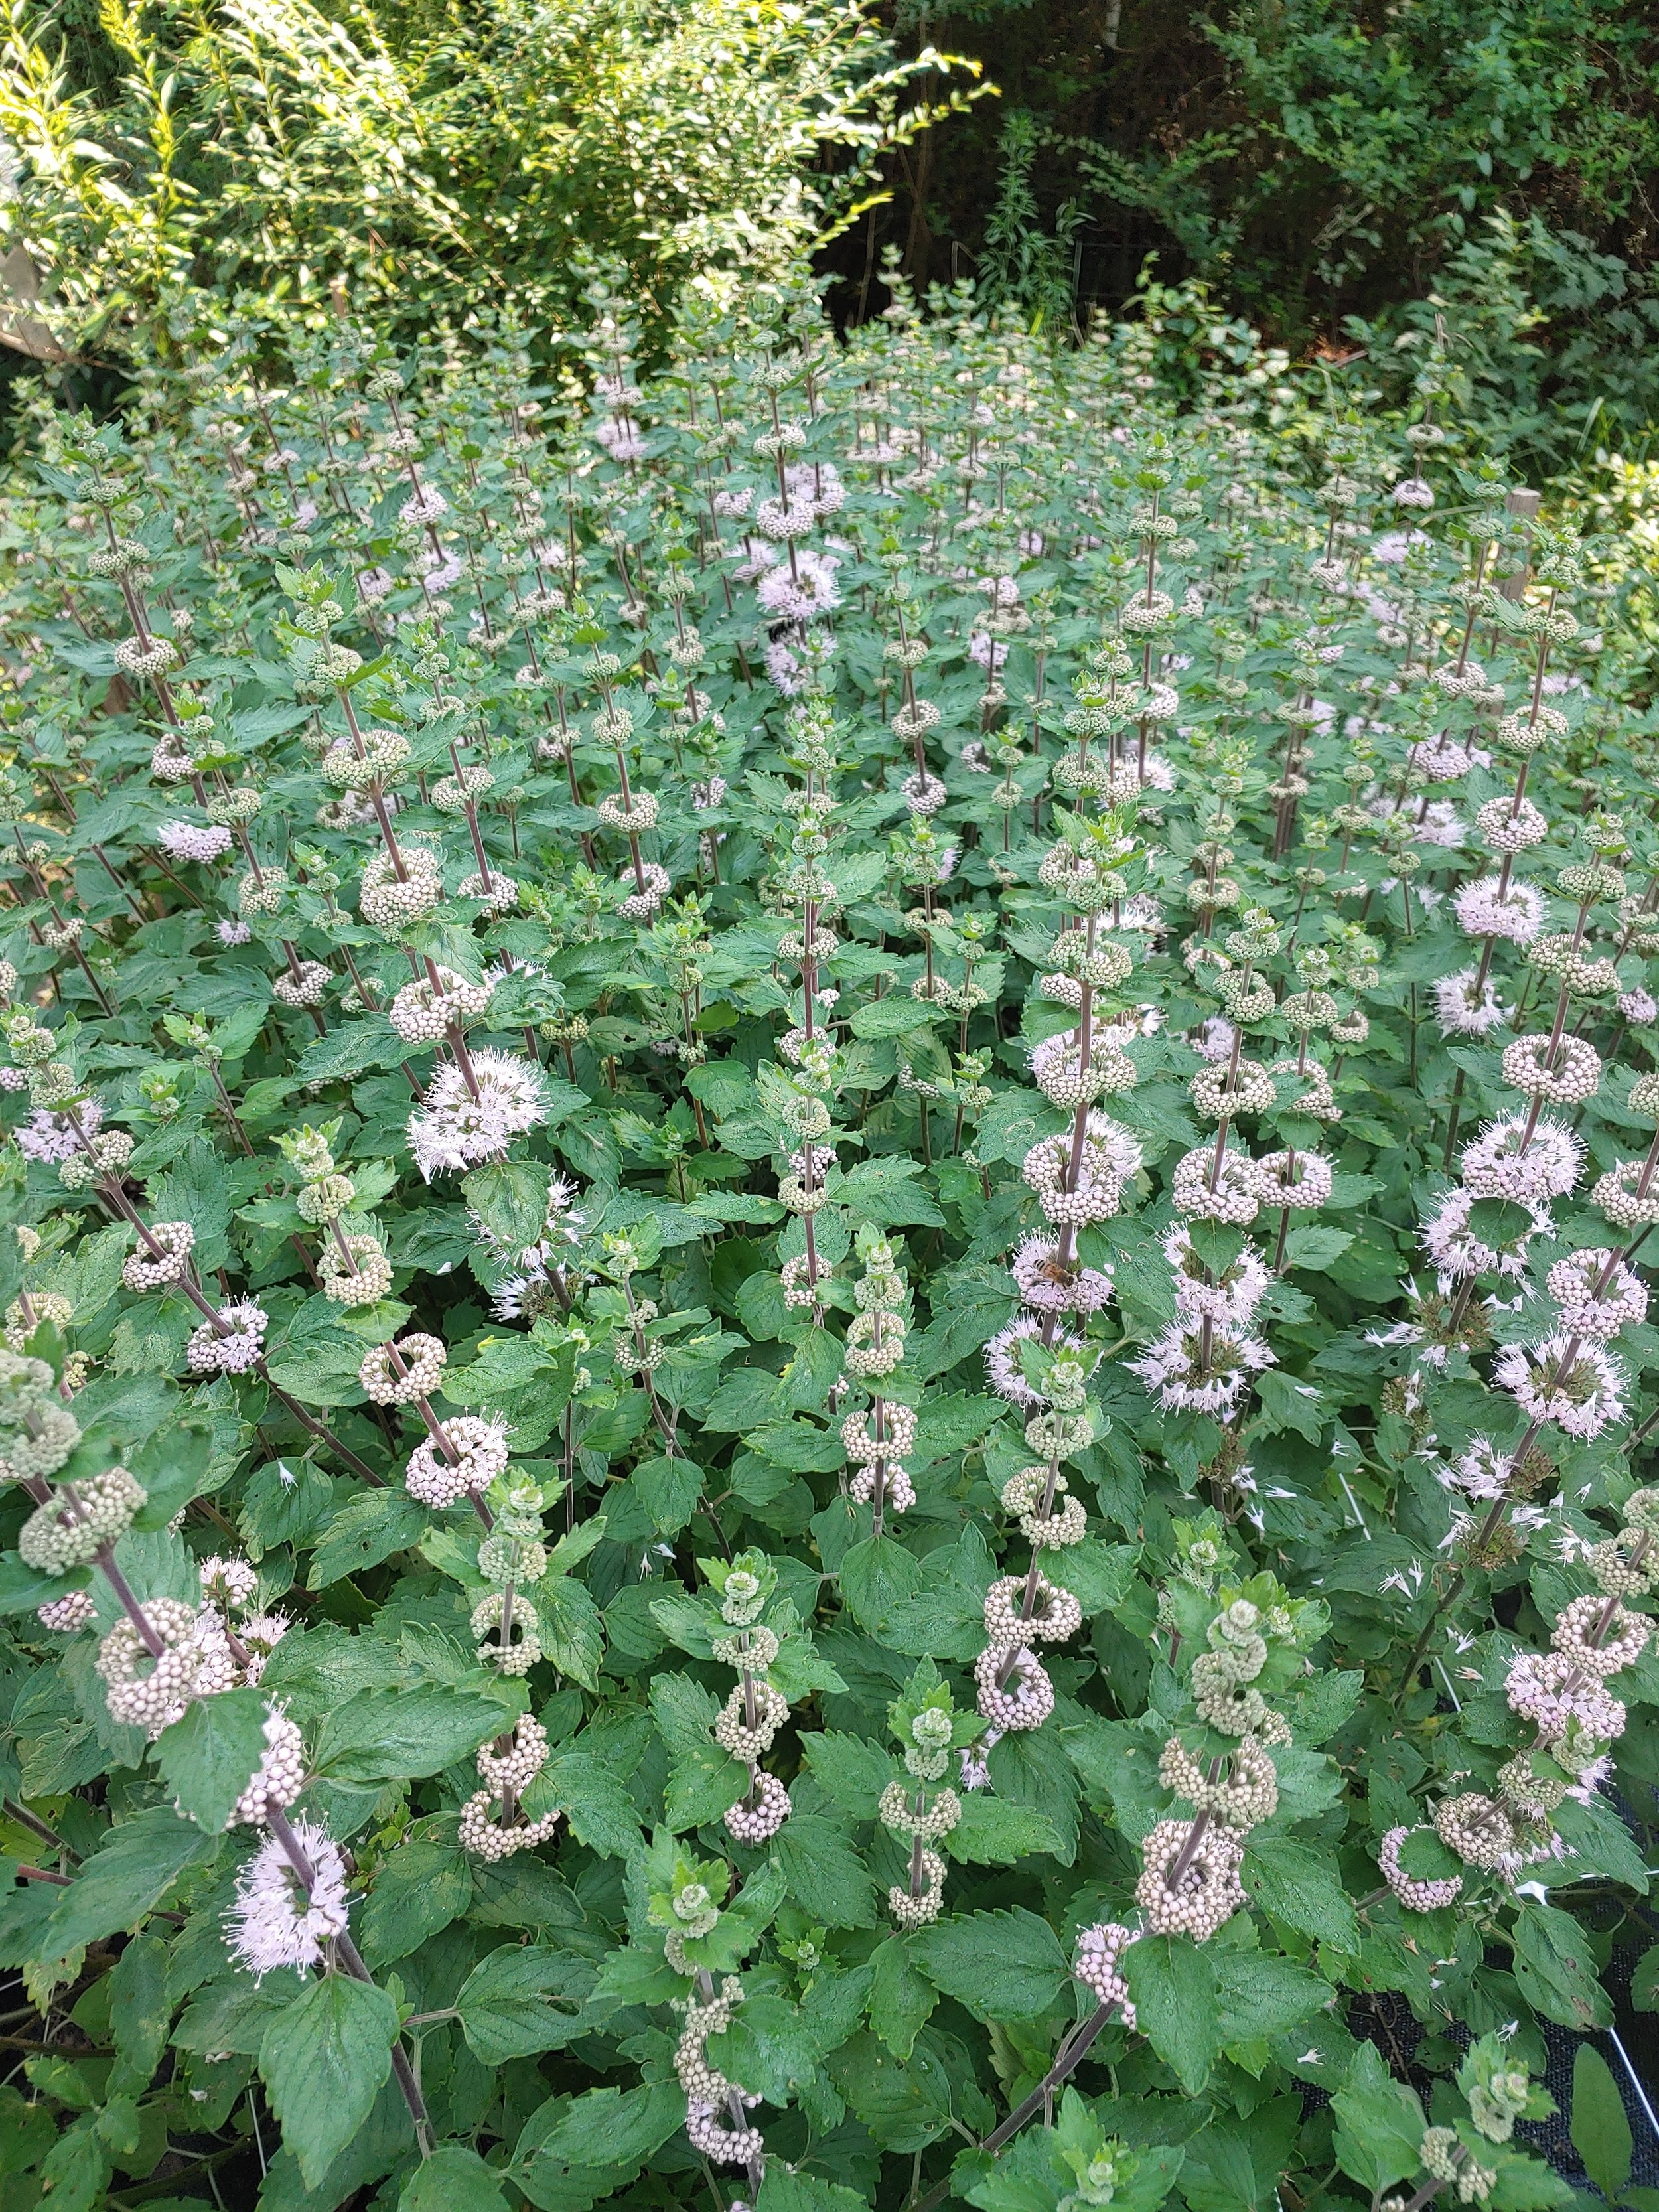
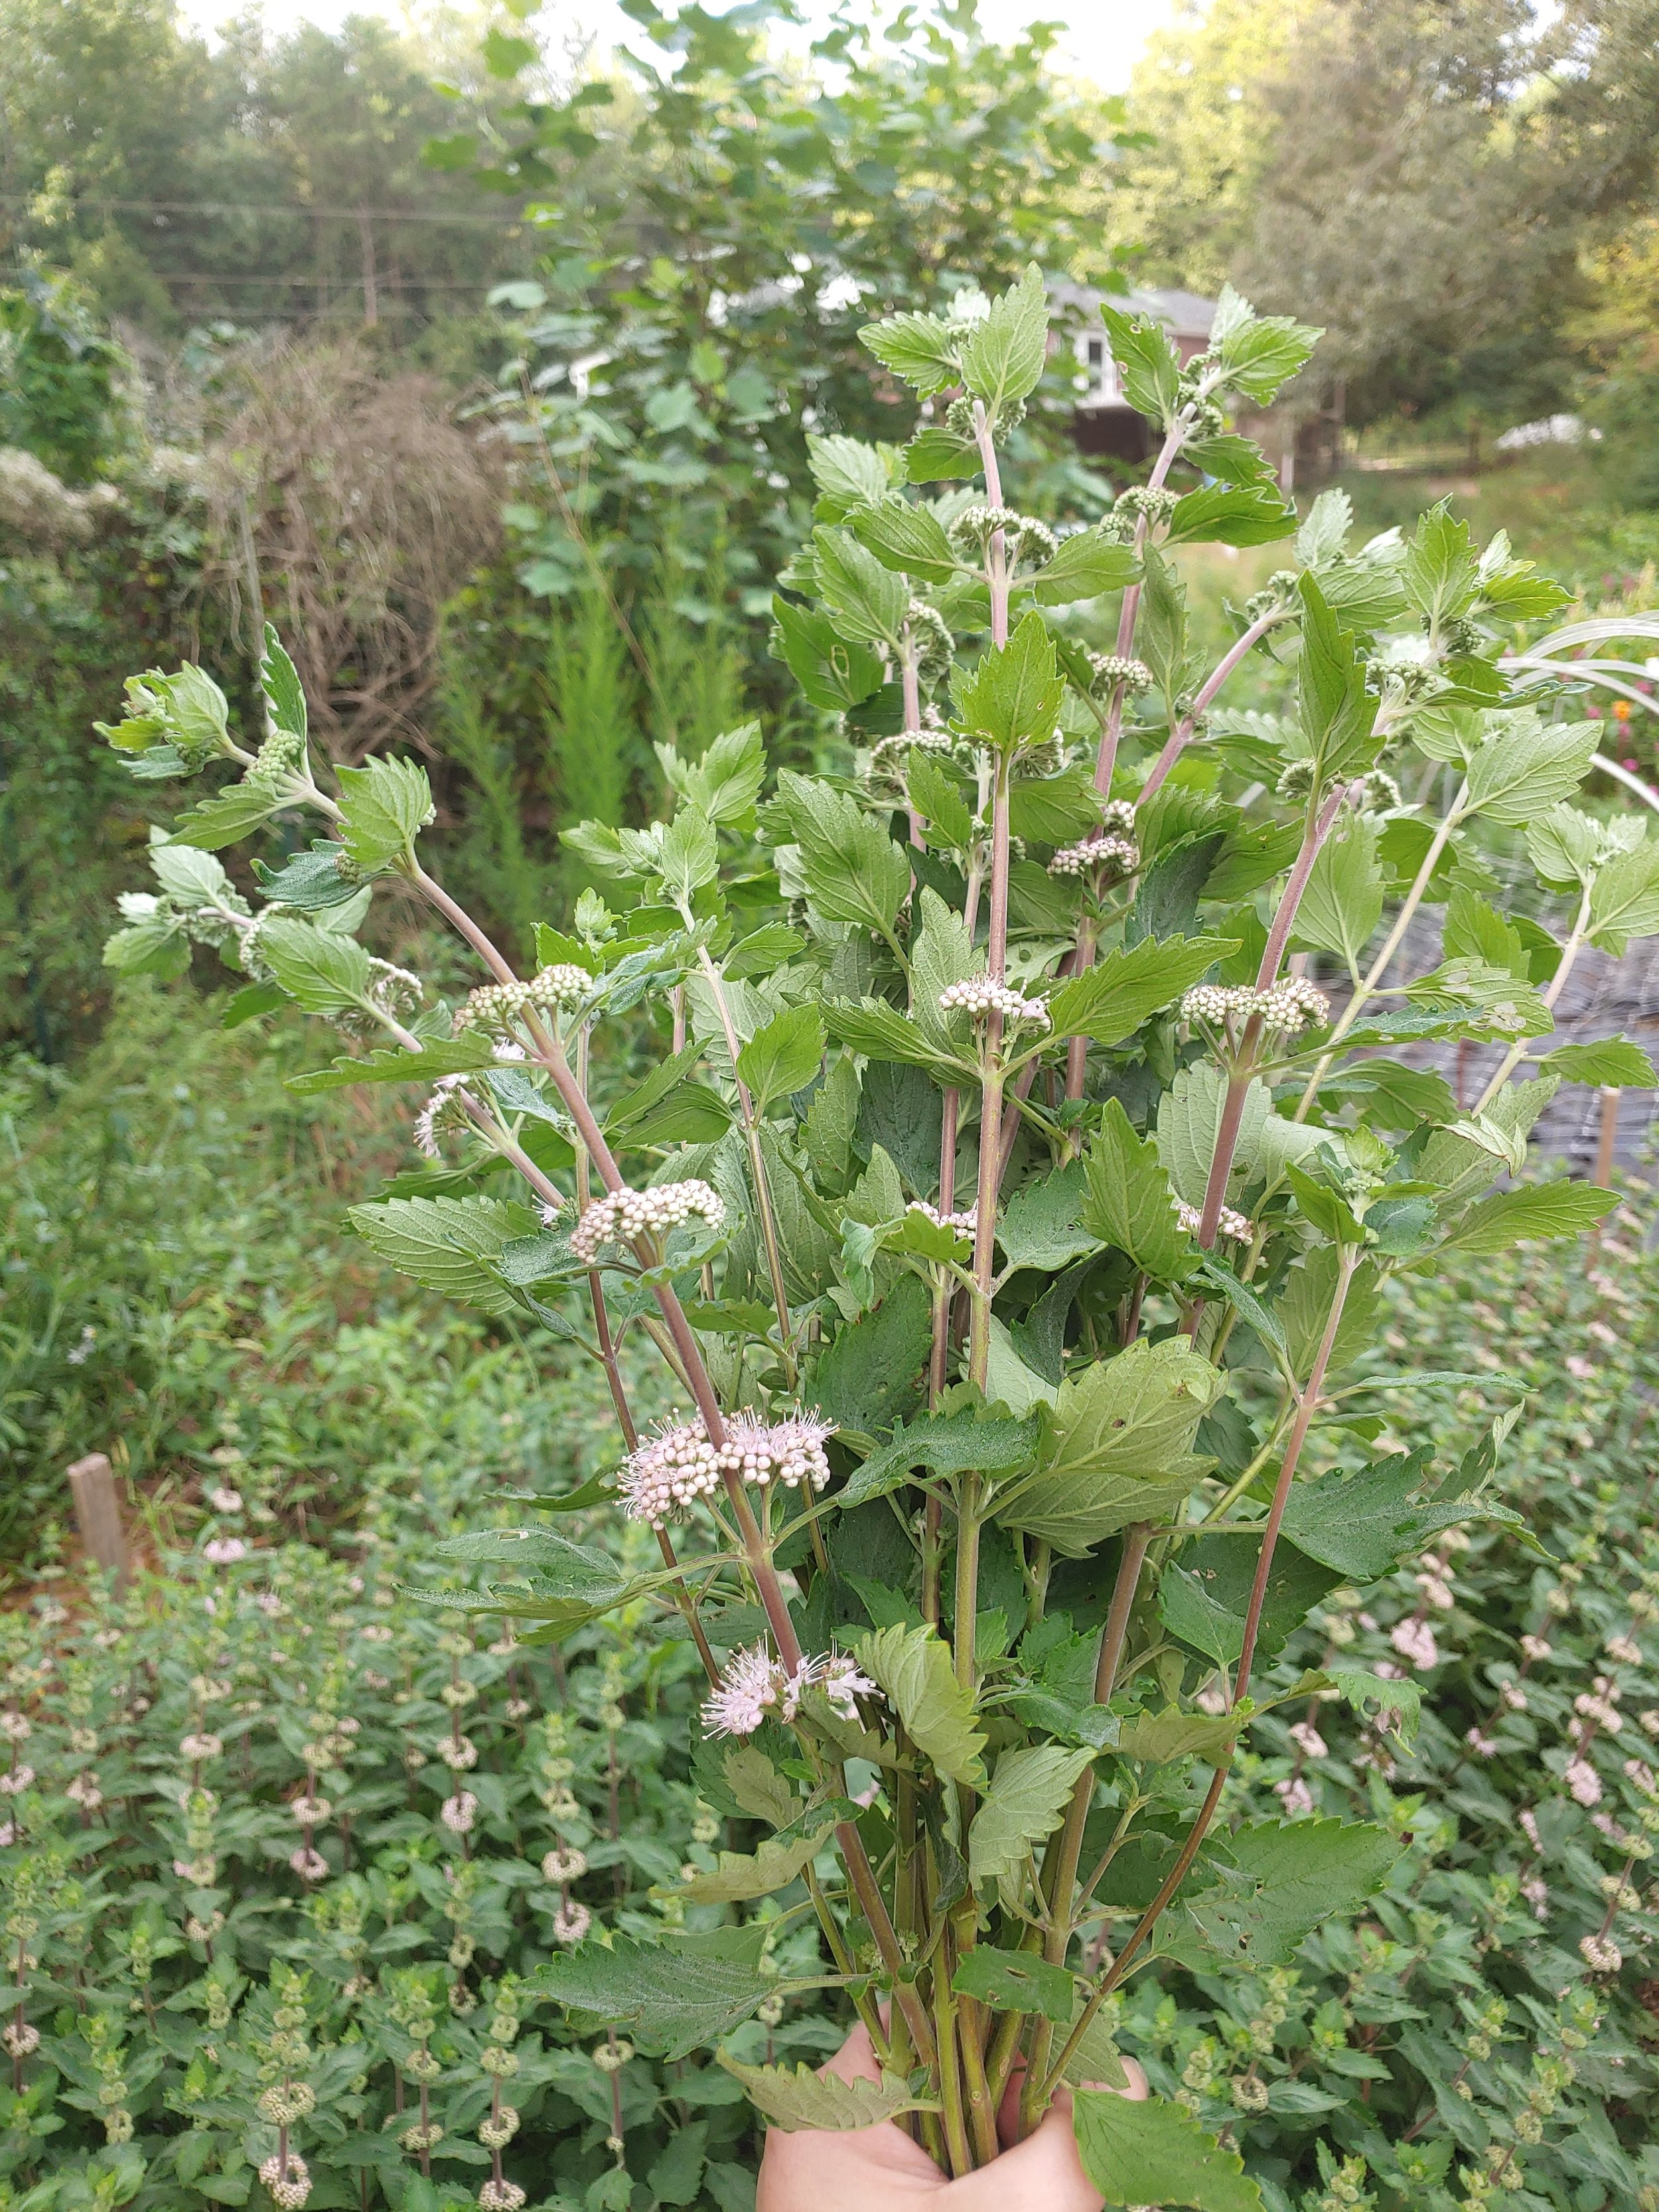
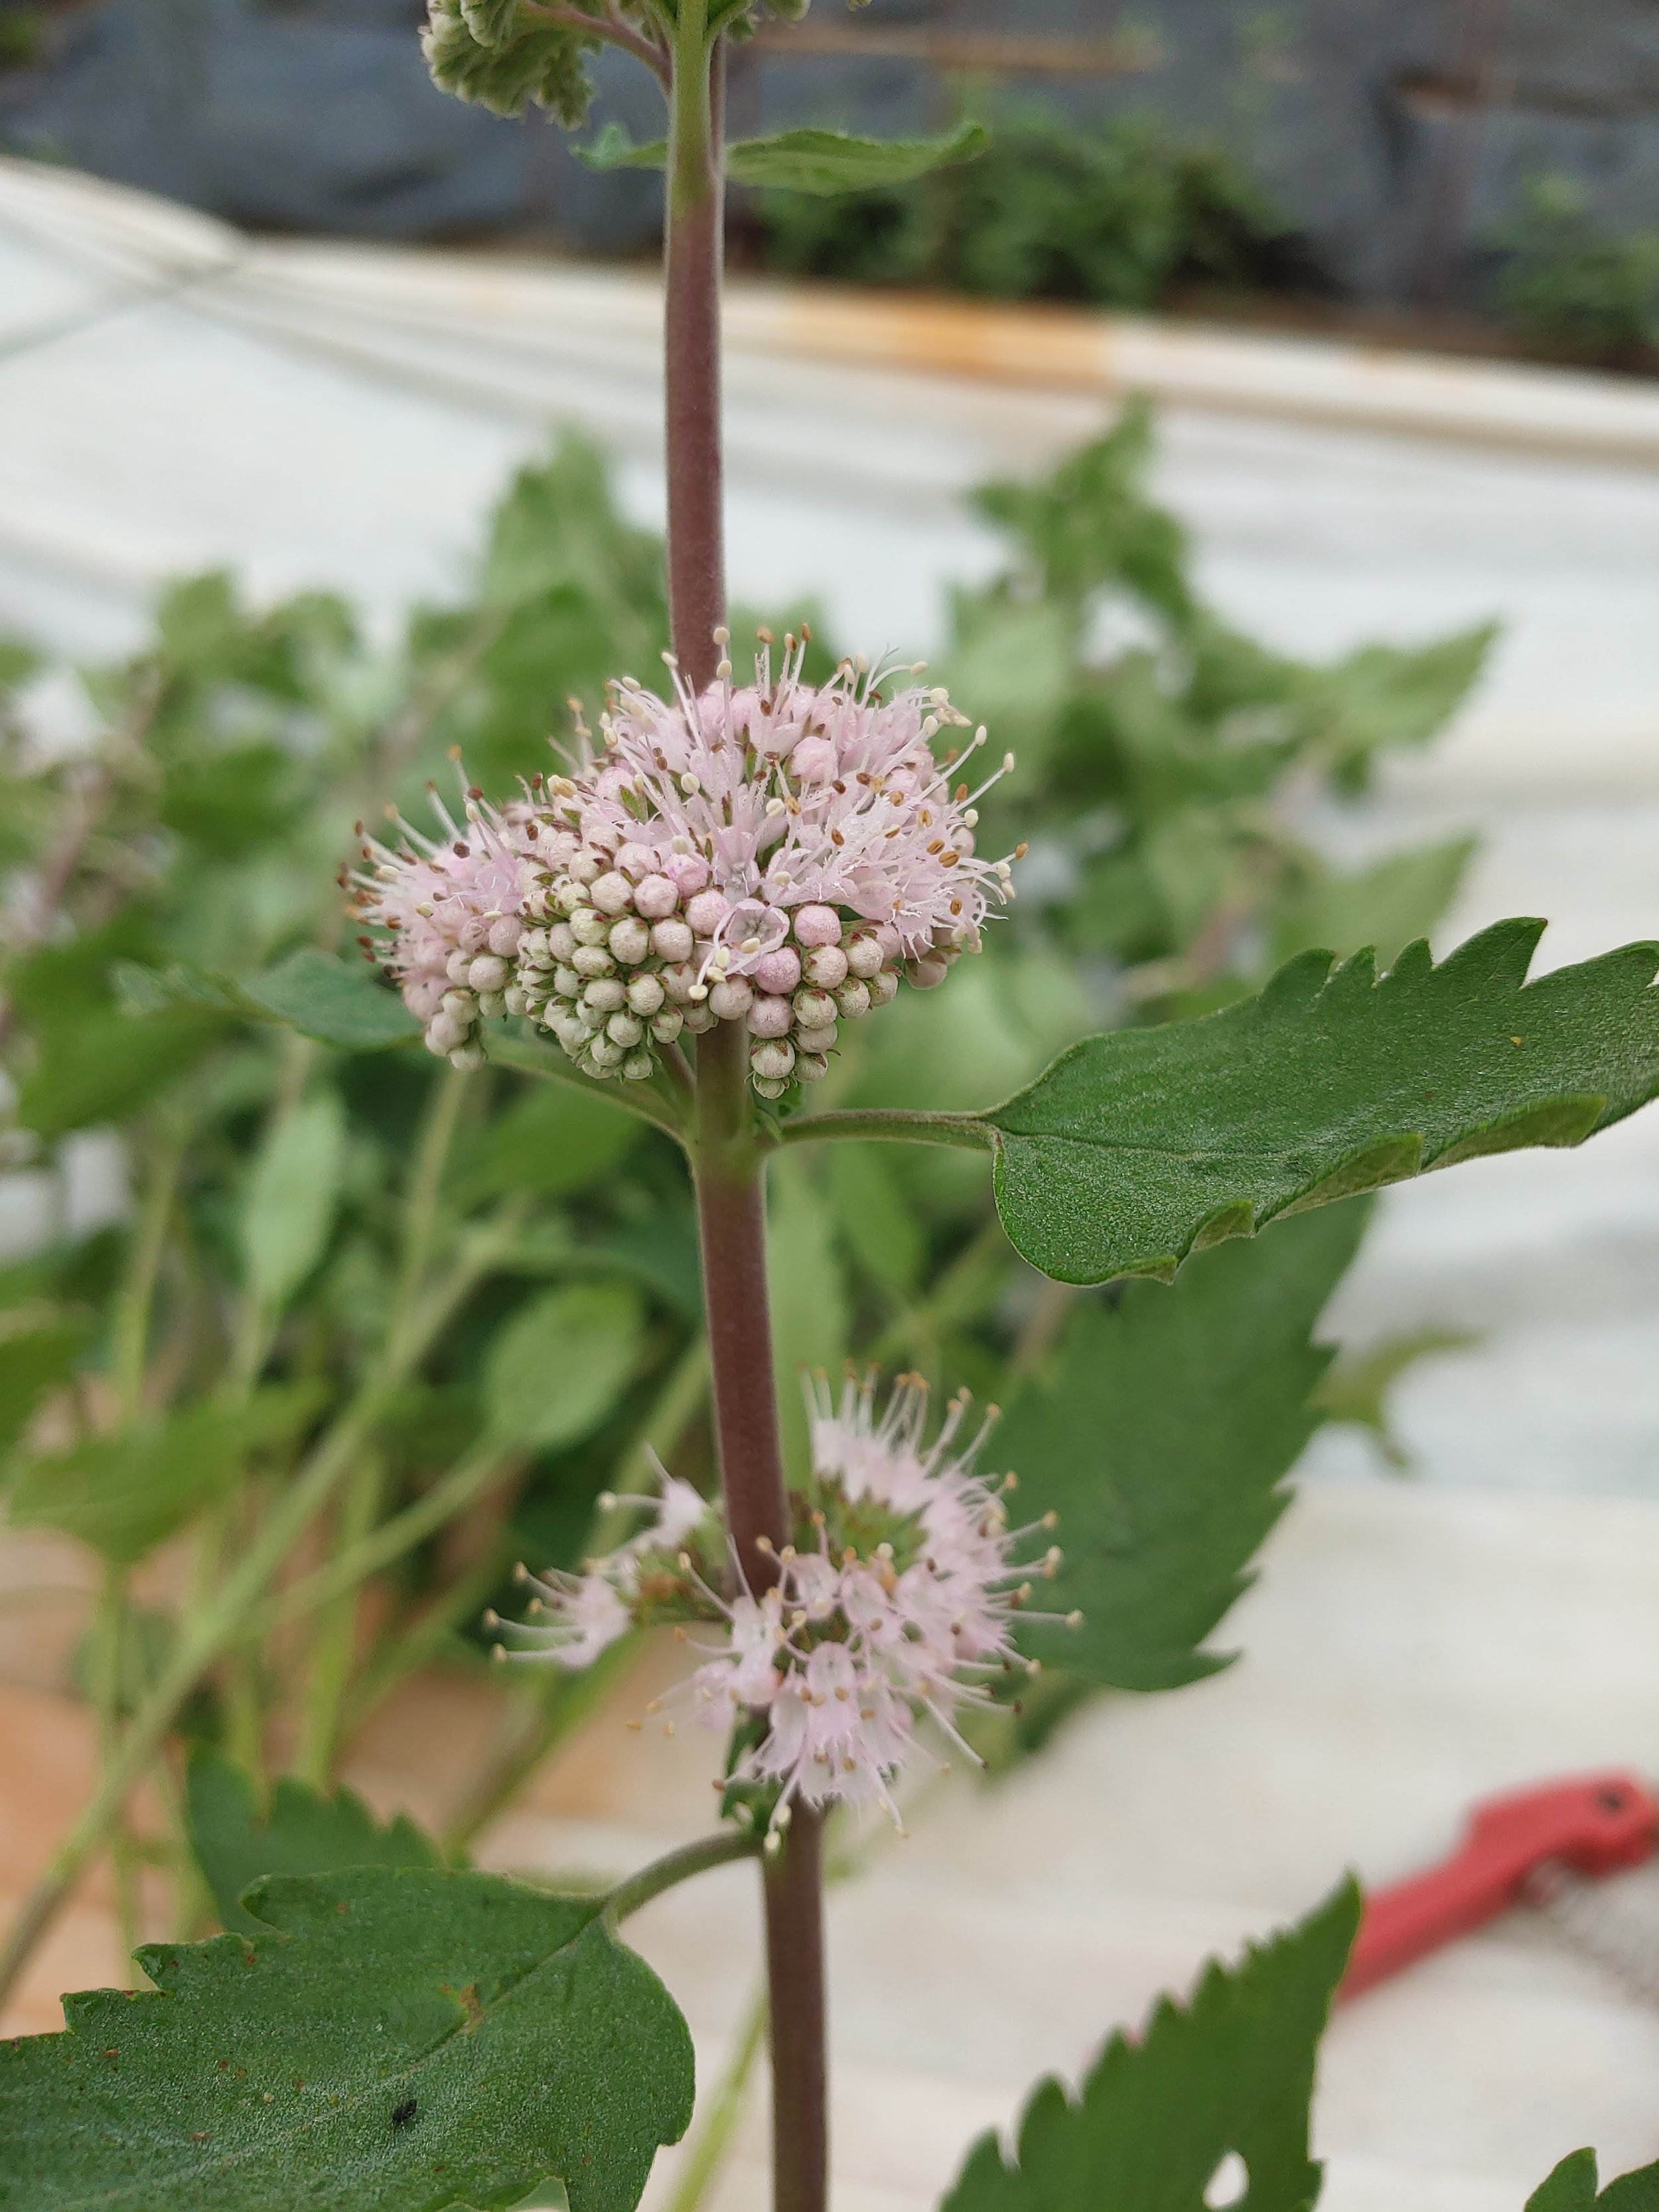
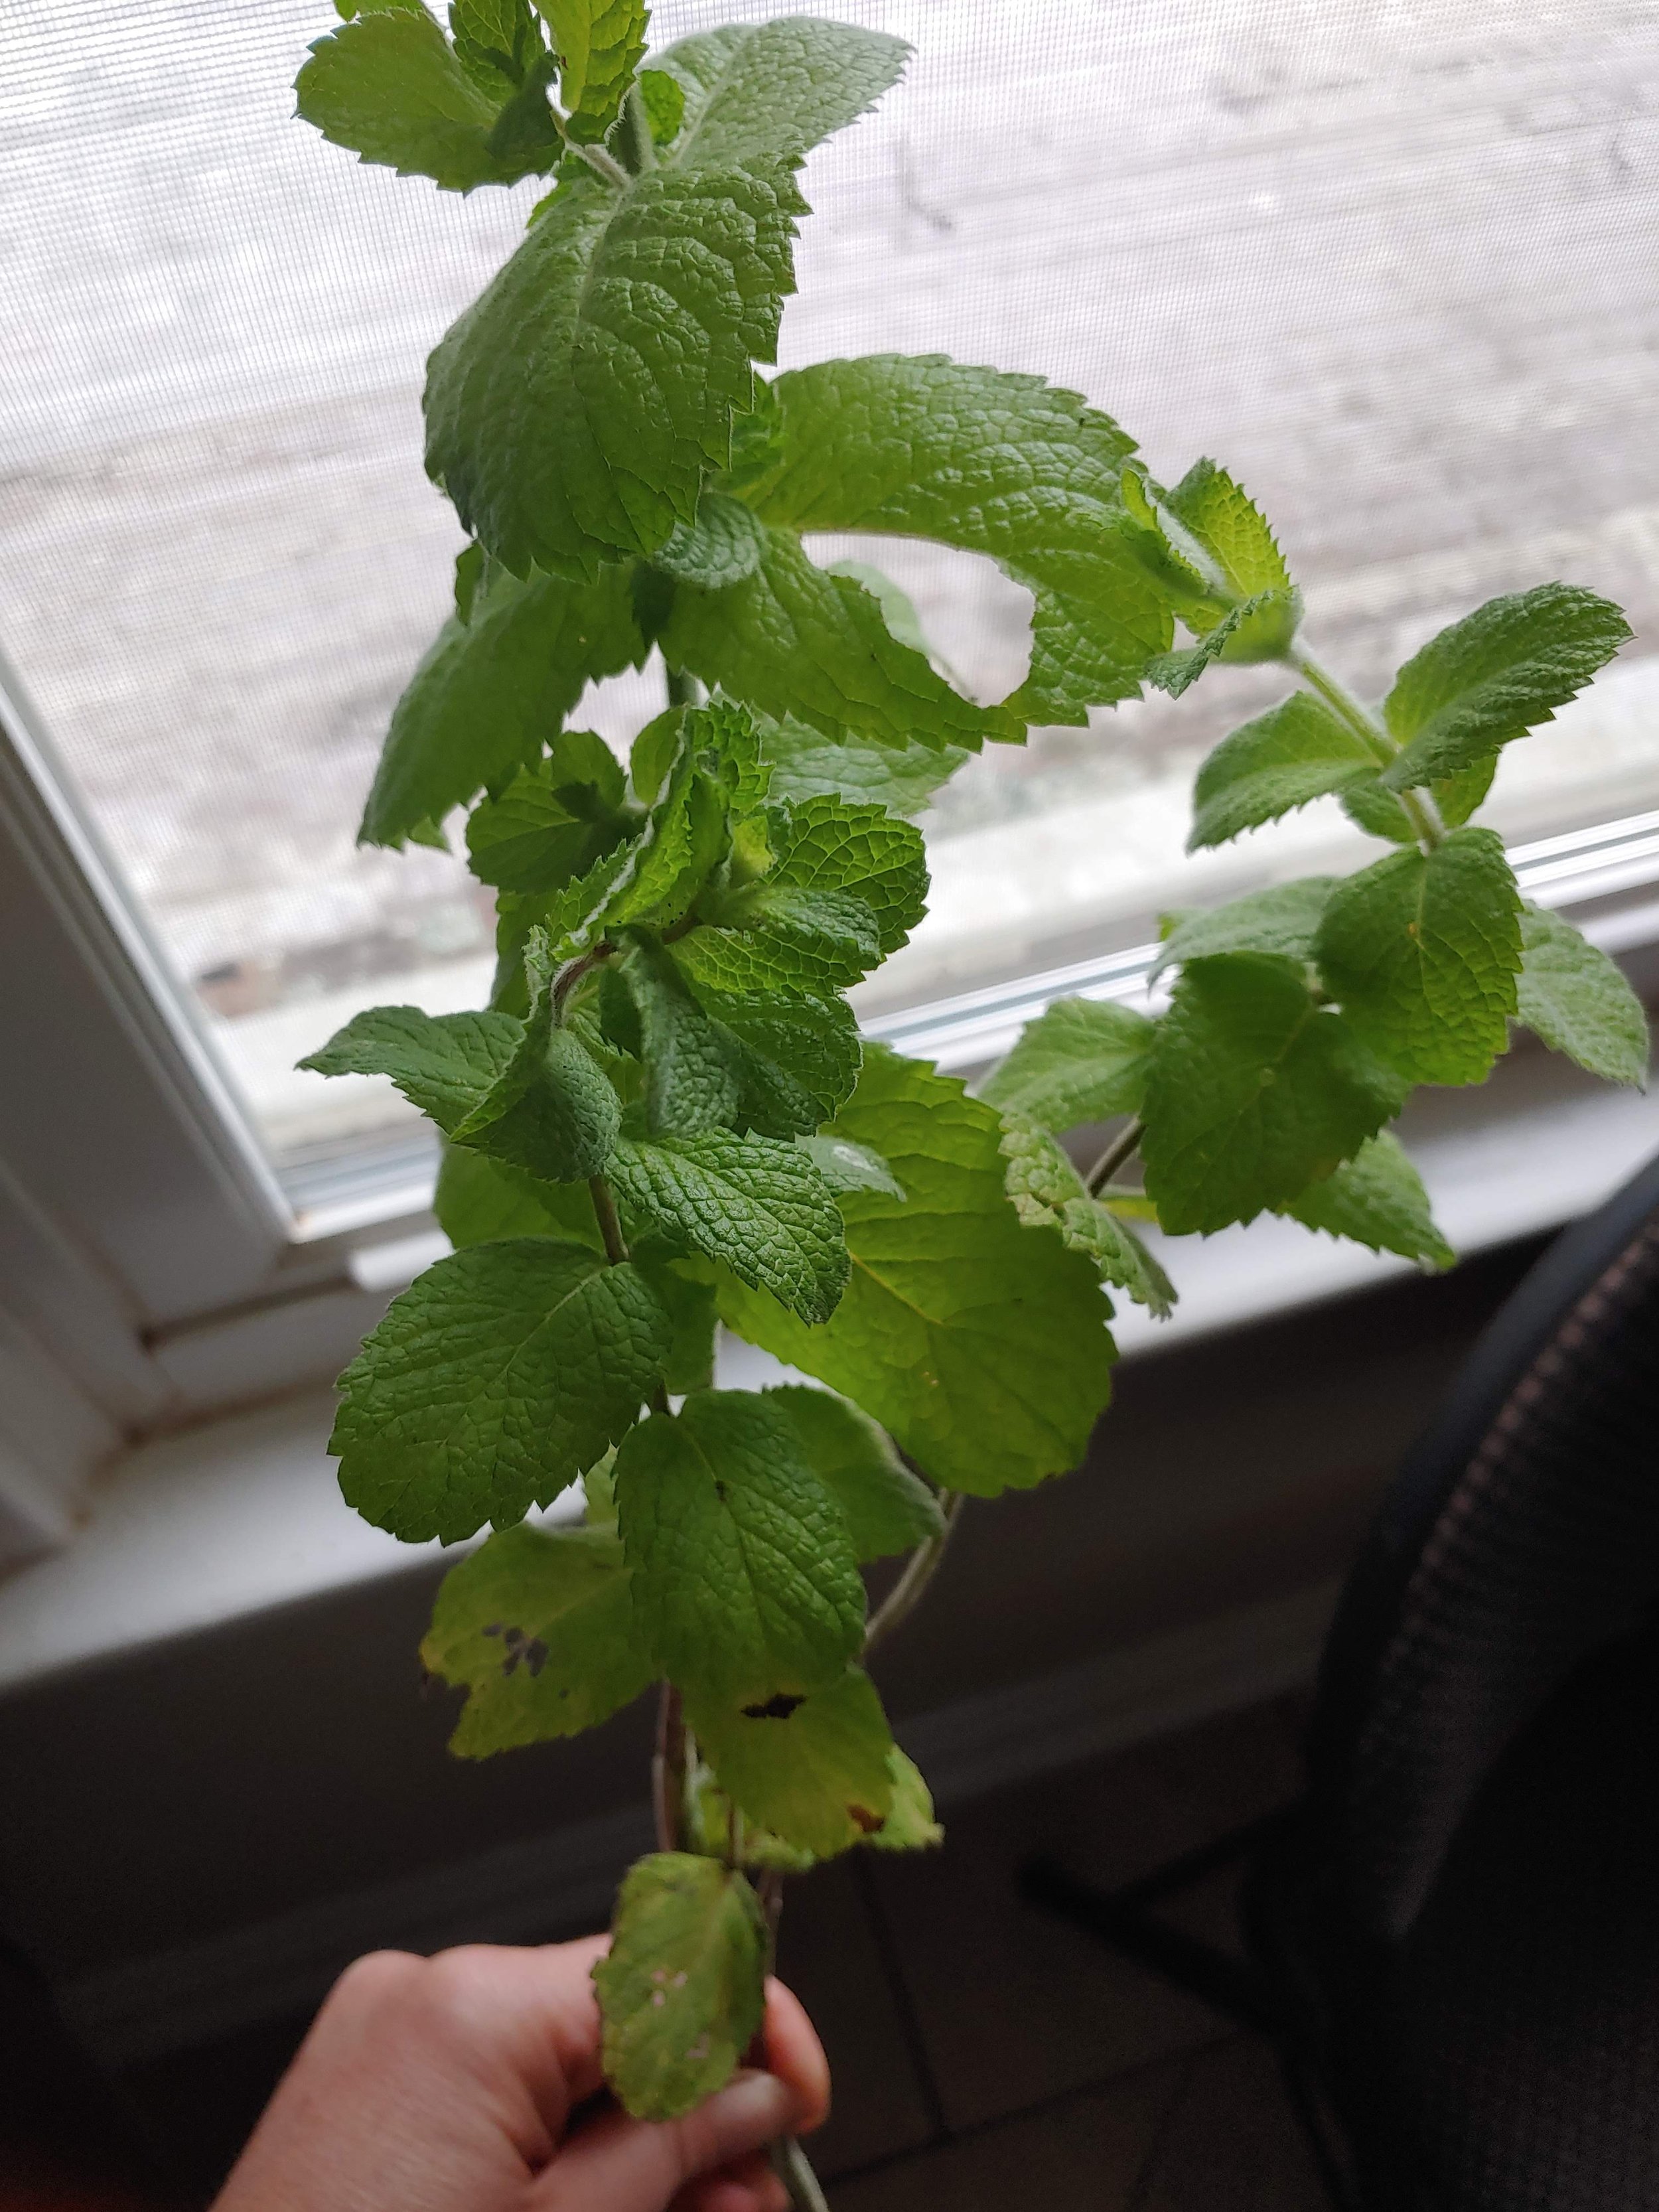
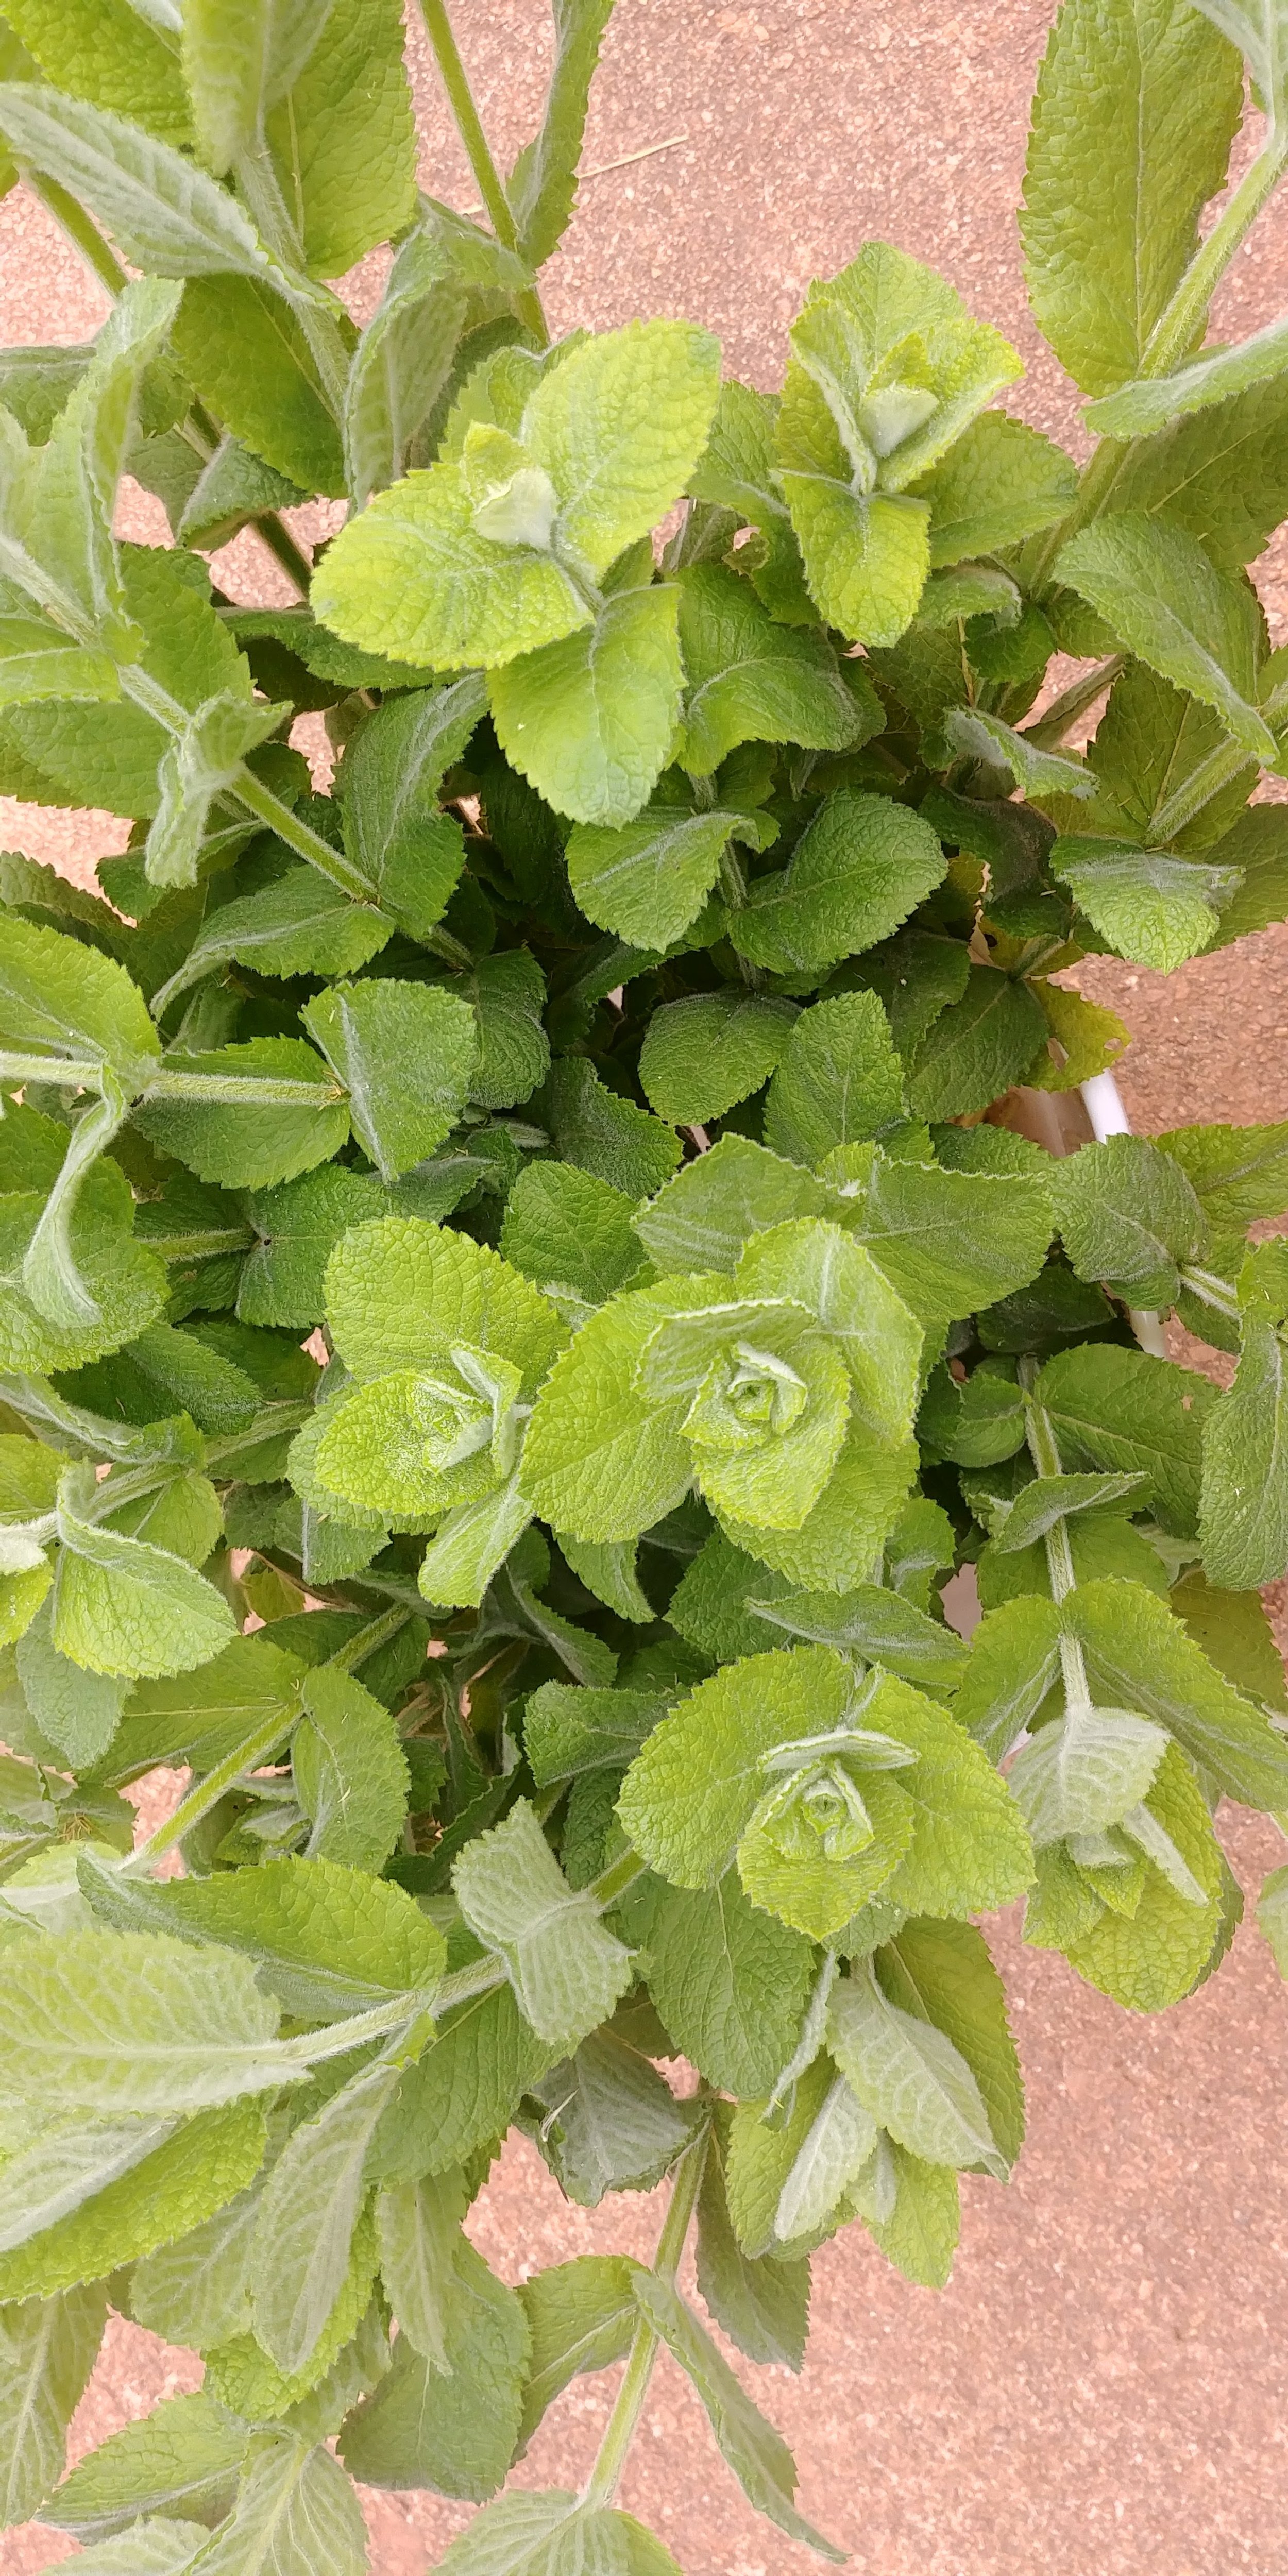
Mint- This is my other Fall favorite green (actually it works all season long). You want to make sure mint is mature when you cut it- the stem should feel fairly stiff about 5-6” from the top. It’s the type of plant you will need to trial a few times to get the harvest stage correct. Apple Mint is my personal favorite but most varieties of mint work well- just make sure they grow tall enough!
A few others that I wanted to mention- these aren’t necessarily “fall” perennials- more like all season perennials but I think they look especially good with dahlias. Agastache- comes in lots of colors now. The bold colors hold up well against the bold dahlia colors. Salvias- Same thing here- so many color choices. Agastache and Salvias work great because they will bloom once in the spring, you can cut back and sometimes get two more blooms before your first frost.
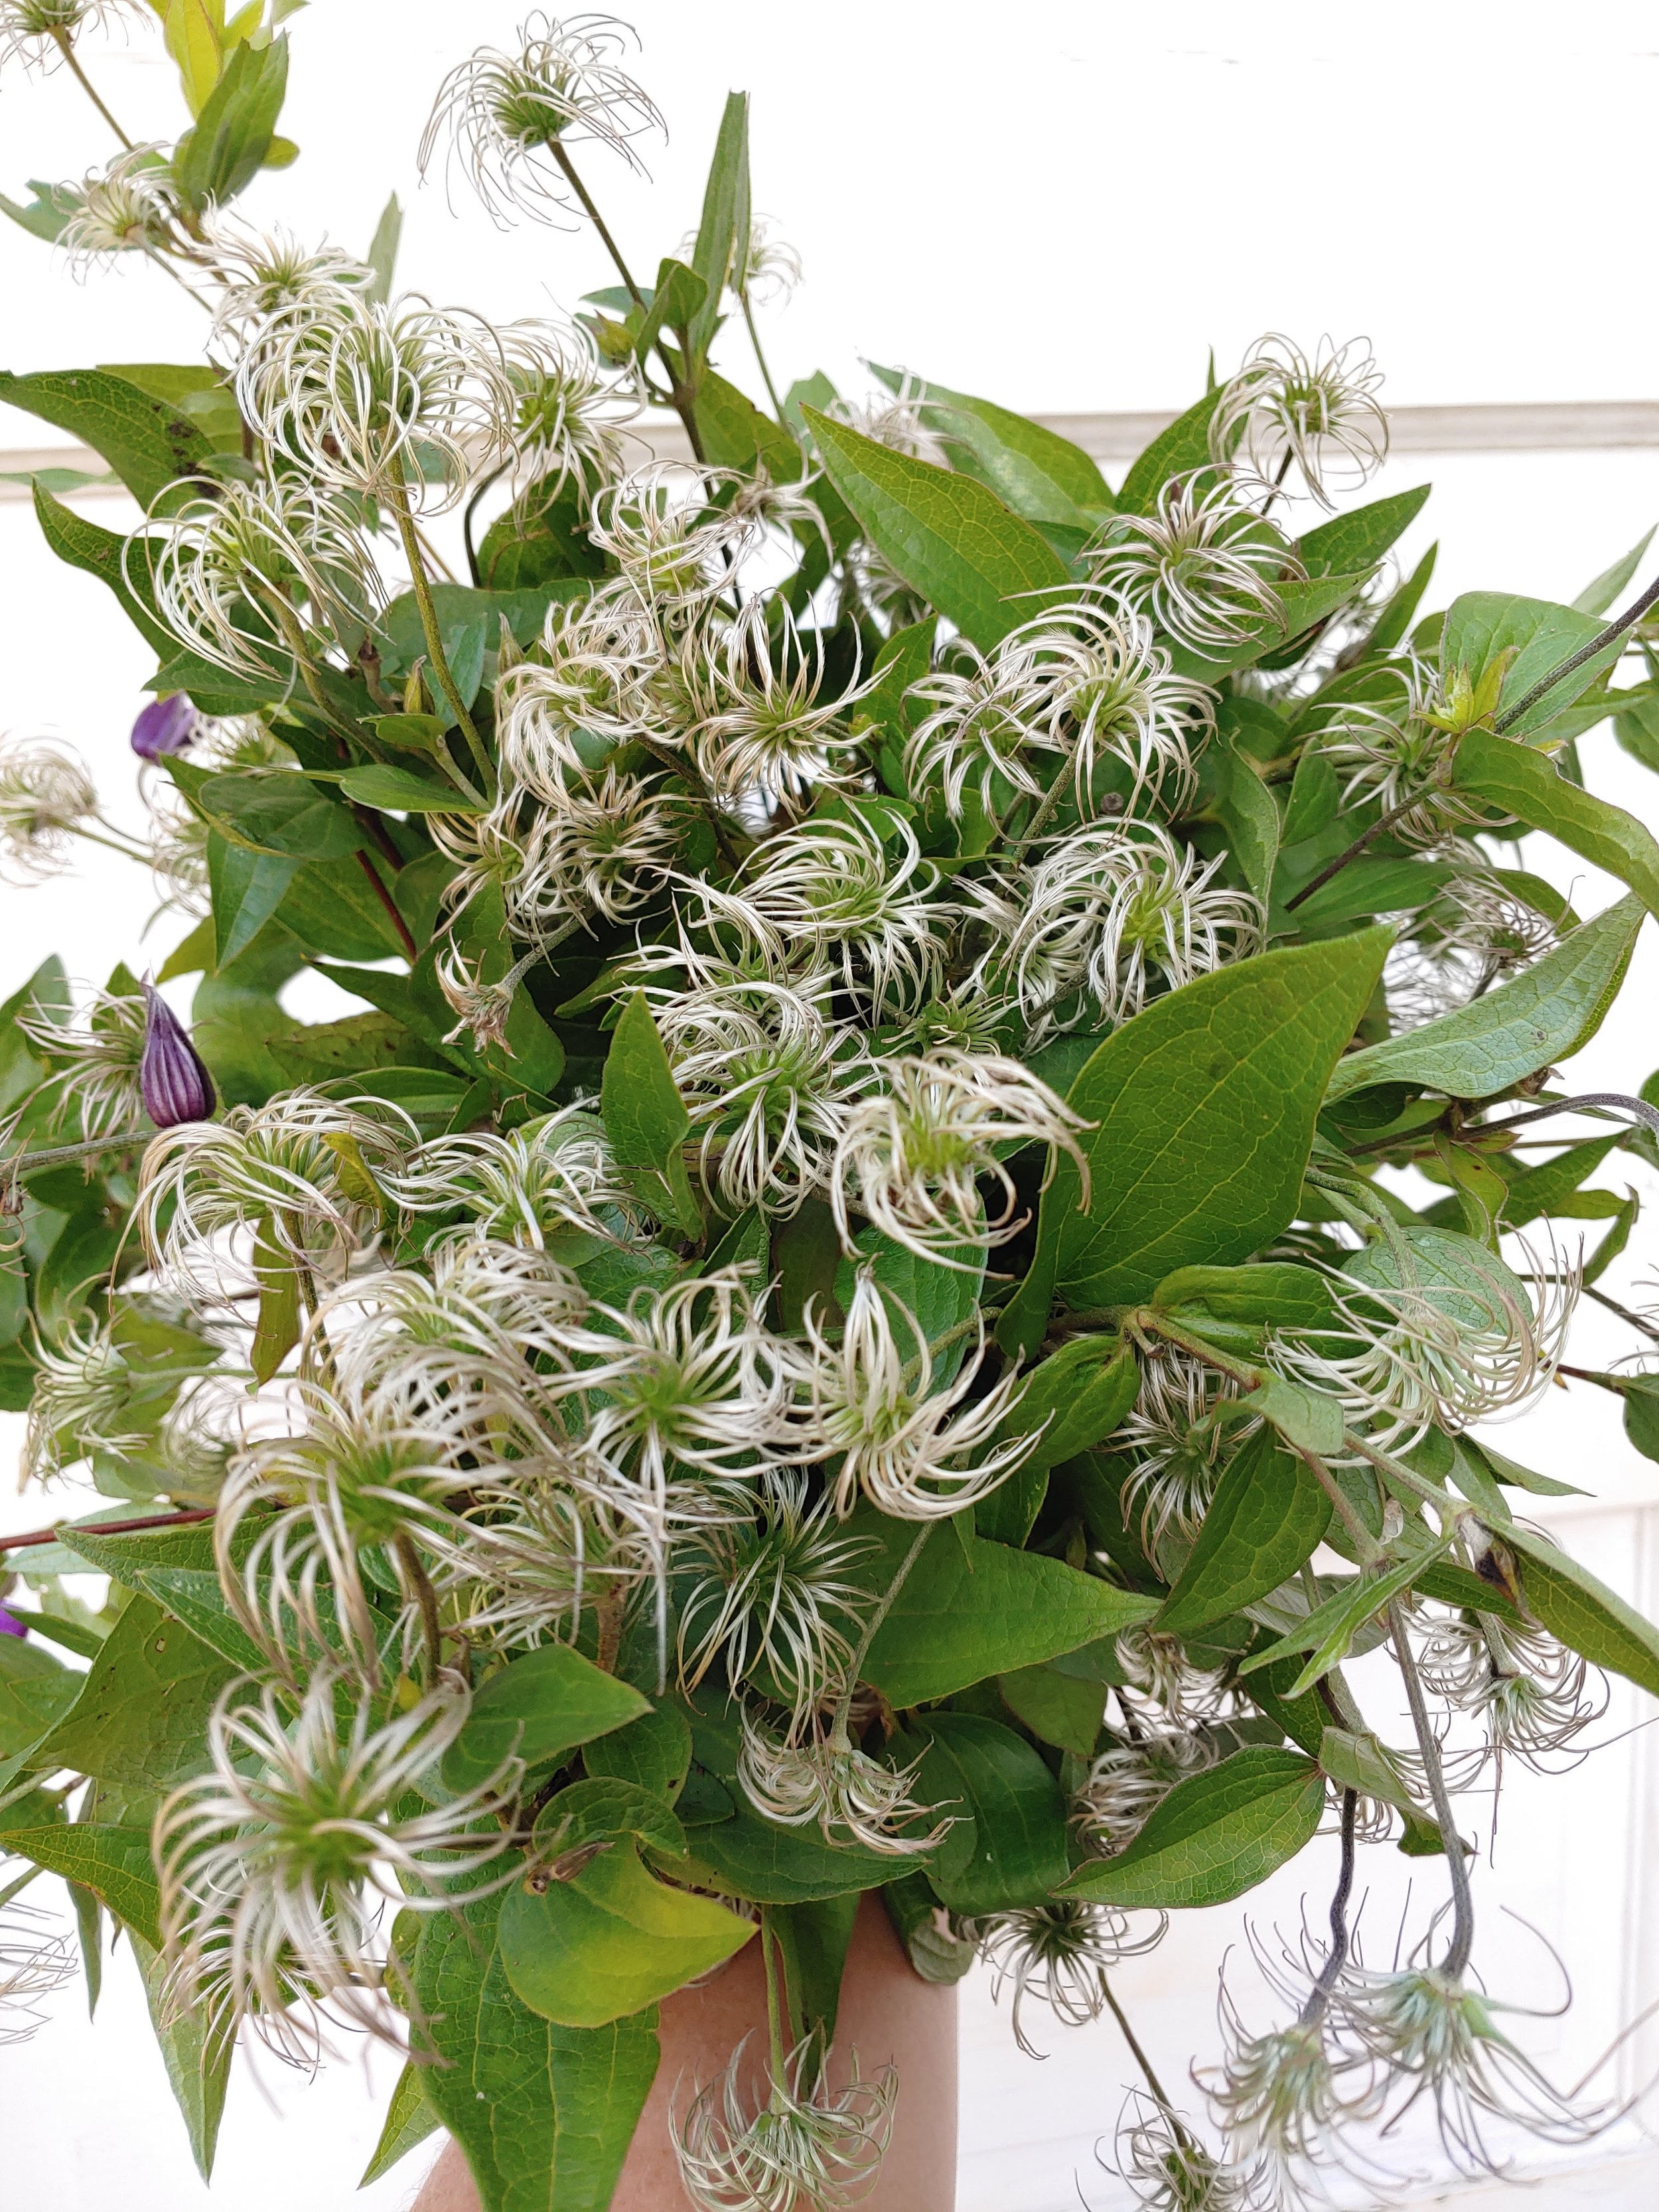
Clematis are another favorite. Most clematis bloom before dahlias but if you leave some blooms on the plant- you’ll get the awesome whirlygig seed pods. I think every fall bouquet should have some texture and these are my go to for adding texture.
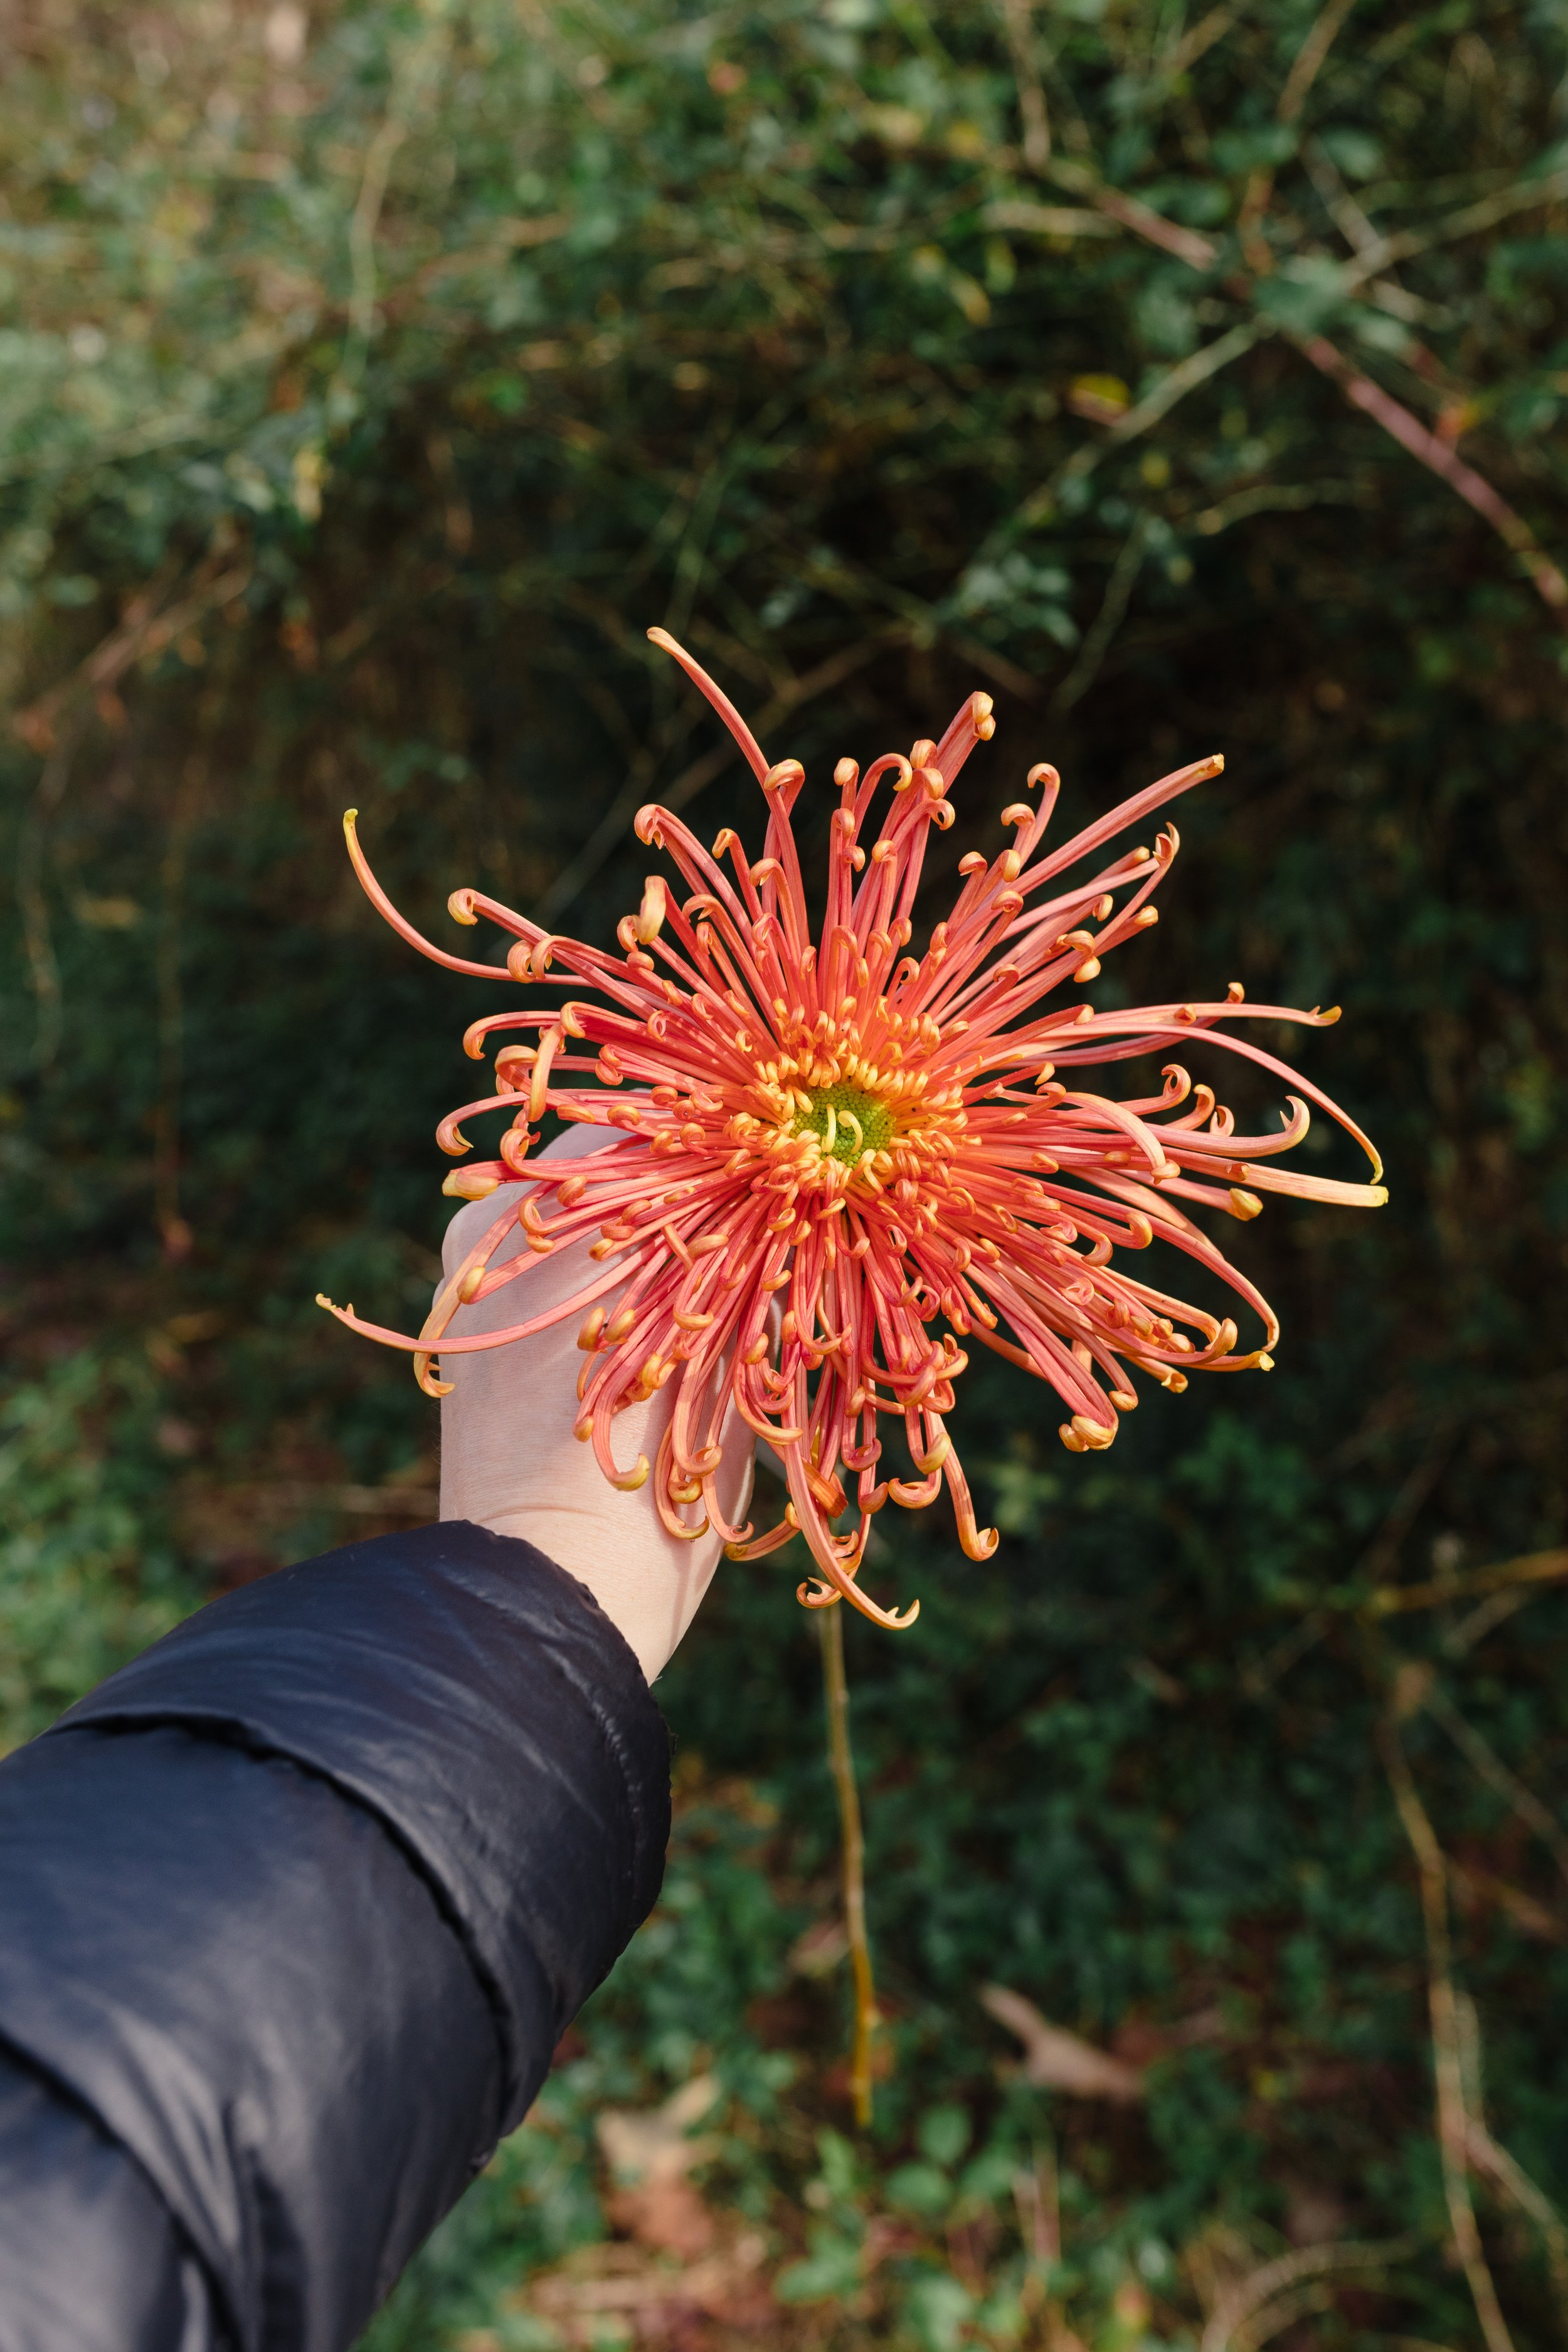
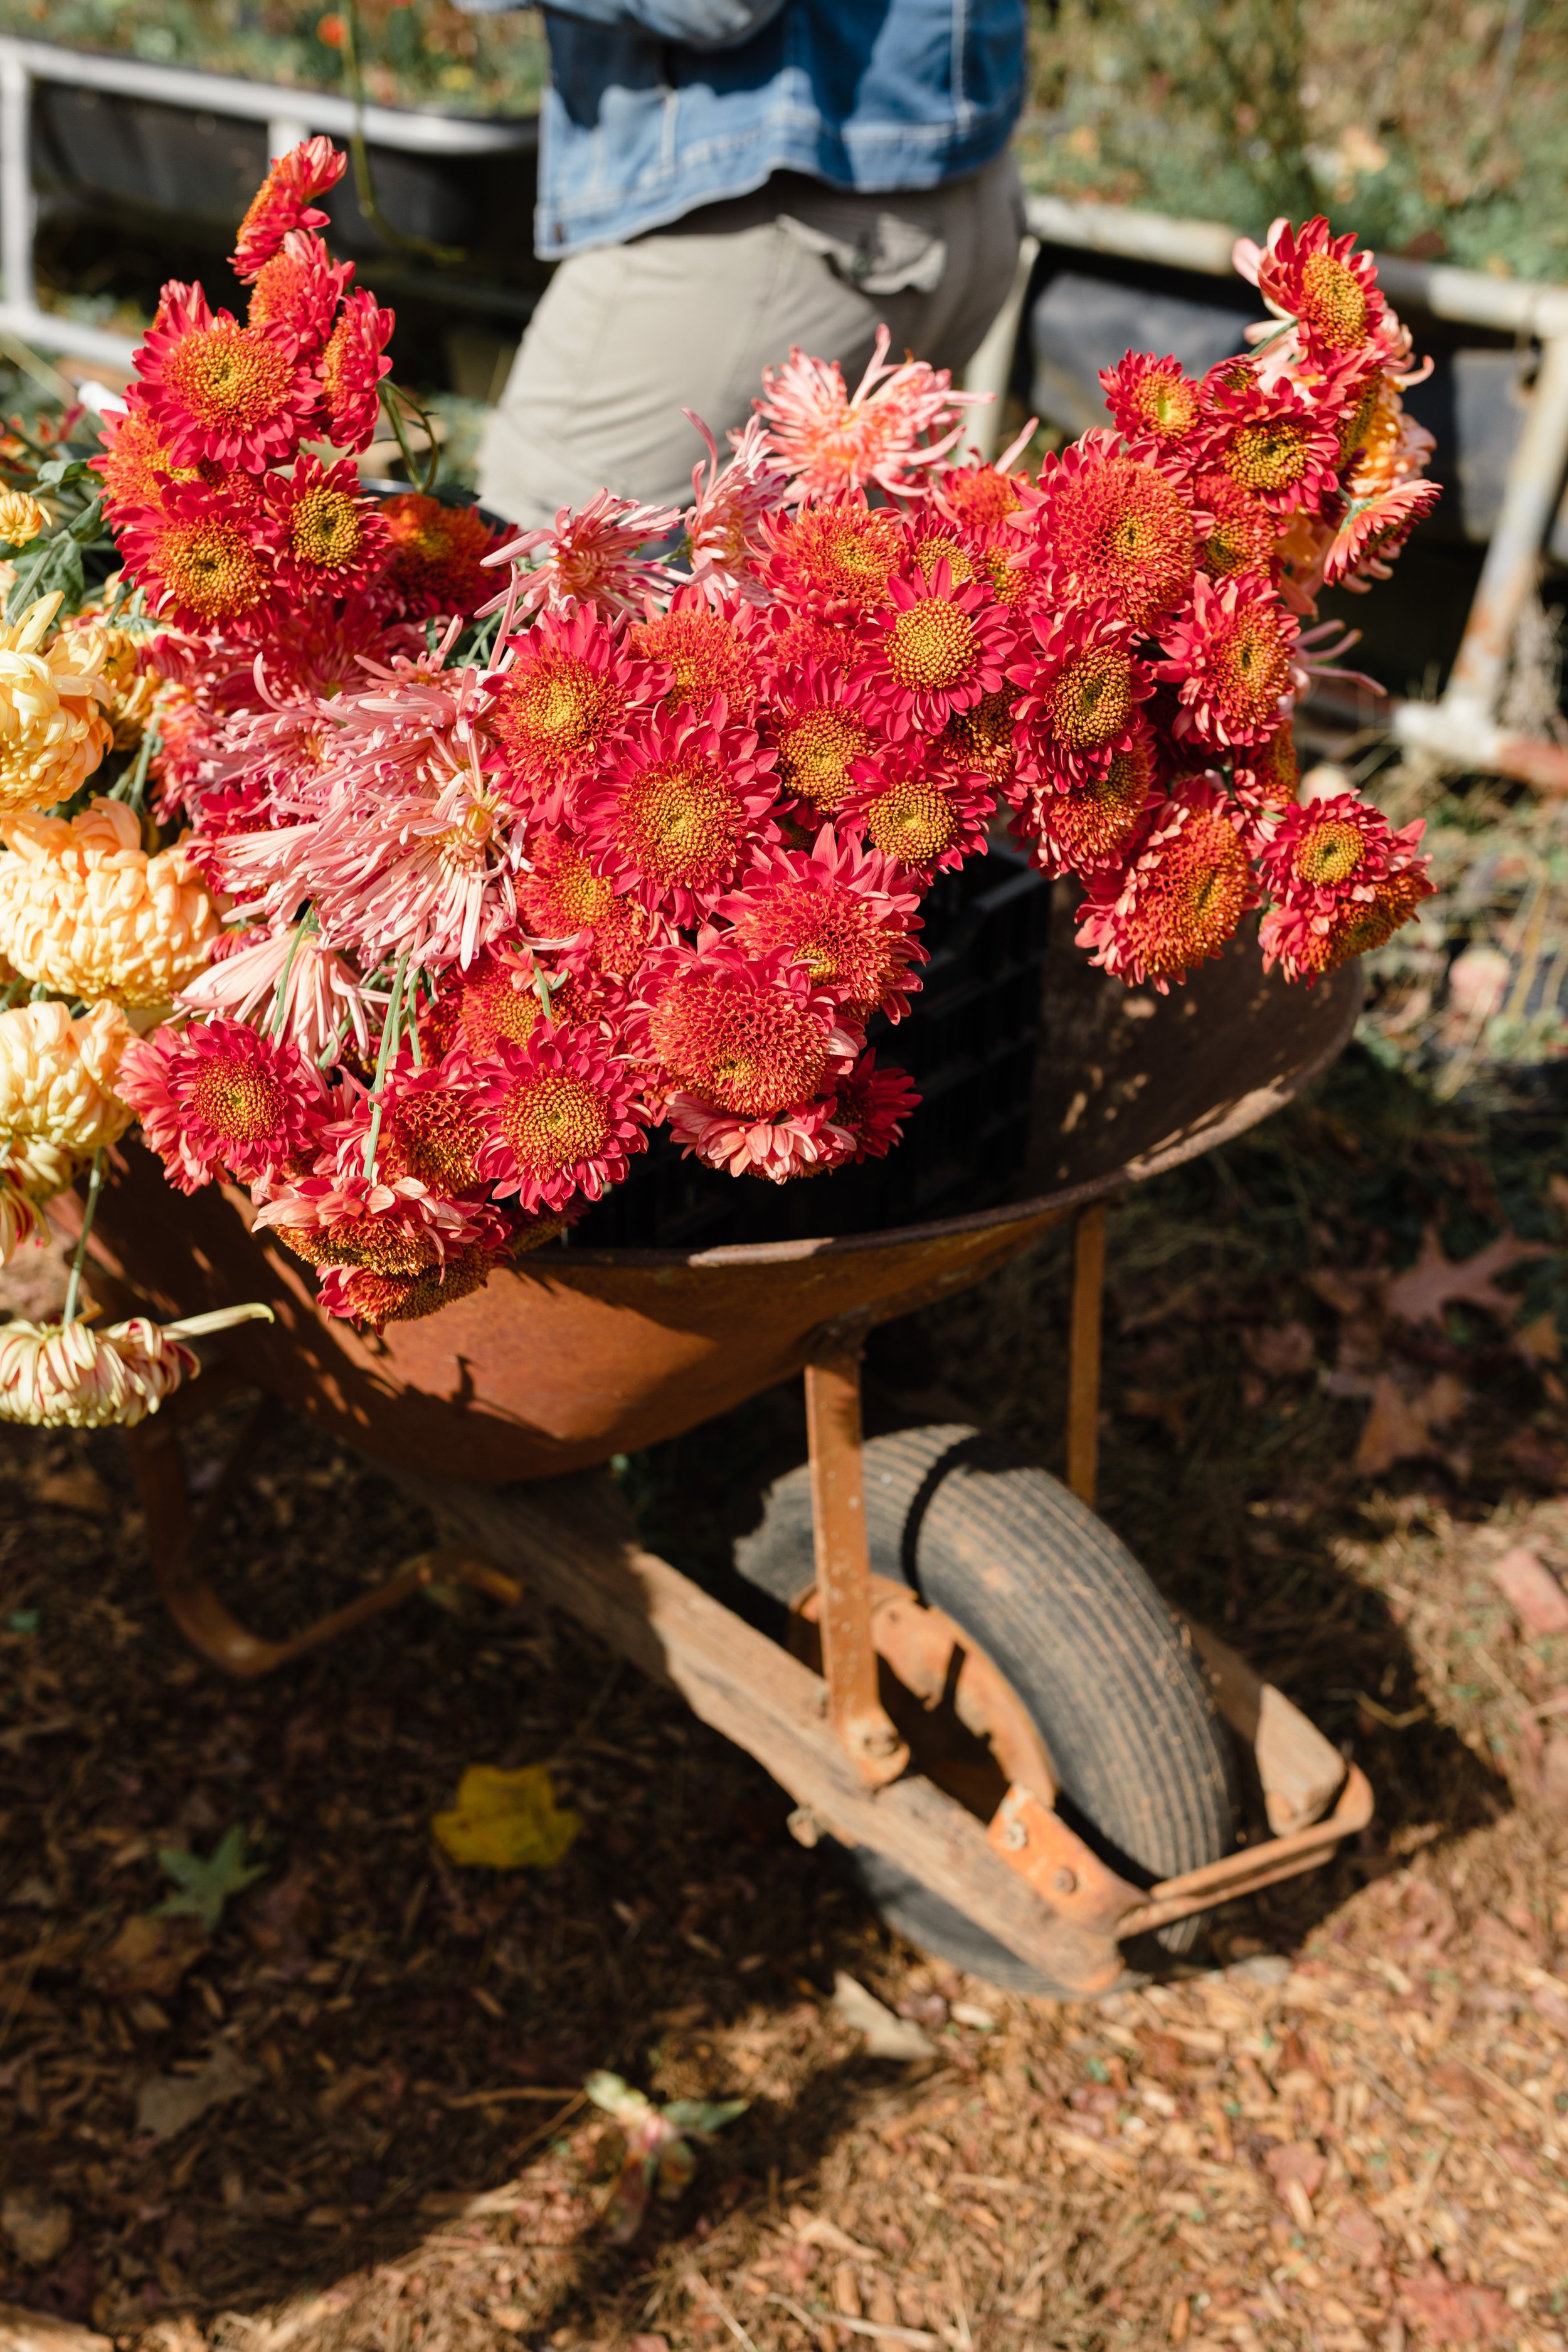
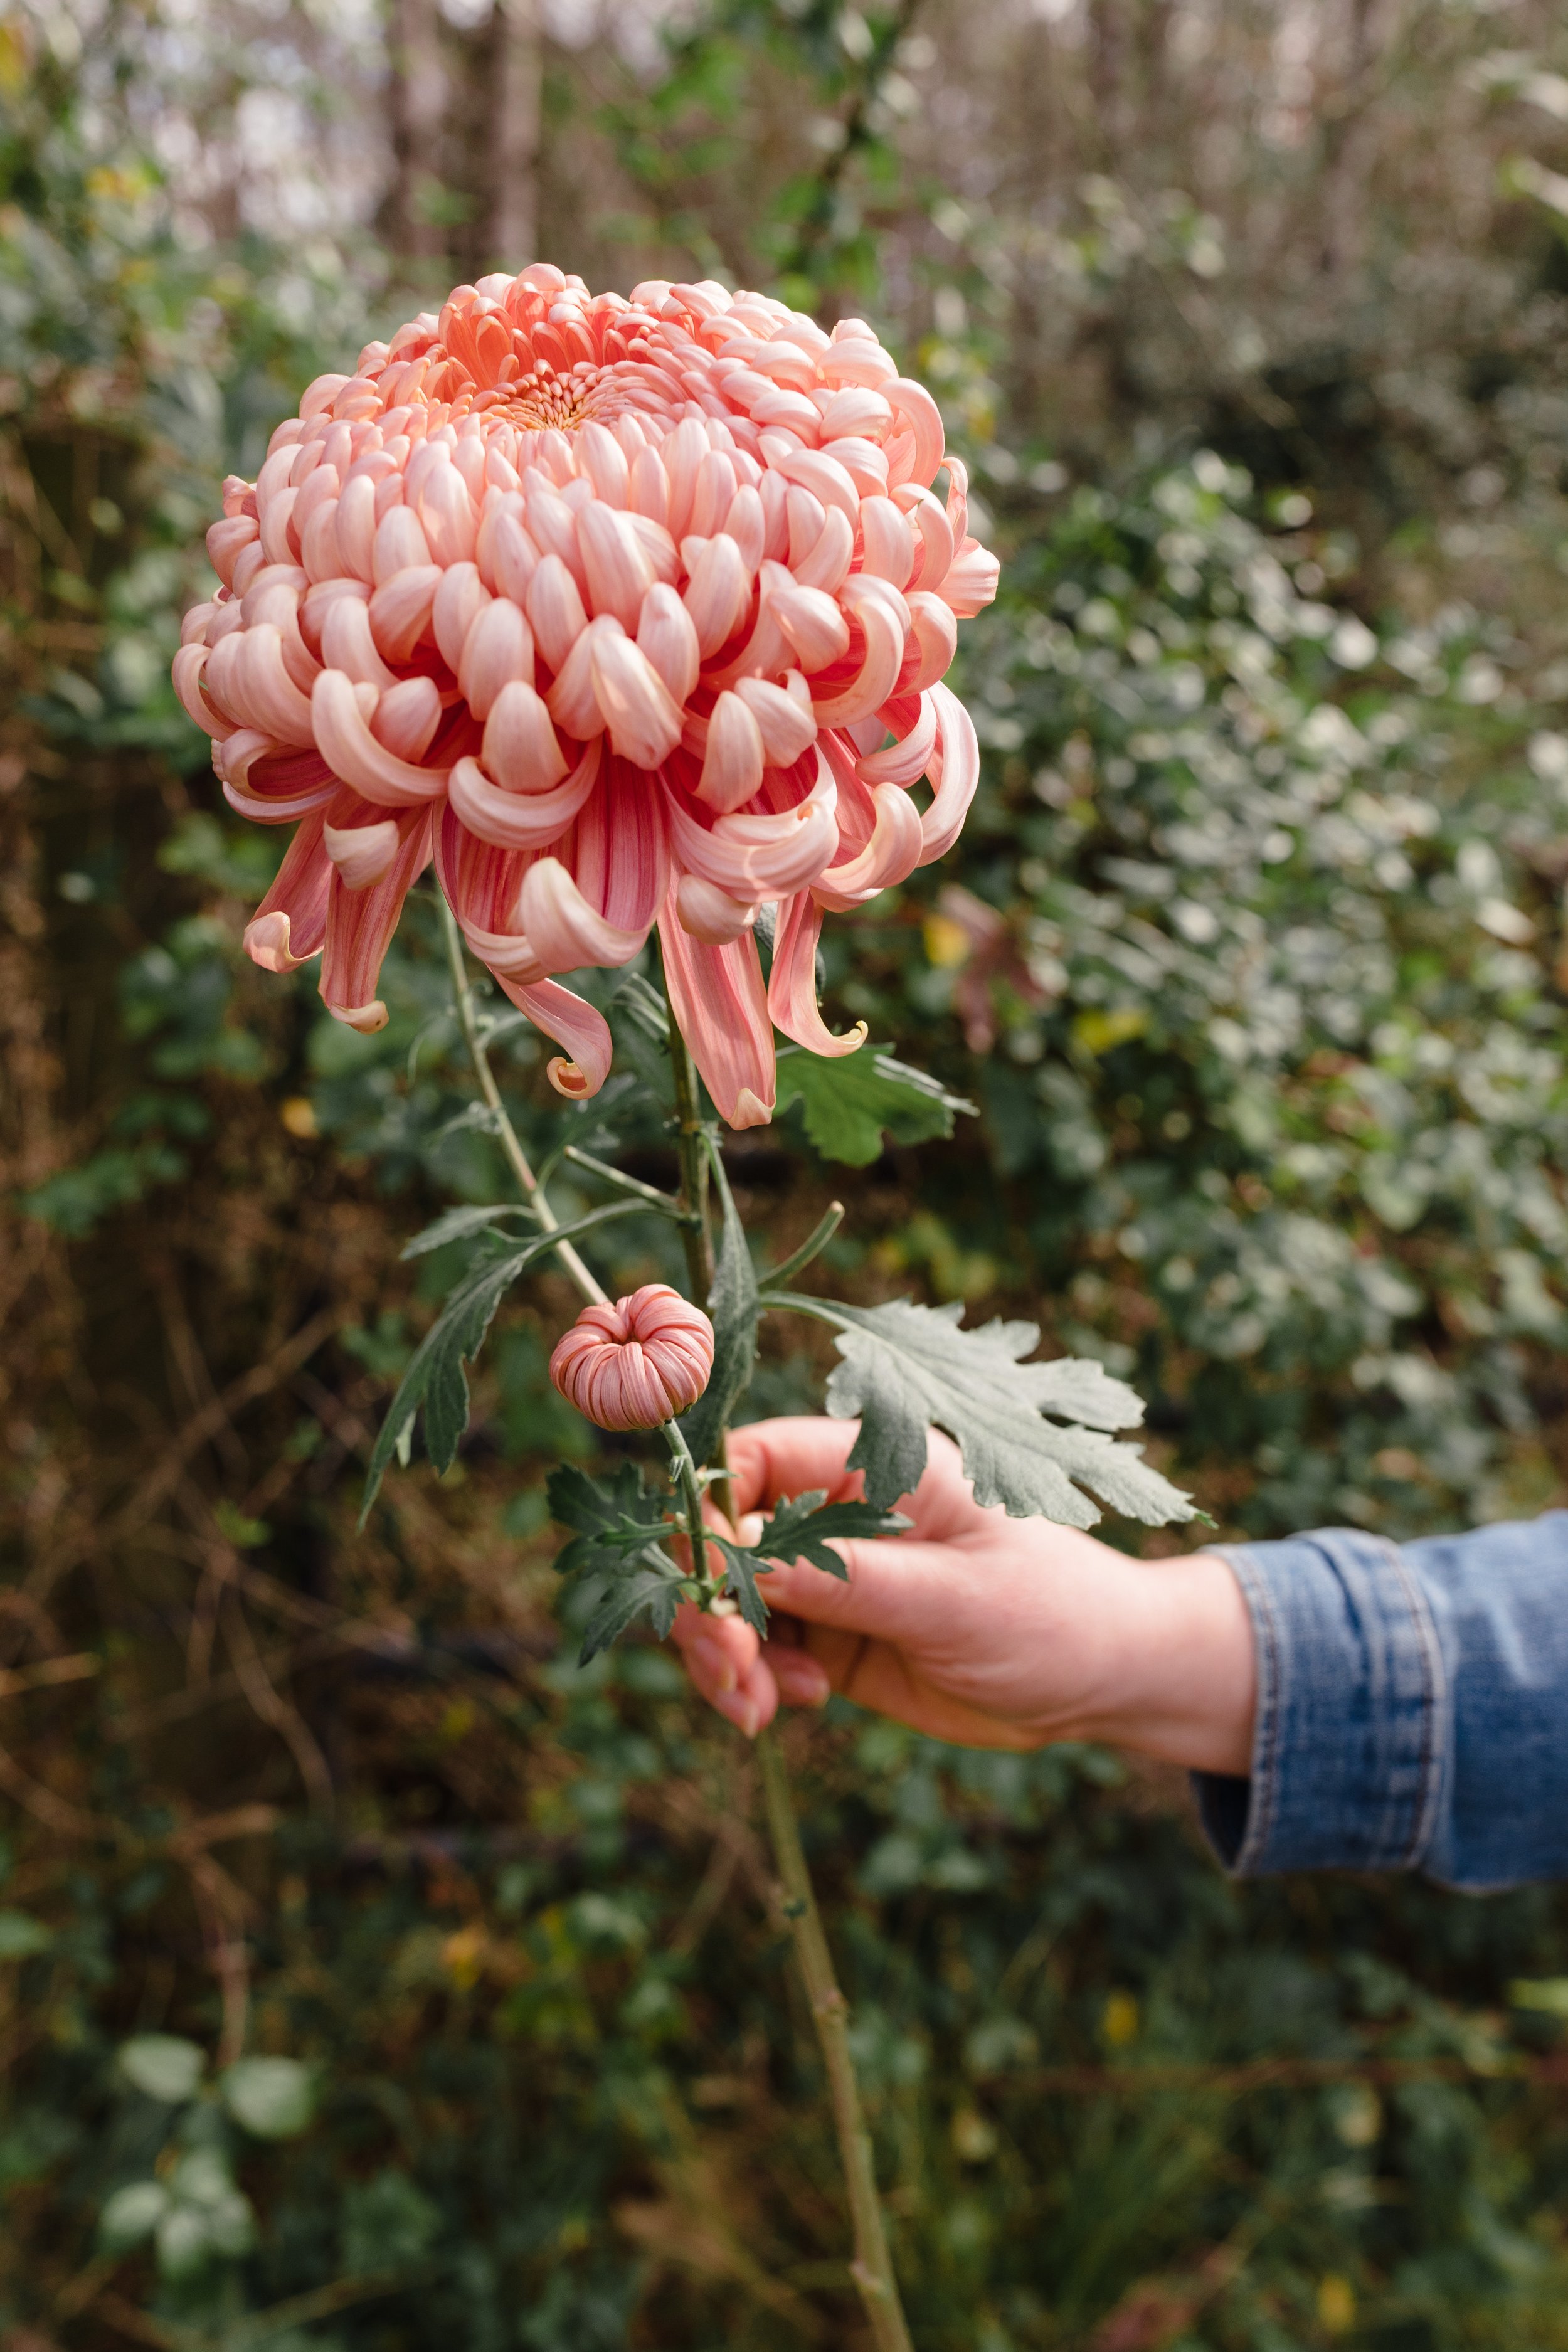
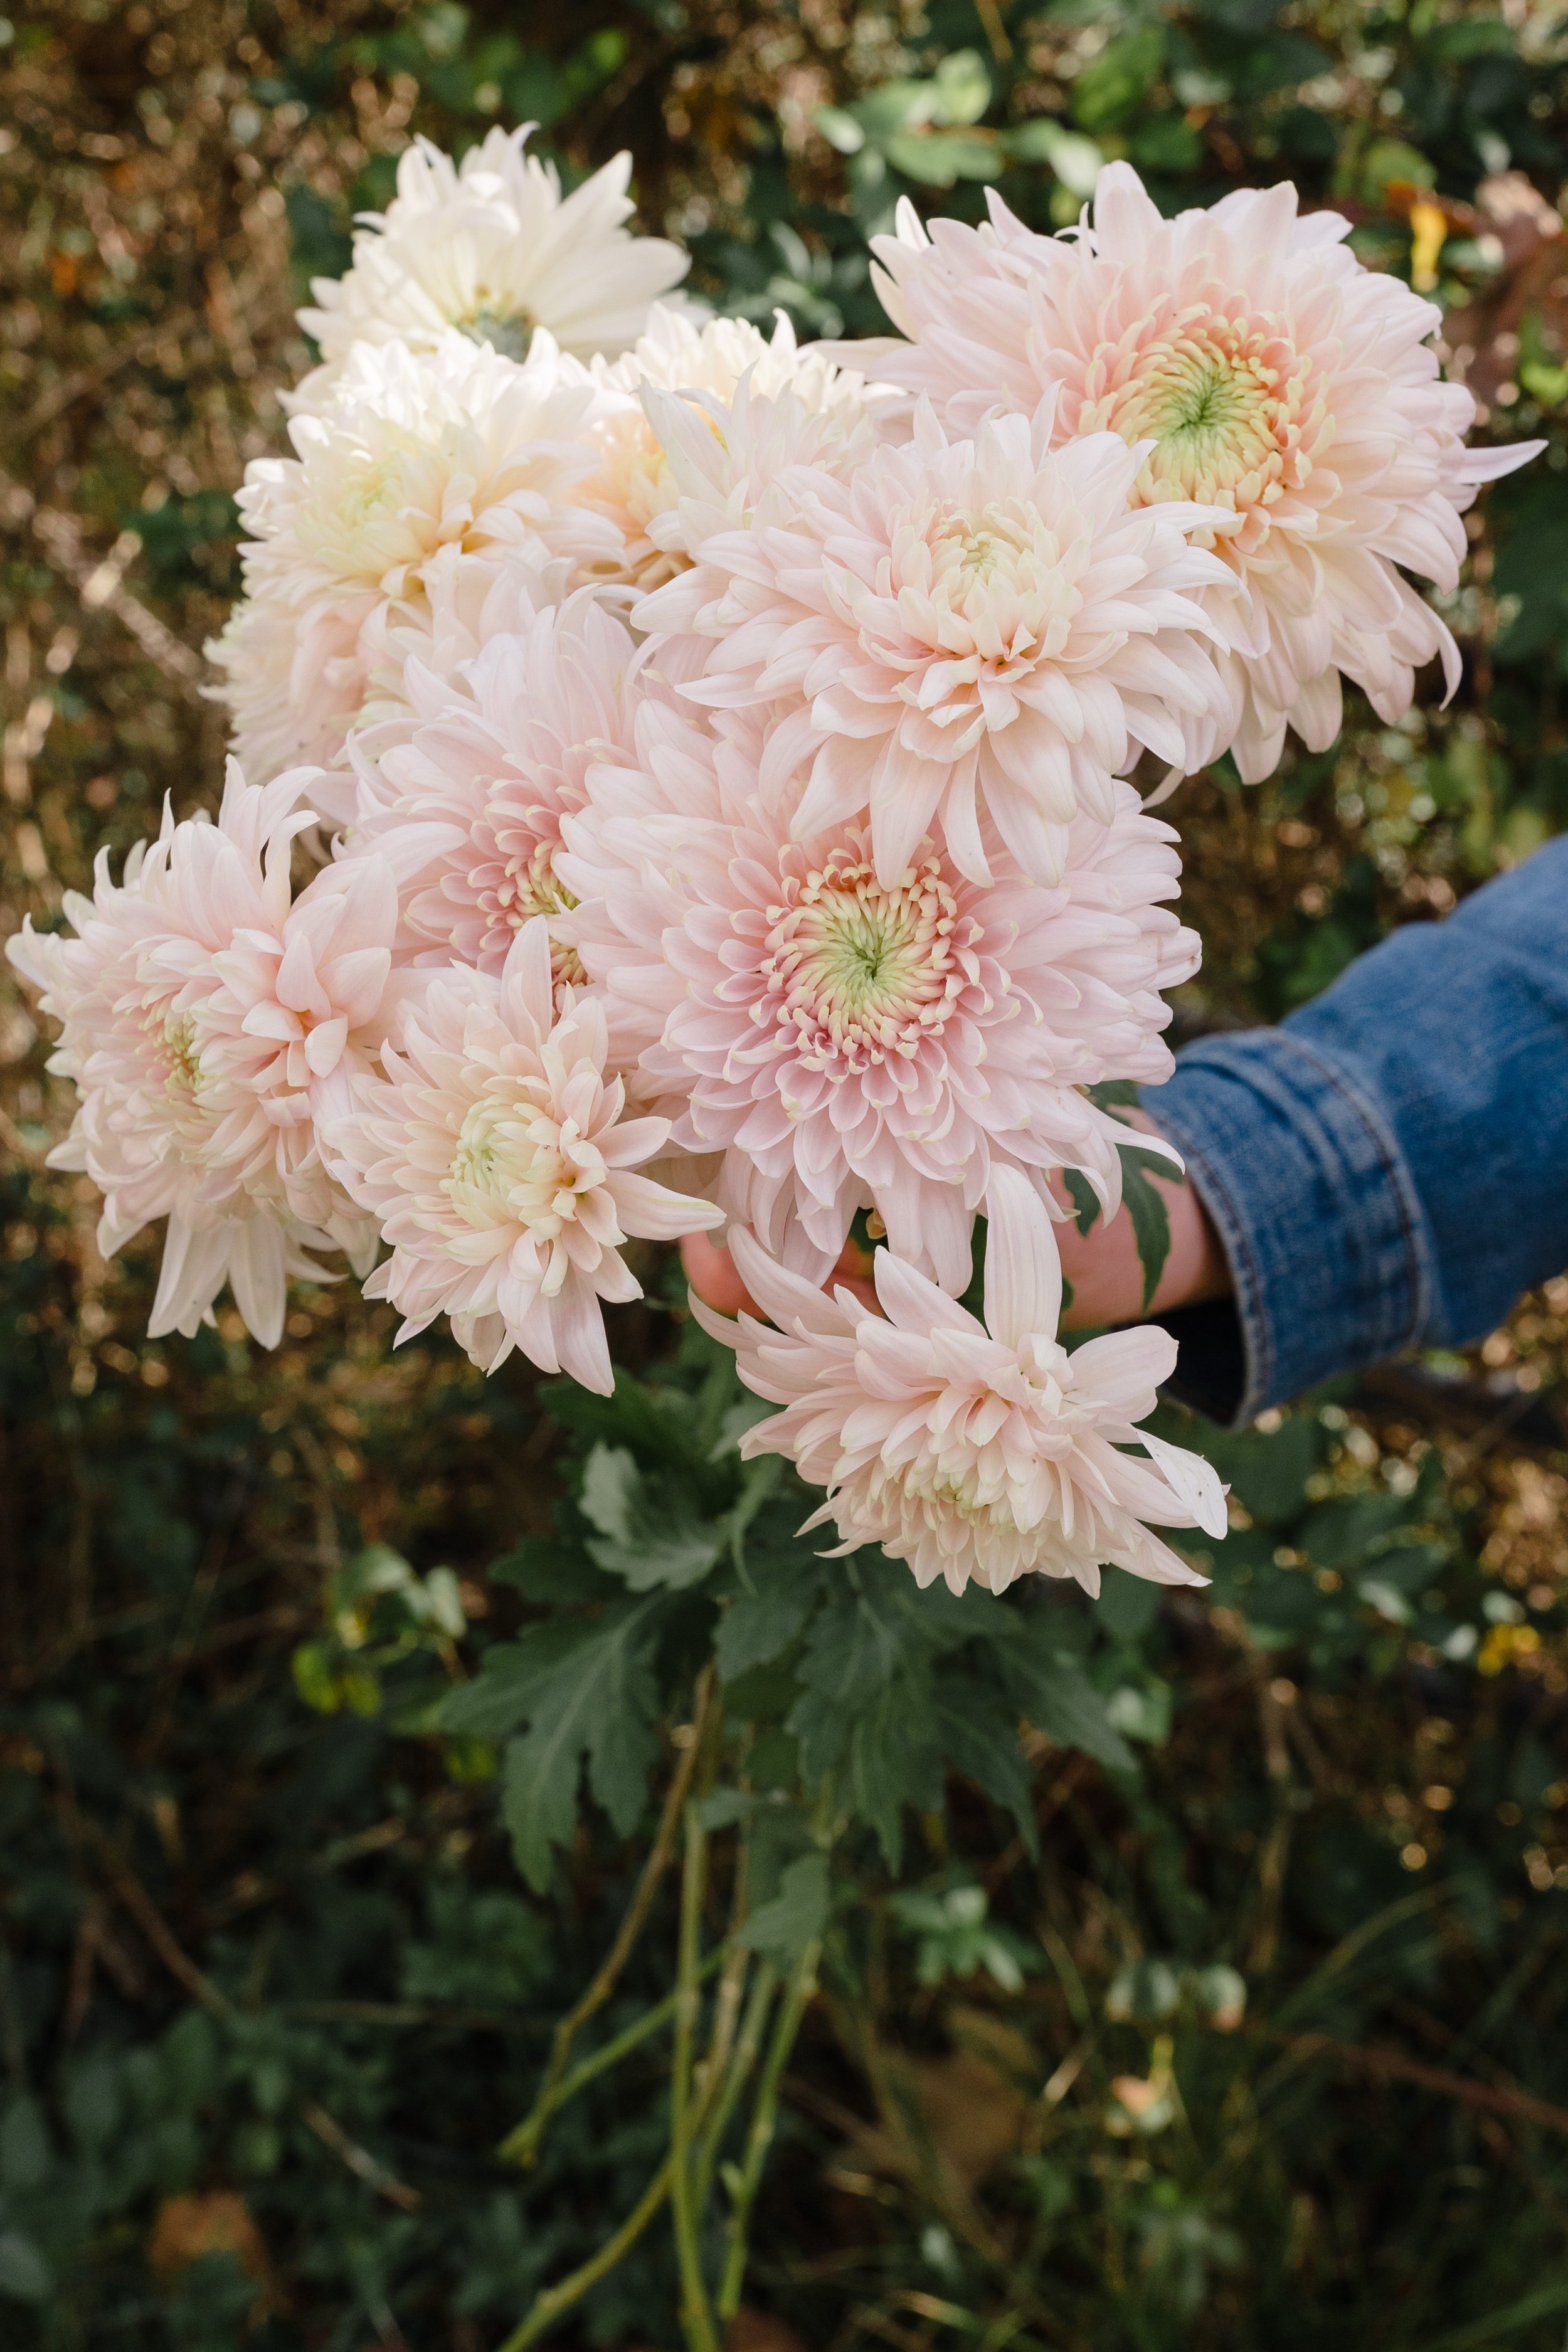
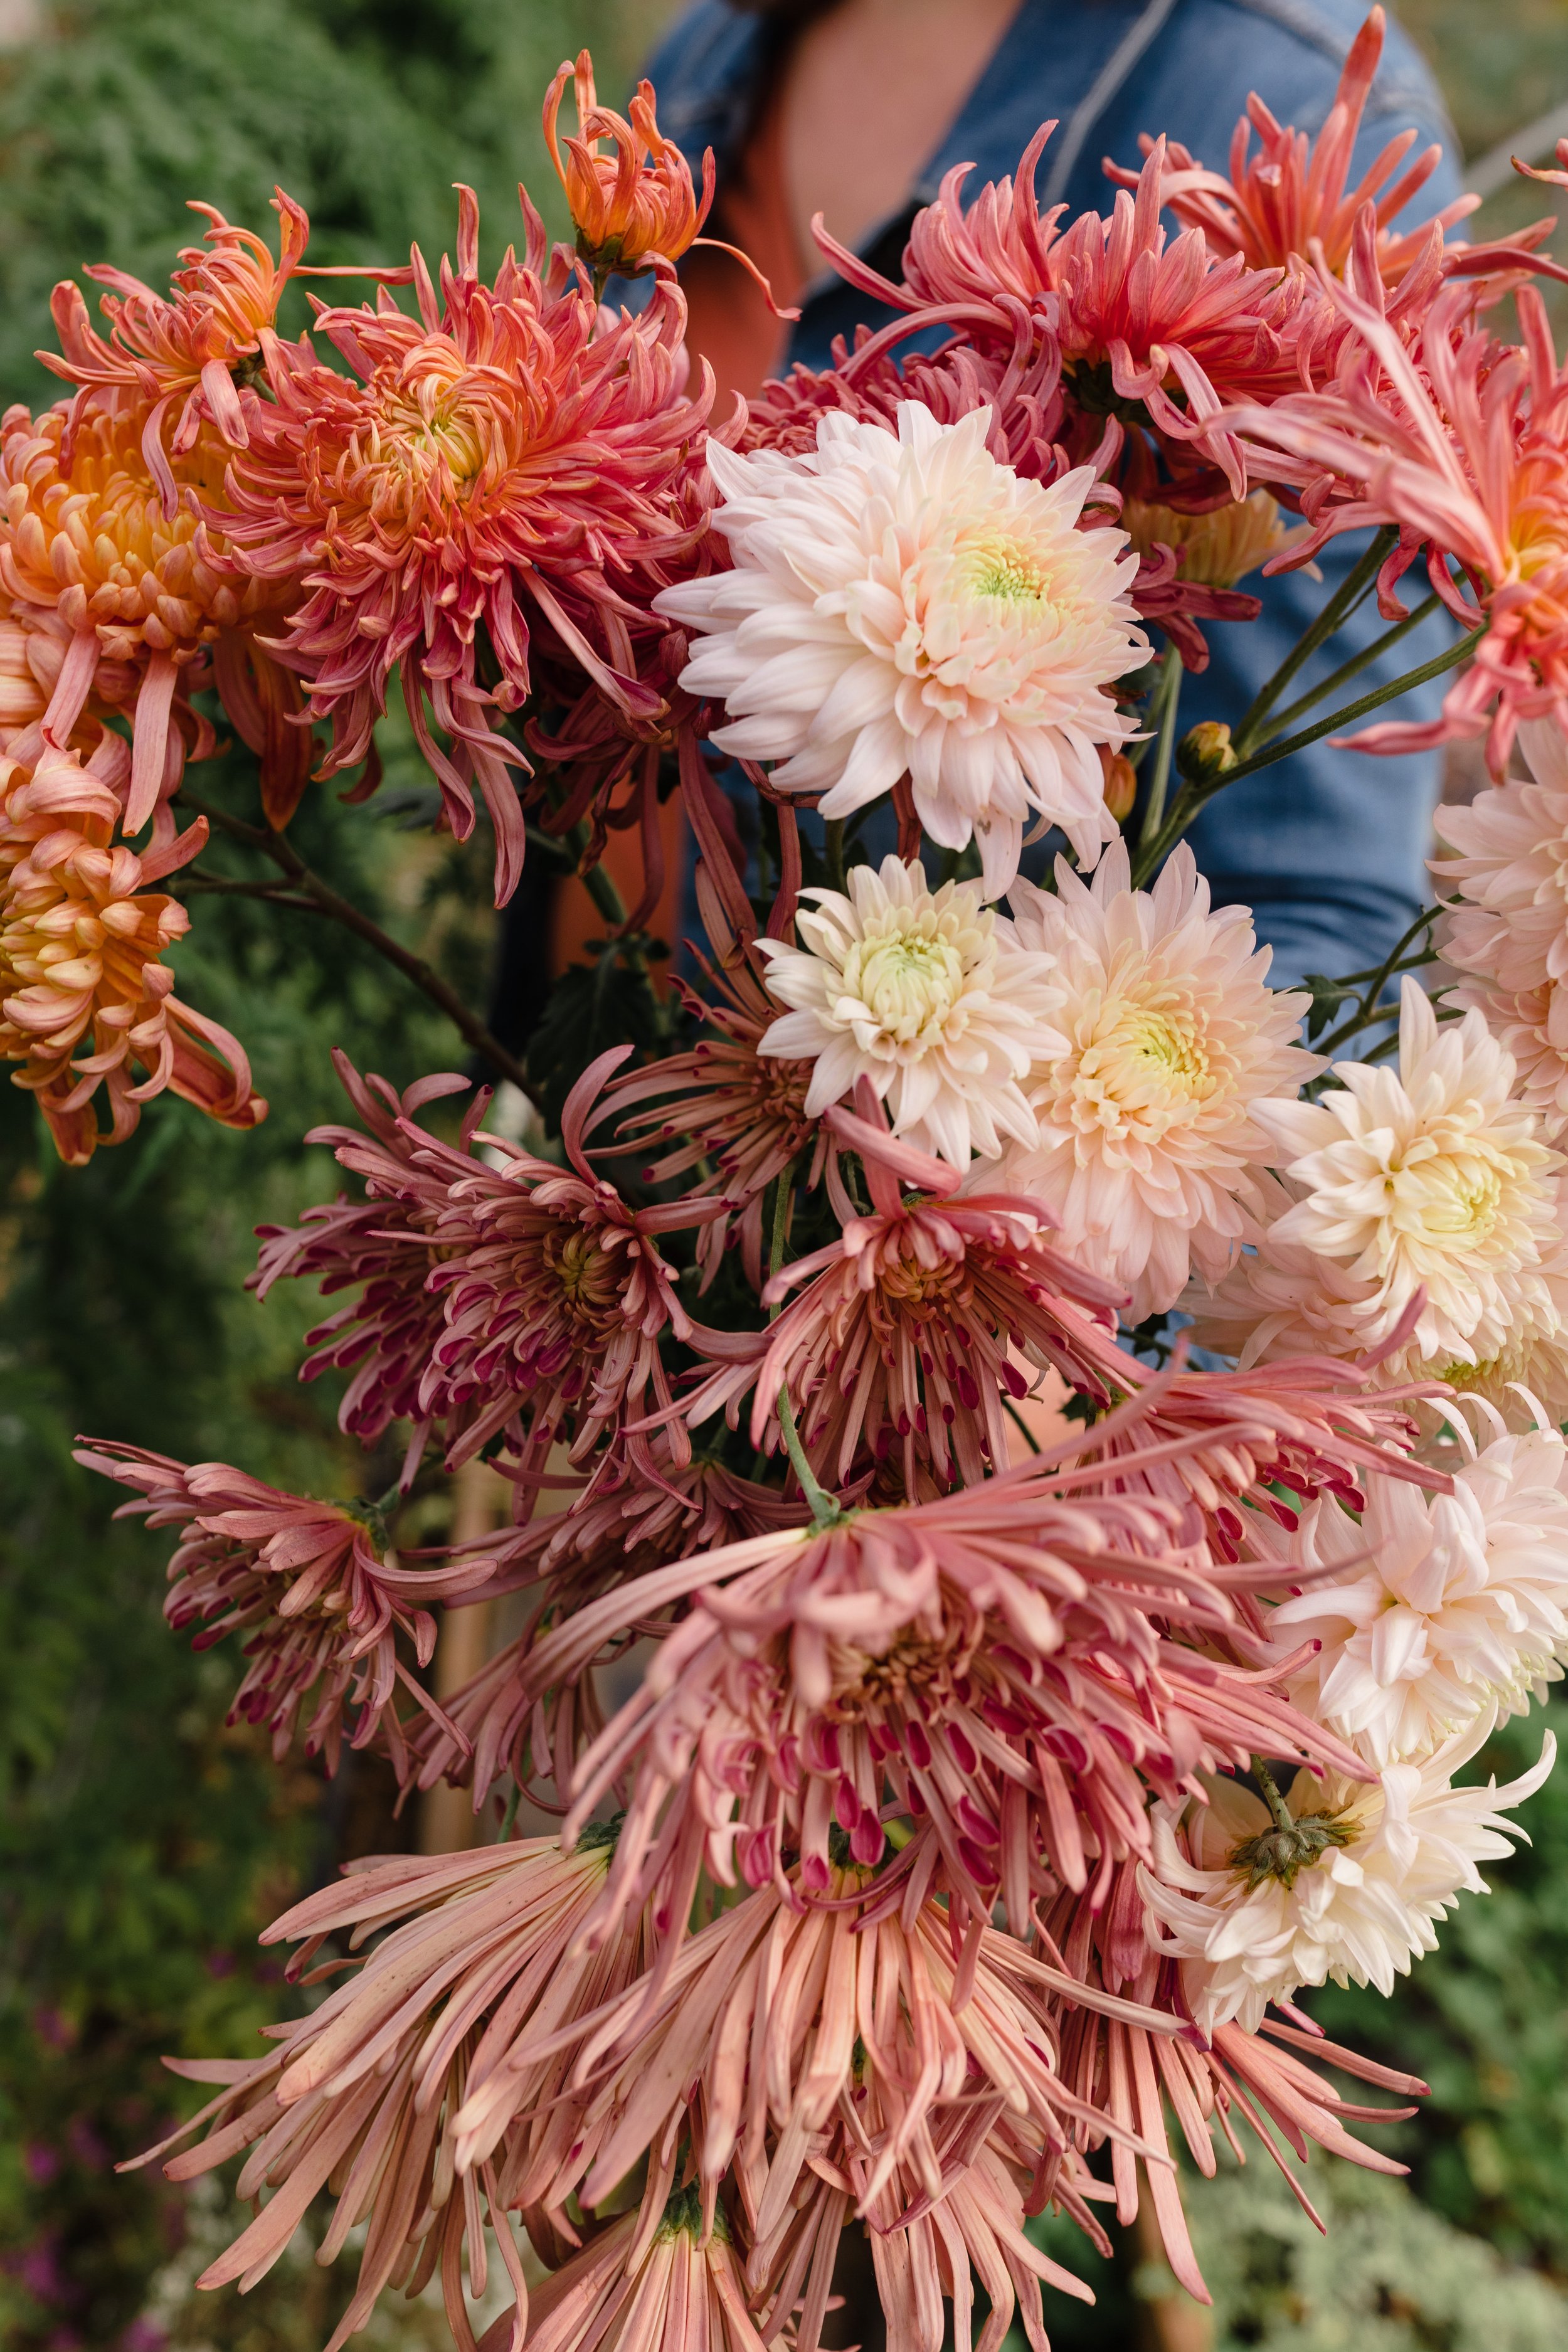
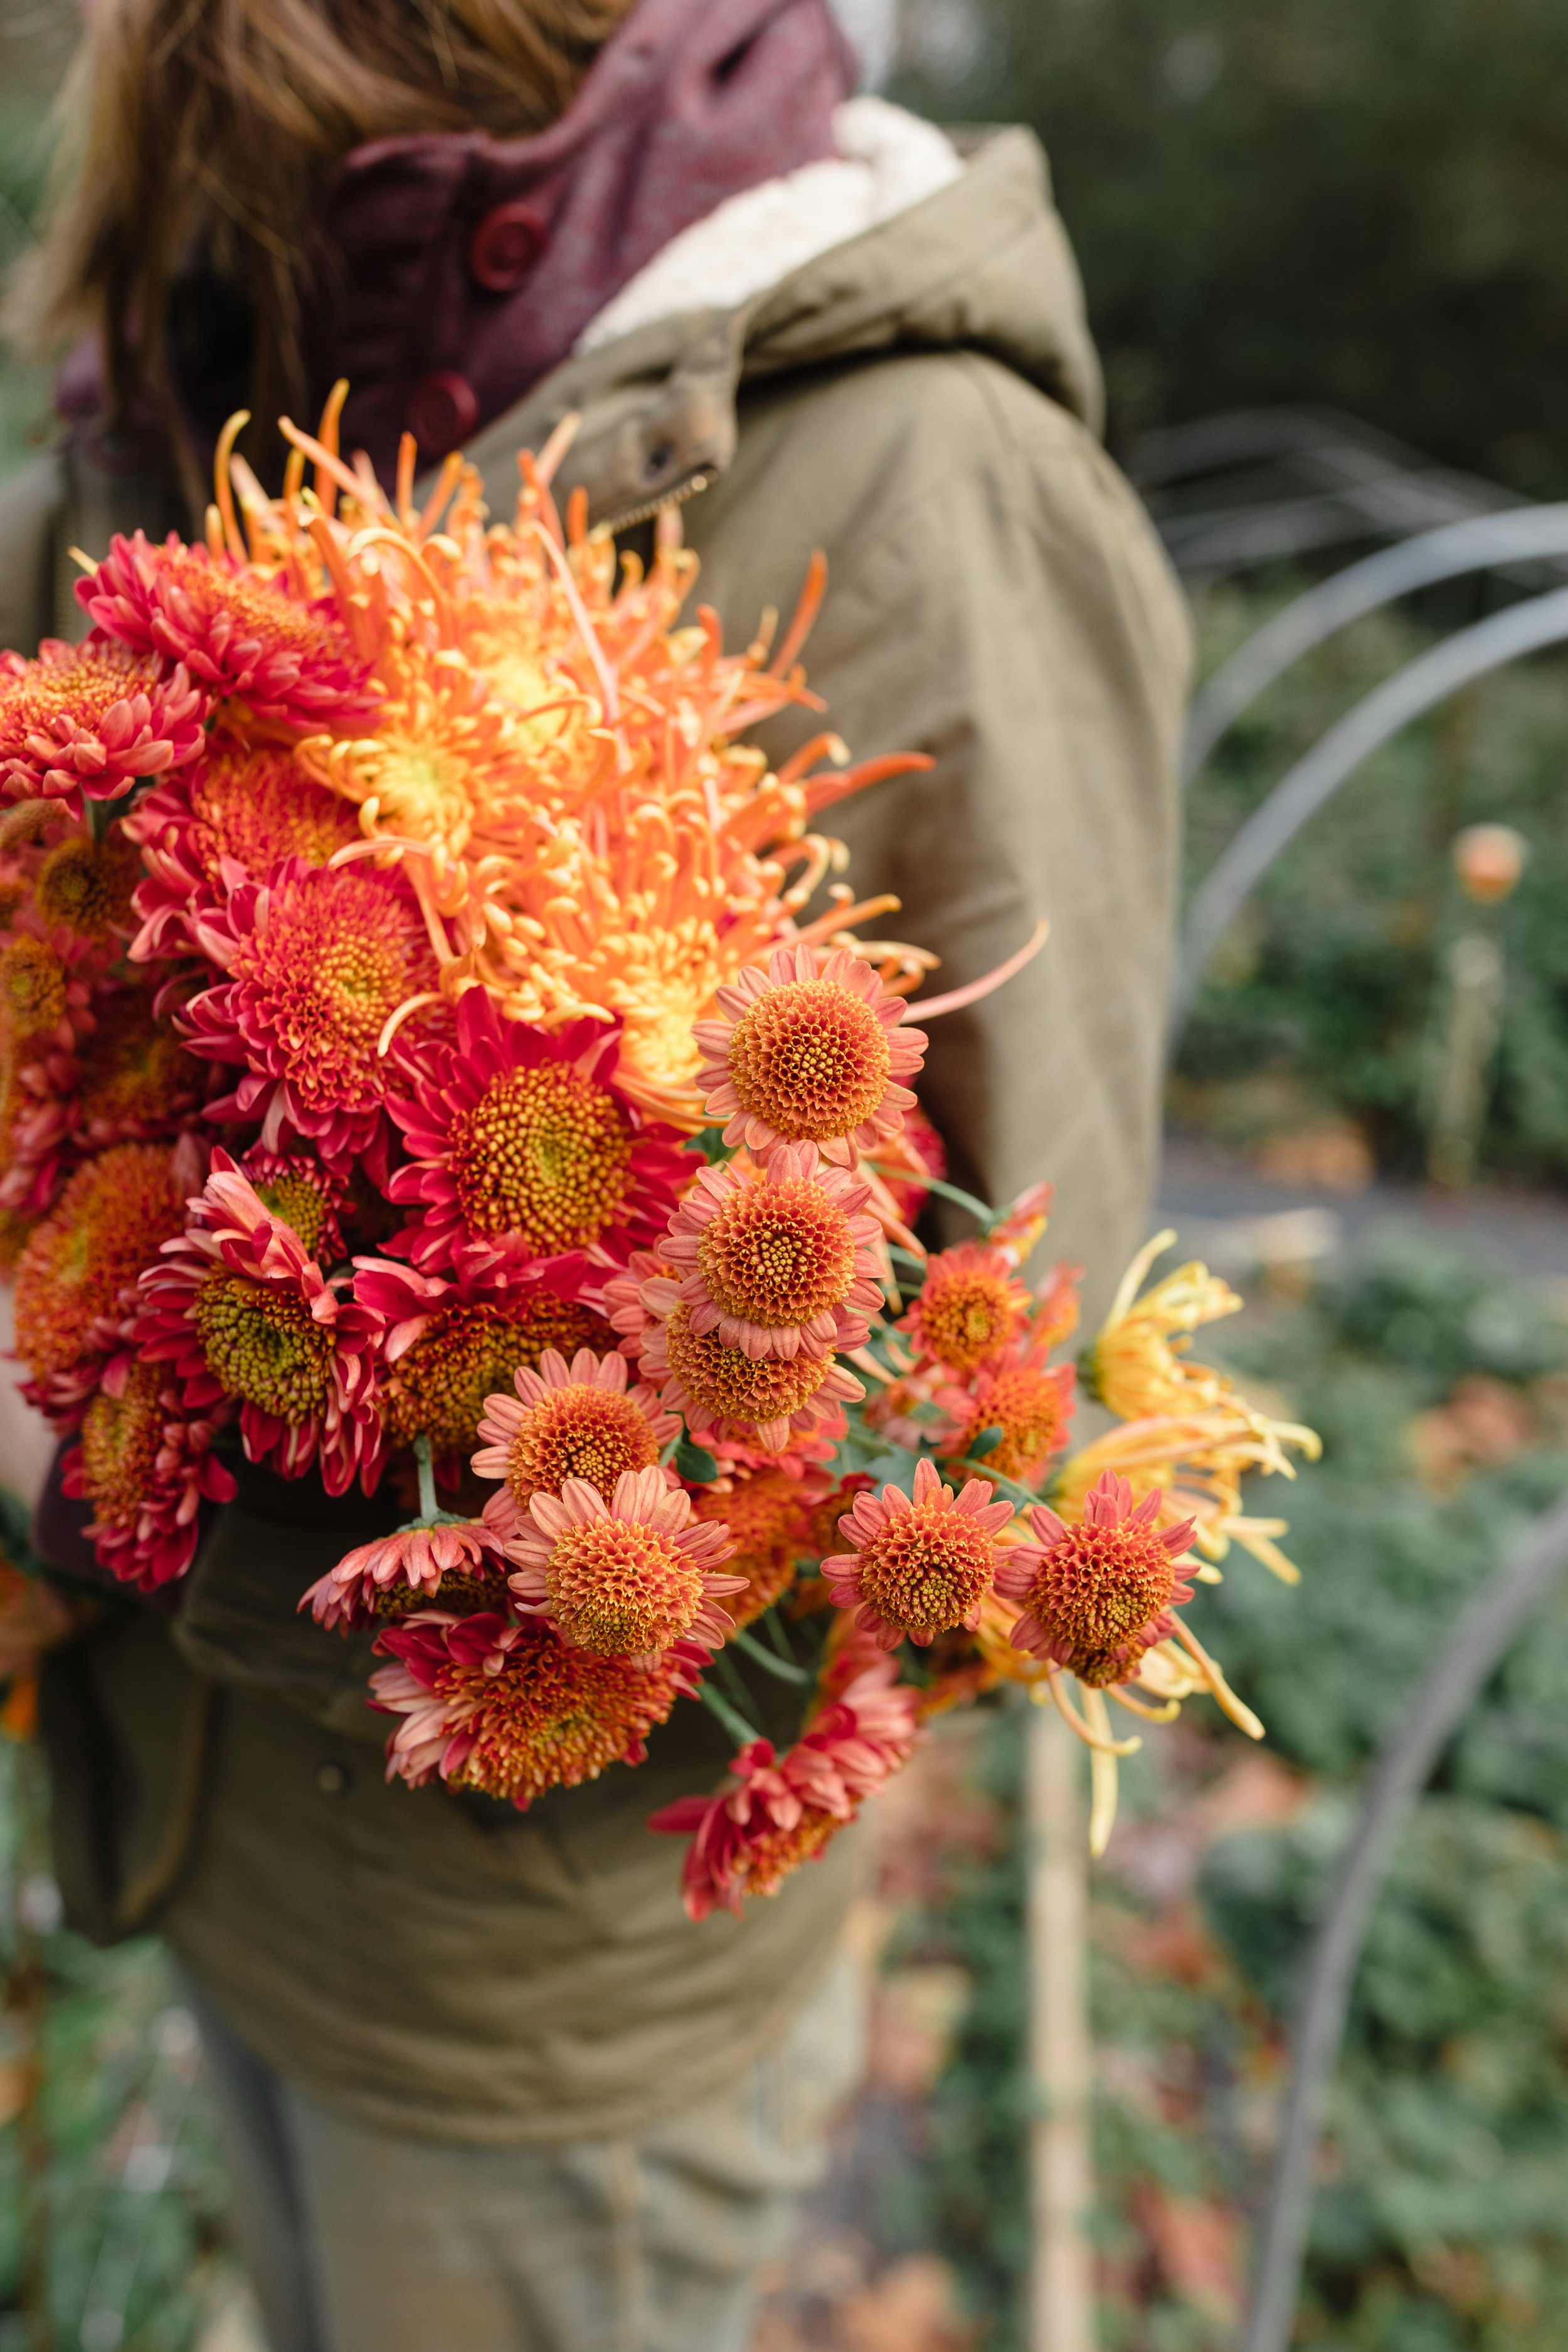
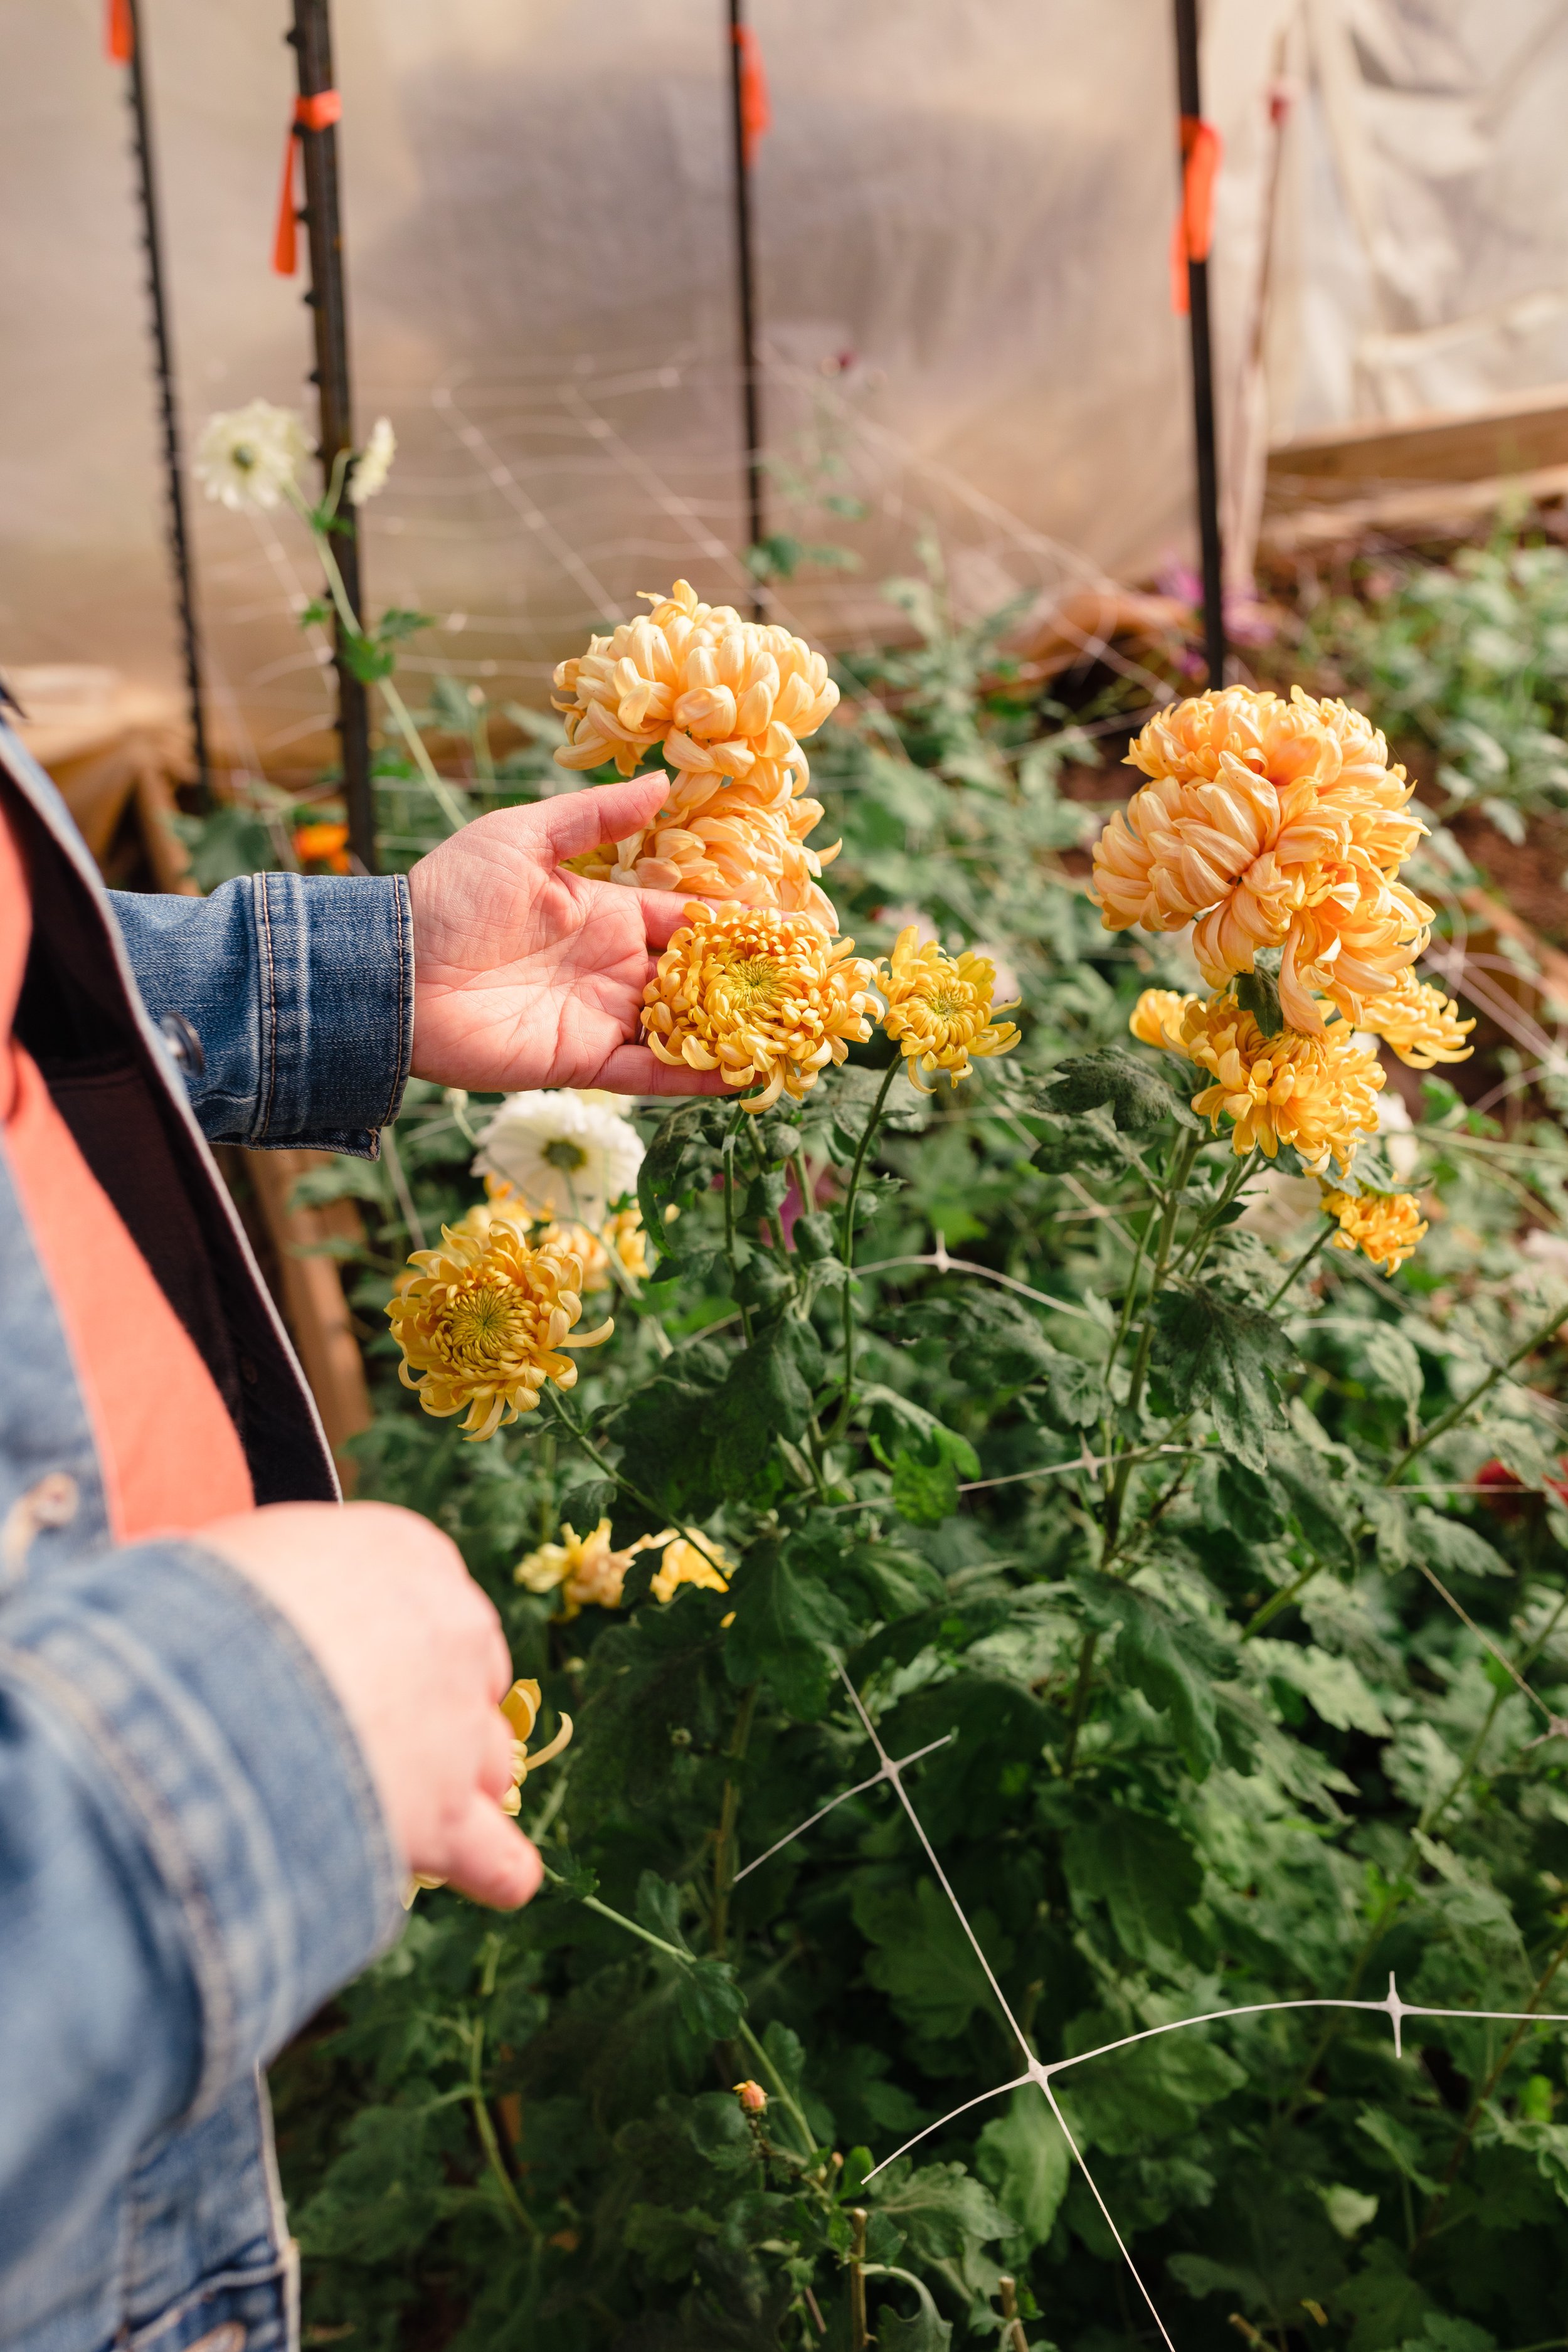
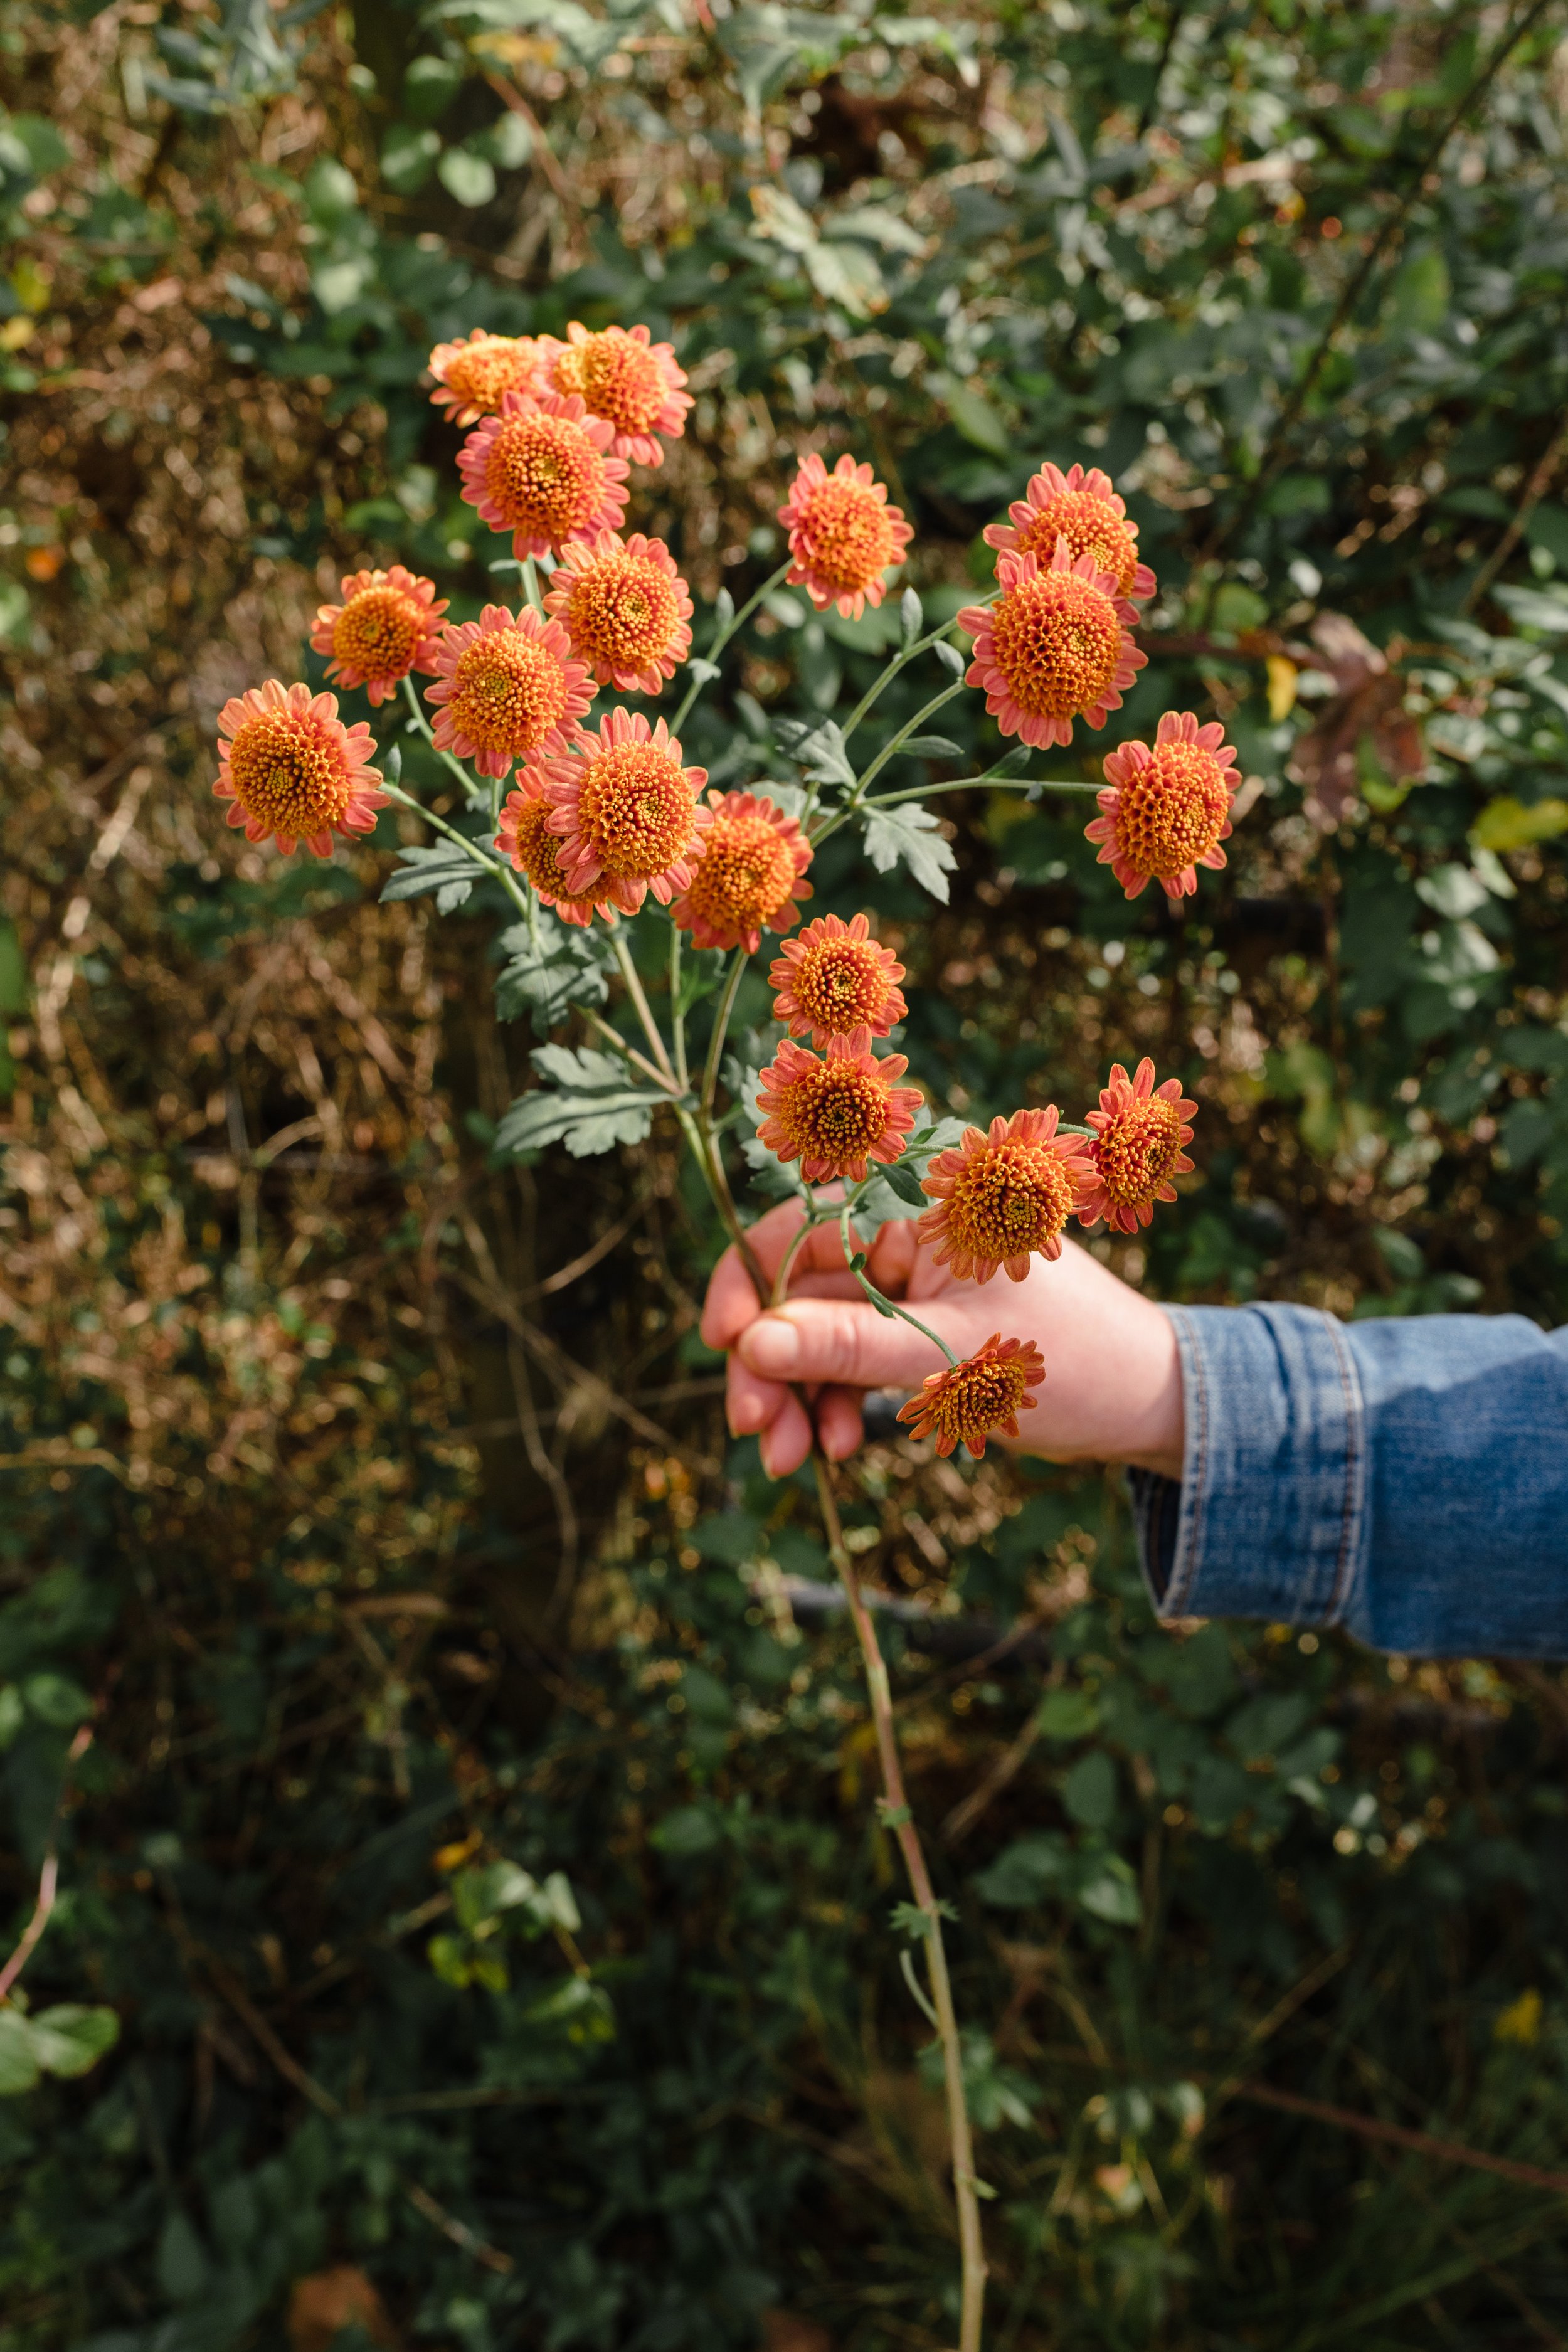
Last but definitely not least if you haven’t jumped on the heirloom mum train yet— it’s time!
Heirloom mums are quite possibly the prettiest flower you can add to your dahlias. The colors are quintessentially fall! In my climate, they are perennial so I’m listing them here. But if they aren’t cold tolerant in your area, grab some mother plants and just root out your stock once a year. I’m not going into detail here about how to grow them because that’s another 10 blog posts probably. But you can’t have a list of fall perennials for dahlias without mums!