My Top 5 Garden Dahlias in 2023
I love to trial new varieties- in fact it’s hard to keep up with so many varieties most of the time! But in doing so, I always find some gems. I’m mostly on the hunt for good cut flowers varieties that give lots of blooms in my Southern heat. But occasionally I find some that make great Garden Dahlias.
What makes a Garden Dahlia versus a Cut Flower variety? Most dahlias are good cut flowers but there are definitely some that are better than others. And you can grow most dahlias in a landscape style garden setting too! But when I say “this is a garden dahlia” - What I mean is - This variety stands up well on it’s own or with very little support (they are usually shorter varieties) and they also give a steady supply of blooms. Some dahlias throw all their blooms at once and then you don’t see another bloom for 6 a month. Steady color is an important aspect of a garden dahlia.
My Top 5 Favorite Garden Dahlias for 2023:
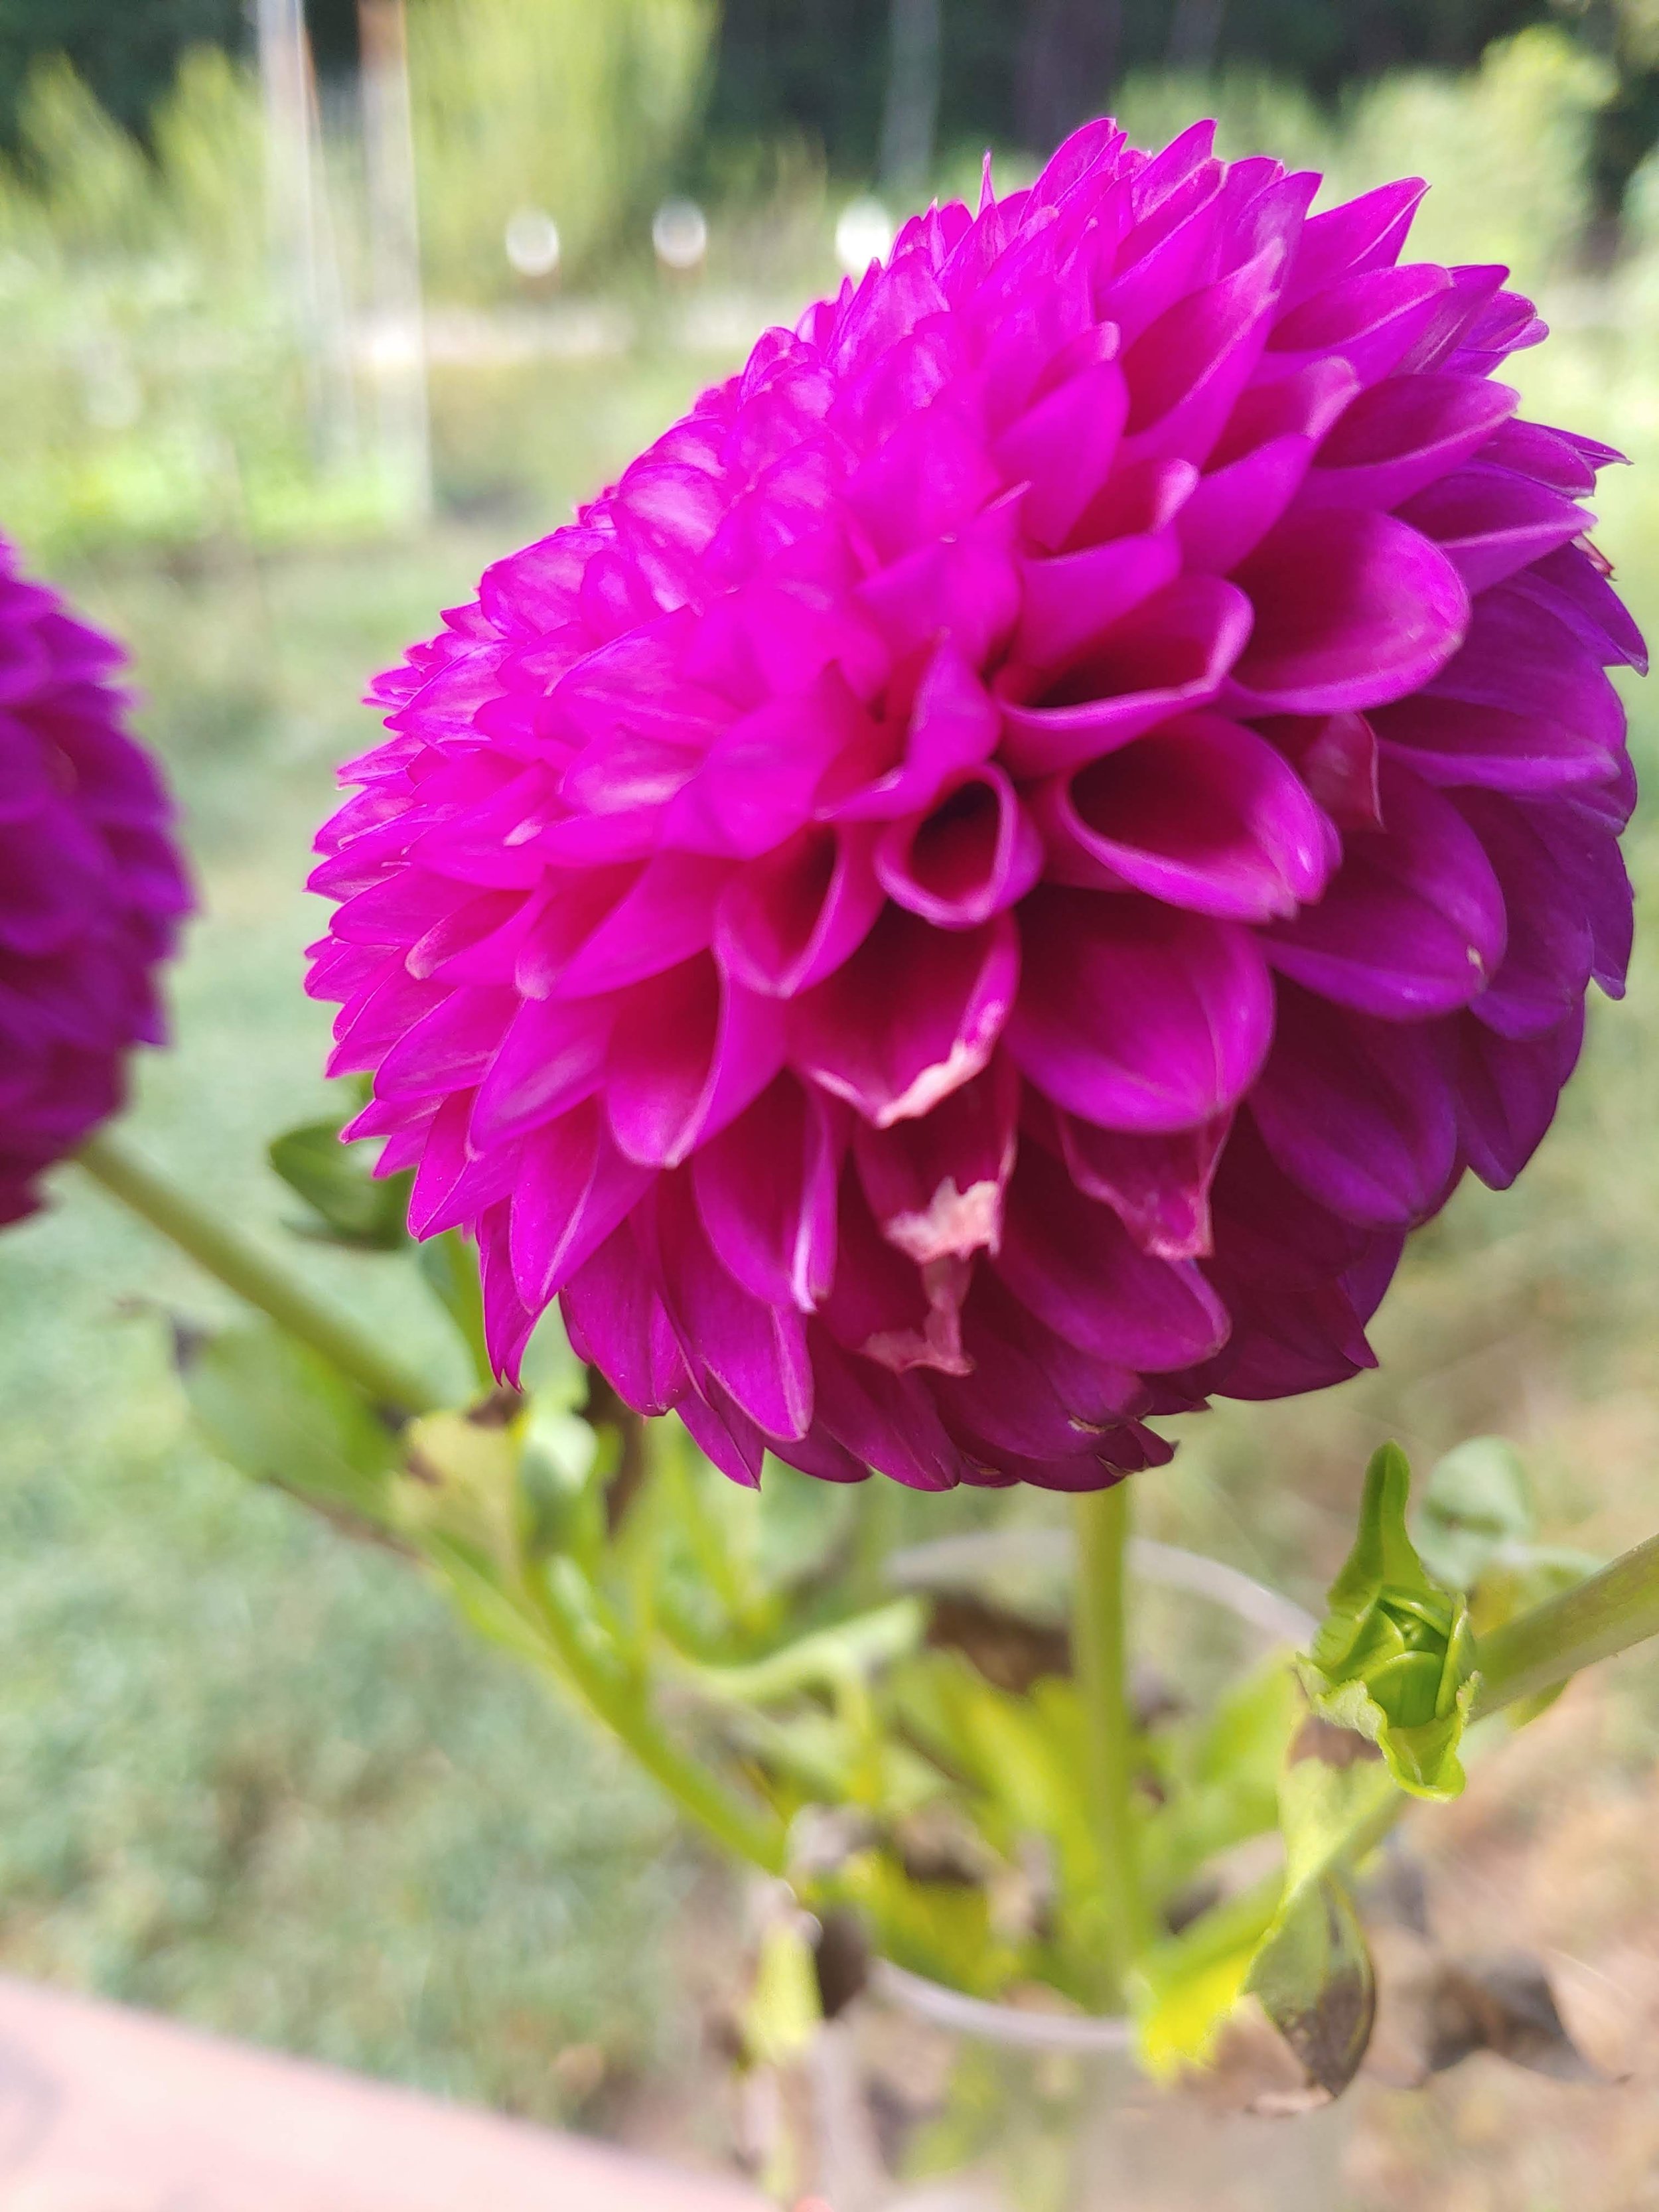
Muchacha:
You gotta love this one for the name alone— say it multiple times, you’ll love it! This dahlia is around 3’, beautiful darker foliage and strong stems. The blooms are darker, more purple toned in warm weather and then the colors begin to soften and merge into one another more as it cools. It also occasionally throws an off color like the mainly white pictured above. (I think blooms like that are fun in the garden because they are a nice surprise!) This one has a growth habit that produces stems long enough for cutting so it works as a cut and a garden dahlia. It’s a mid season bloomer and then keeps going until frost. It’s color allows it to blend easily with other tones in a bouquet or your garden.
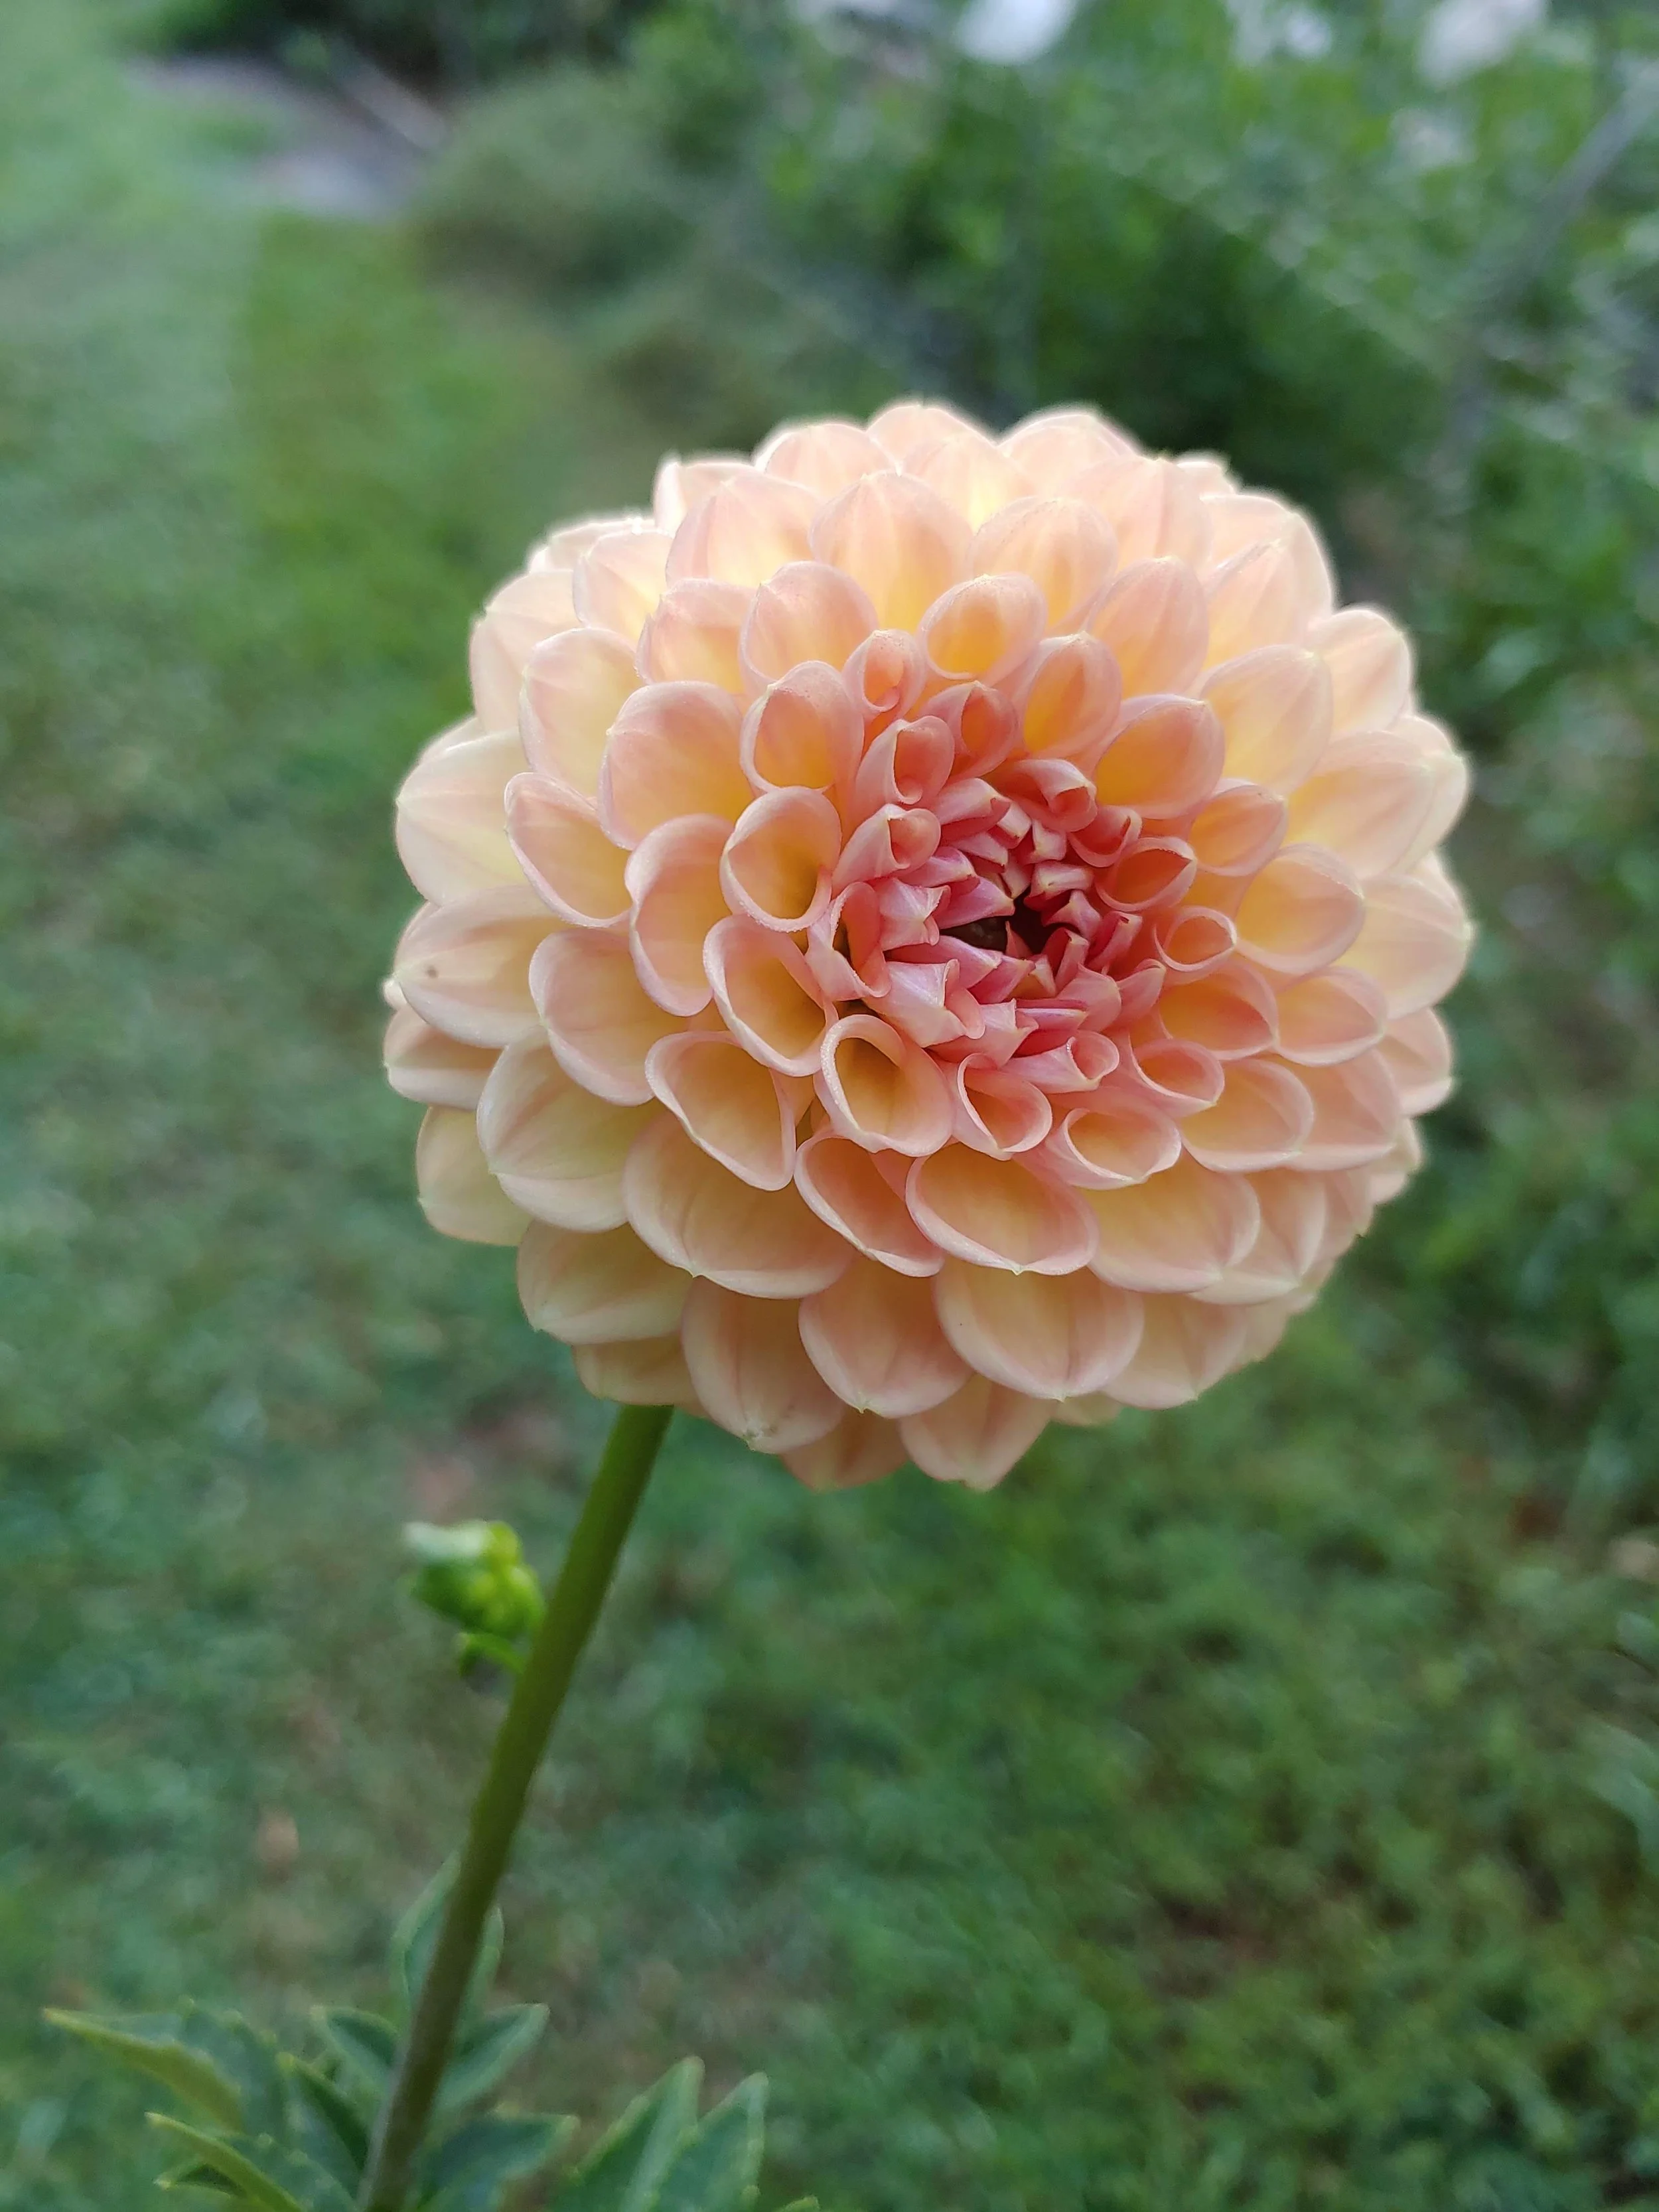
Totally Tangerine:
Totally Tangerine- What a great anemone dahlia! Beautiful color and so many blooms! This dahlia began early August for me and bloomed her head off for a month. Then I cut it back by half and within about 3 weeks she was blooming again! This is a variety that benefits from deadheading a bit more regularly than other garden dahlias because it produces so many blooms. Doesn’t hold up well in a vase- I could really only get 2 days, occasionally 3. But it you want a dahlia to attract pollinators to your garden, this is the one. It’s also not super tall 2.5-3’ Needs little support- you could plant it between other plants and it would be just fine. Good tuber maker too so you can multiple your own stock!
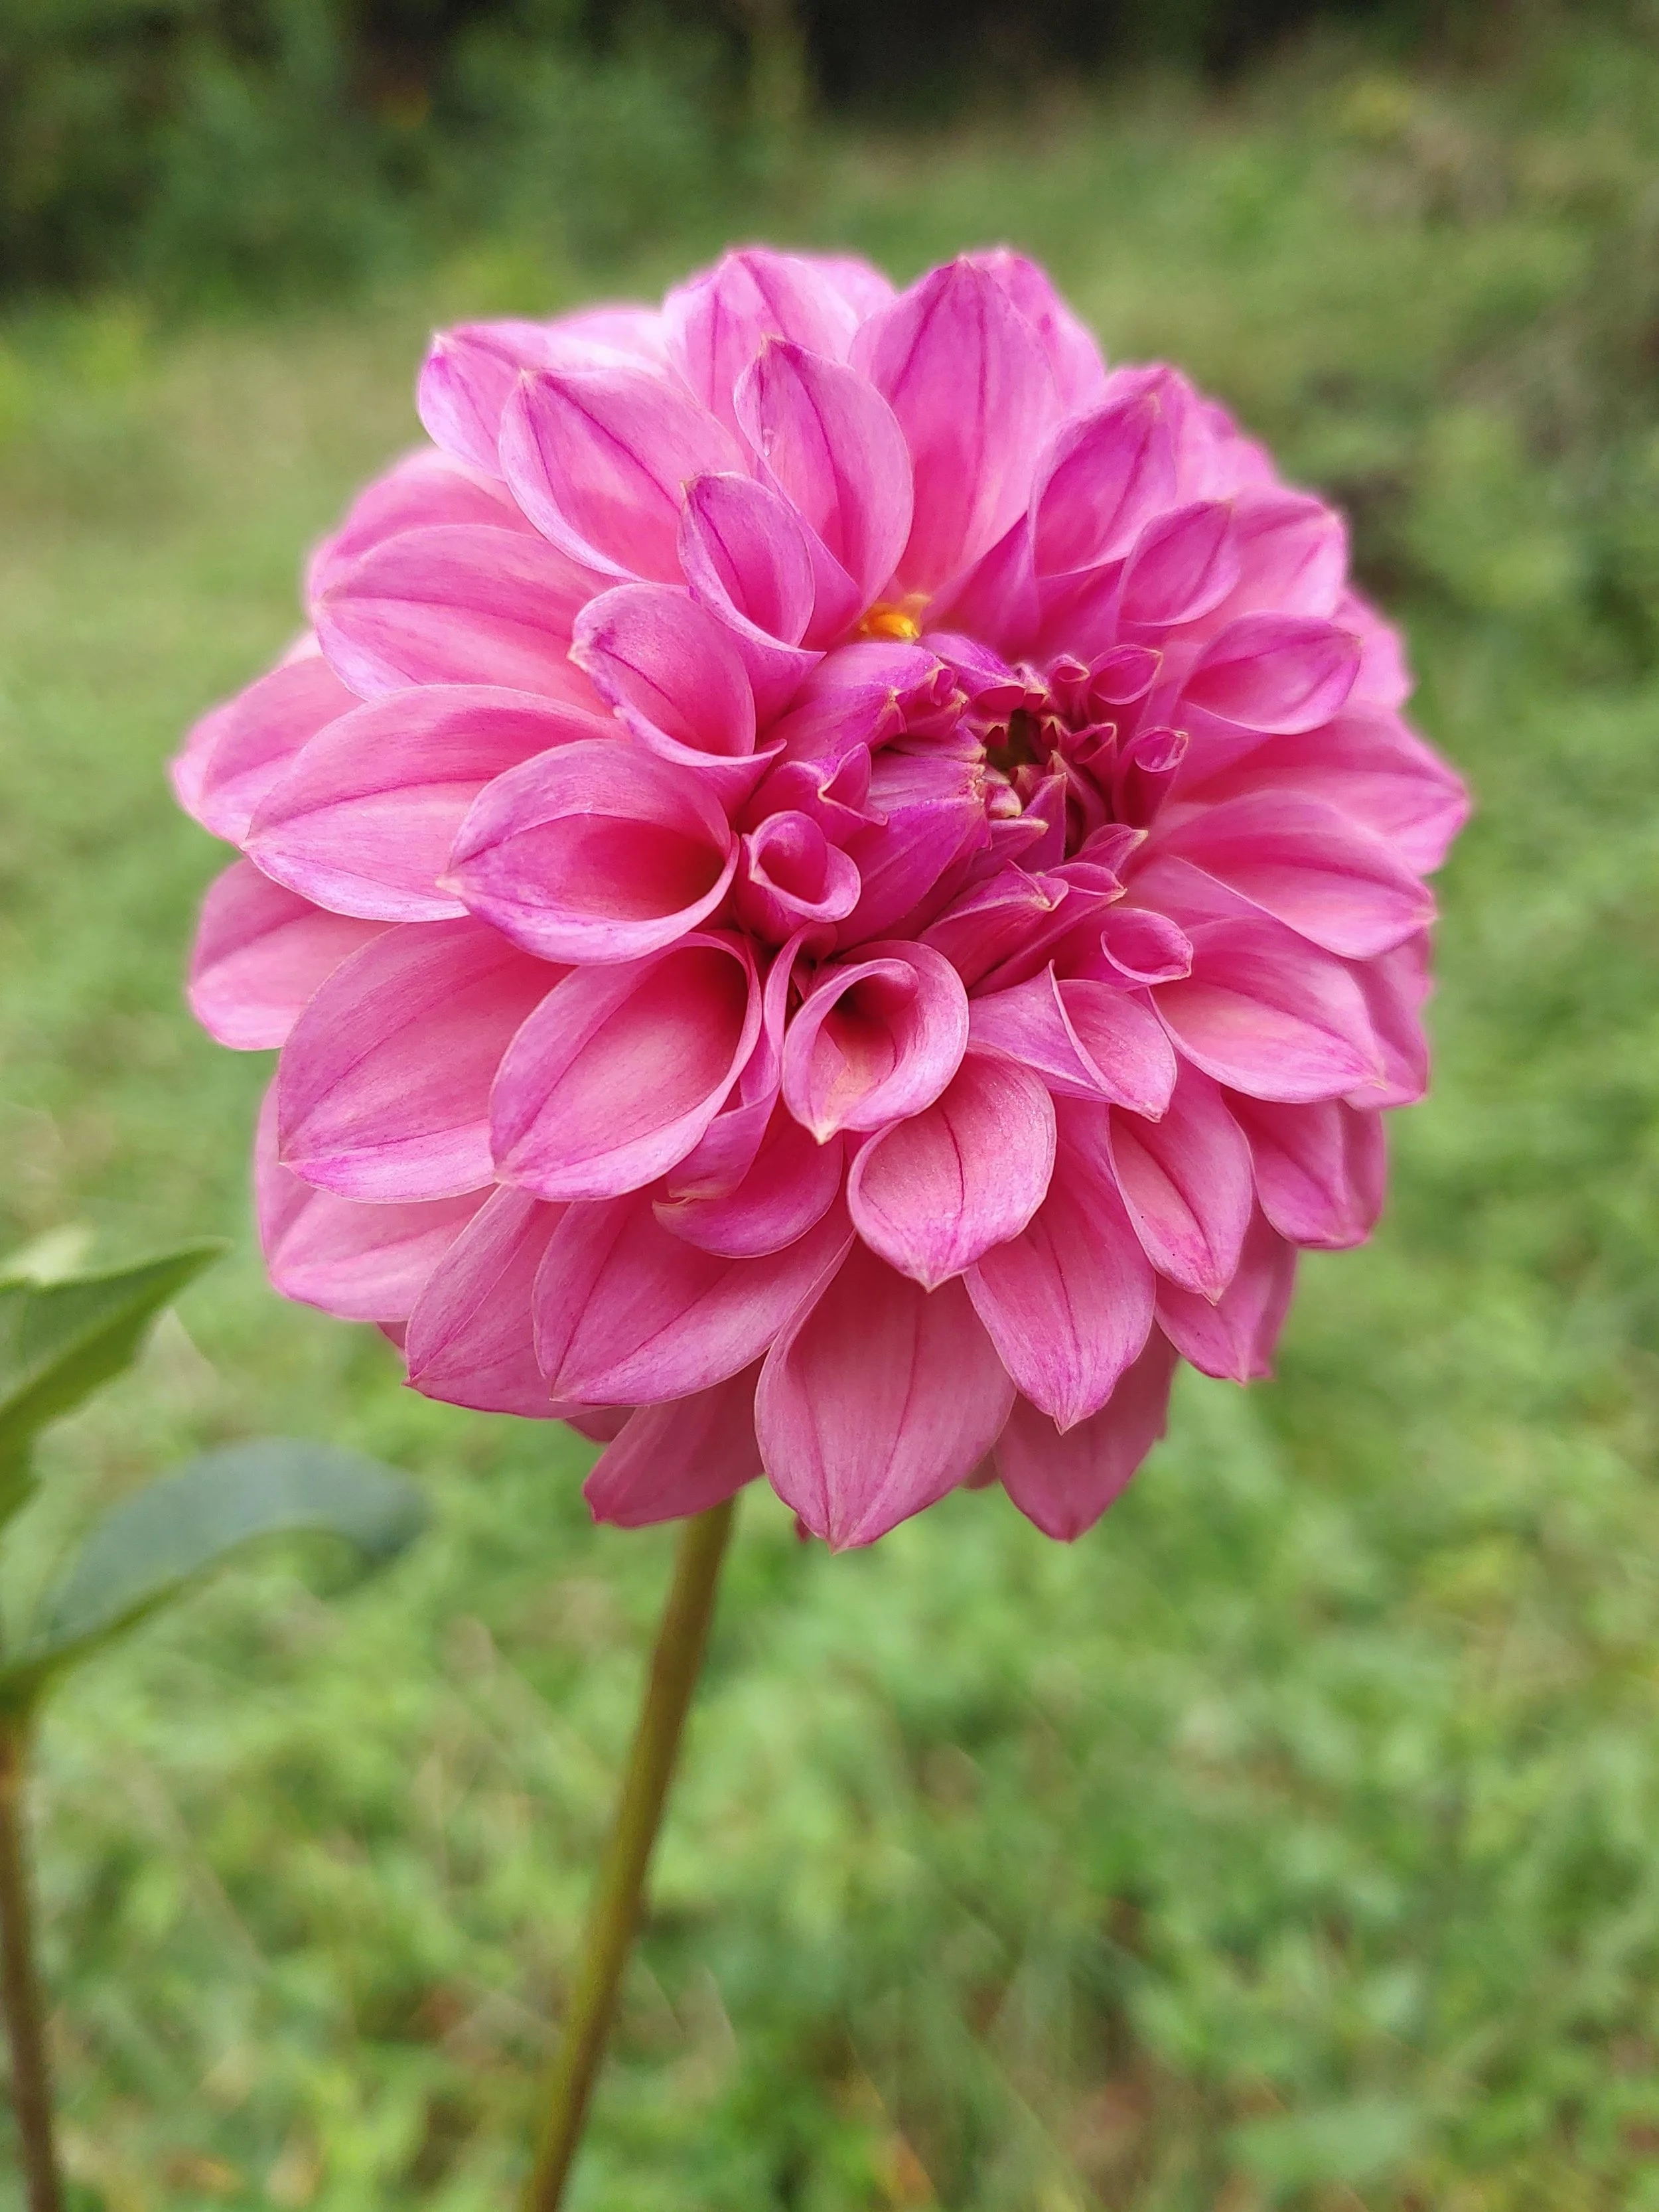
Esli:
Esli was brand new for us this year! And I’ll have to admit I was a bit disappointed at first— she was short! Such a pretty bloom but barely long enough to cut. But then I began to watch her and boy, did she pump out the blooms! She only grew to about 2.5’ in my field - she put all the energy into bloom production. This dahlia would be fantastic in a border. And she’s does make a good cut flower- just not really a production cut flower (stems just aren’t quite long enough). Her bloom begins med pink with a darker center and then fades to a nice pinky salmon as it sits in the vase. It’s a beautiful progression to watch.
Valley Rust Bucket:
This one is definitely a good cut flower but I’m putting her on the garden list because I think she makes a really good garden variety too! (She pairs well with Brown Sugar as shown in the group picture above. Valley Rust Bucket is the smaller bloom) I like the 2 tone reverse coloring but I wish the bloom was a bit bigger. But she’s prolific, has a nice upright growth habit with strong stems that make it ideally suited for a garden. It also begins blooming early which means you are going to get a nice long season of blooms!
Mystique:
I know there are going to be some people who disagree with me on this one. That’s ok! I absolutely love the color on Mystique — which is why I’ve grown it for 4 years, hoping it would make the grade as a cut! But it just doesn’t have it— as soon as I cut this variety, the stems get floppy. I’ve grown it in different conditions every year. But this year, I stopped cutting it after about 2 weeks and just let it bloom. And— I noticed it’s a great dahlia- for the garden. This one is taller than most “garden dahlias” but it has a nice upright habit and would look great at the back of the border. It definitely deserves a spot in your garden but not the production field.
Now, I know that’s 5 but I’m going to throw in an honorable mention for one of the 2022 varieties: Yvonne! I grew this one again for the first time in a few years. I gotta admit, I love it! It’s petals can be a little delicate but I think it’s worth a bit of extra special care. The blooms are so beautiful!
If you’d like to see the 2022 list, click here, enter your email and it will be emailed to you!
All the above dahlias will be available in our upcoming dahlia tuber sale. Sale begins November 17. Make sure you are on the Dahlia Lovers Newsletter for all the details!
Frostmas has come....now what? (Tuber Digging Guide)
It’s official- November 2, 2023 and our field has frosted. Frostmas has come! And you know what? I’m really excited. We’ve had a great growing season this year and I think the tubers are really going to show it.
We began the digging process November 1st actually. We begun with digging Sweet Nathalie and Cafe Au Lait. They both look fabulous!
Cafe Au Lait
I thought I would take you through our process of digging tubers.
First off- you don’t have to wait until frost. We don’t usually wait most years. Occasionally be can make it to mid November before we frost. But we have to get the tubers out of our beds so we can plant spring flowers. You only need the plant to have been growing for 120 days to get tubers. You’ll hear some people say less than that but since some varieties take longer, I think 120 days will cover it all.
Second: About a month before you want to dig, make sure your dahlia is true to name. I write my labels on vinyl window blinds with pencil - the cheapo kind that you can find at the local hardware store. Pencil doesn’t come off and fade in the sunshine. I use a hole punch to make a hole and then zip tie it to the base of the plant. It’s also a good idea to make a map of your planting plan when you begin in Spring and then check it as they bloom. Double labelling is good in case you lose a tag during digging! (It happens!)
The Digging Process:
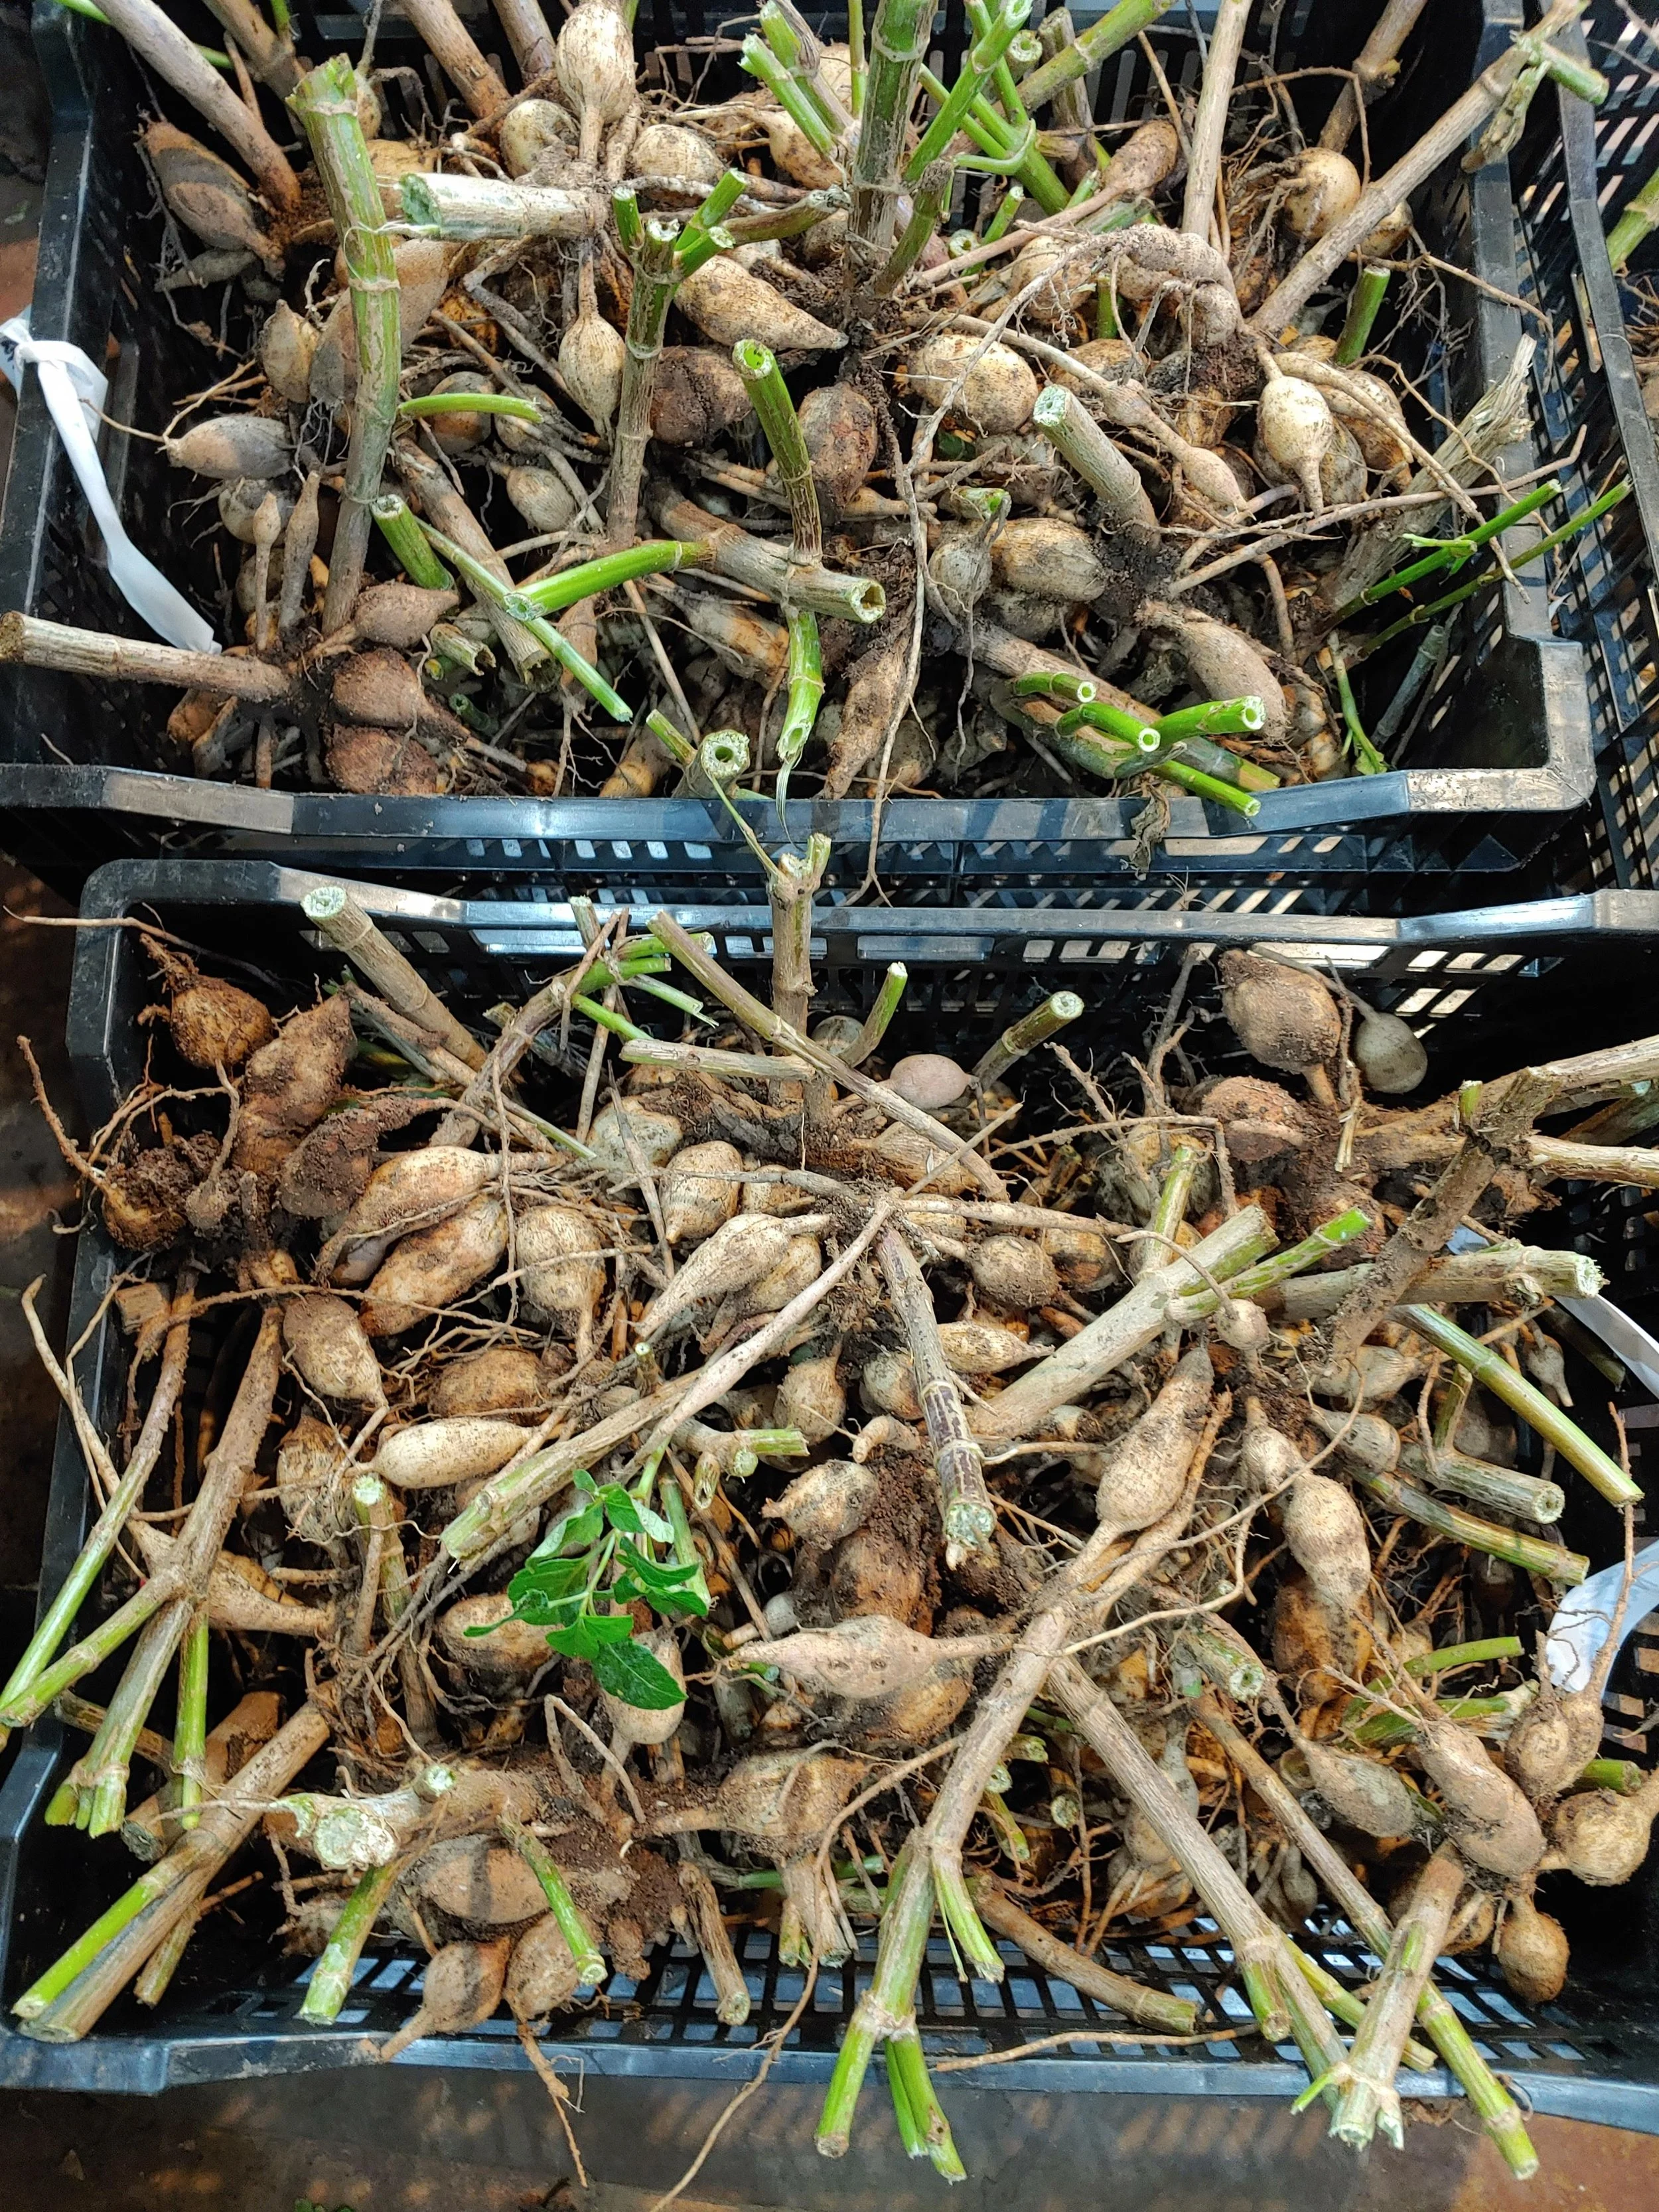
Once we are ready to dig, we remove the netting (or any supports you have used). Then we cut down our plants to about 4-5” of stalk left above ground. Now you are ready to dig.
You want to begin digging about a foot out from the stalk. This ensures you don’t slice the tubers. You want to dig all the way around the stalk in a circle and gently start lifting the clump. Some come up easy, some take forever- depends on how big the clump. Once you get it lose, use your shovel to lift it up. Don’t pull too hard by the stalk— this is a good way to break the delicate necks of your tubers. Begin brushing dirt off so you can see what you are working with. And just keep using the shovel to loosen it until the clump is free. Don’t shake too hard or pull too much on the stalk. During digging is the time when you can cause the most damage to the tubers so be gentle with them!
Once you get your clump free, brush off as much dirt as you can with your hands. At this point you can go 2 ways: Wash immediately or store to wash later. We store to wash later since we are digging 1000’s. We put all the clumps of one variety in a bulb crate, leave them to dry for a few hours (no longer than overnight) and then they go into the flower cooler (set at 40ish degrees). We use our flower cooler for storage because it holds temp and humidity really well. I begin the tubers at around 40 because we are also still storing fresh flowers in there this time of year too! But after the flowers are done I raise the temp to 45. Ideal humidity is around 90%. You can add buckets of water to your cooler if you need to raise the humidity.
If you choose to wash immediately, use a spray that has a controllable flow. You’ll need some force but not too much. Once again, you can damage the skin on the tuber if you use too much force with the water. Wash the tubers until all the dirt is gone. Let them dry for about 24 hours. Now you are ready to divide or store in clump form through the winter. If you aren’t going to divide immediately (but within a few days/weeks), make sure you are keeping the tubers in a storage environment (45ish degrees, 90% humidity).
***Once tubers are out of the ground, make sure any drying takes place in an area that doesn’t freeze! I use my basement.
It’s important to move along with getting your tubers to their final winter storage as quickly as you can. We are dealing with 1000’s so it does take a few weeks. But our goal is to always have our tubers divided and store by Christmas!
We divide over the coming weeks. After division, the tubers are left to heal their cuts overnight and then put into winter storage. We use peat moss (we’ve been using the same peat moss for years because we keep is bone dry). However if you are just beginning this storage journey then I would suggest vermiculite- a lot more environmentally friendly. Eventually when we run out of peat moss, we’ll switch to that. The tubers are layered into plastic containers (I recommend using containers no more than about 10” deep) with peat moss between each layer. If you use shallower containers, it’s easier to check your tubers throughout the winter. Don’t use carboard boxes to store in- they zap moisture out of your tubers.
But the biggest piece of advice about storing your tubers is this: Check them often!! Storing tubers is not a set it and forget it task. You are storing a living thing. You have to make sure your conditions are holding! I recommend checking at least every 2 weeks- set a reminder on your phone. Checking ensures that if things begin to go wrong, you will be able to slow down whatever is happening and keep it from spreading.
Lastly I’ll leave you with this:
A few years ago I tracked the amount of time it took to dig, wash, divide, and store our crop. I’m tracking again this year with 3100 plants. We are 3.5 hours in so far!!
For 2200 Plants:
Digging: 39 hours
Washing: 15 hours
Dividing: 75 Hours
Storage: 20 hours
Who Gets the Boot?
It’s that time of year- time to make the calls. Who gets to stay and who goes. I’m still undecided on a few and won’t make decisions on those until this winter. But I have identified a few that won’t be back in 2024.
***Disclaimer: I’m a cut flower grower so I’m looking for productivity, good tuber makers, certain colors, certain growth habits, etc. None of the following dahlias are “bad”. I wouldn’t put any of them on a ‘absolutely do not grow list’— they just aren’t right for my field.
Here we go:
Cryfield Harmony: I really hate to cut this one because it’s productive and an early bloomer. But in our heat, the center doesn’t ever close completely and is a big yellow blob in high temps. Now— if I was a cool climate grower- I’d give this one a try. It’s color is amazing (and was what I was looking for). It also has better than average vase life. (You may recognize this one from the vase life trials blog)
Cryfield Harmony
Mystique: I’ve grown this one for 3 years because I really wanted it to work. The color is to die for and not easily found in the dahlia world. But she’s just a bobble head. She does make a great productive dahlia for your home garden though. She’s an early bloomer too so you can enjoy her for several months of the season. Dark stems and dark foliage make a stunning combo.
Mystique
Muchacha: It’s a shame to cut a dahlia with such a great name! Gonna miss saying that. This one is really a great dahlia but just not what I’m looking for. She’s a bit small and her coloring is dark purple with some golden yellow. The original pictures I saw online looked burgundy and pink mix- which was what I was expecting but once again- temps and amount of light is playing havoc with the colors. I would highly recommend this one as a great addition to the home garden though- prolific and very sturdy plants that don’t require much support!
Muchacha
Crazy 4 Wylie Quinn: Once again- well bred dahlia but wrong color. The picture on the website showed a coral orange ball type. I got a florescent two tone orange- Big Nope! I forgot to take a picture but trust me- big no.
Beatrice: I want to like this one because it’s a great color, shape, and early bloomer but that big yellow center is just a killer! I think this one would be an excellent choice for a cool season grower.
Beatrice
Hapet Perfekt: This one was lovely last year but this year, it’s forming very oddly and blowing it’s center very quickly. It’s a bit much for me color wise honestly. I think there are other better large dahlias so with limited space to dedicate to large dahlias, I’ll move on.
Hapet Perfekt
Polyventon Supreme: Yes- this was on last year’s cut list and I added it back at the last minute. I wish it’s color was a bit more muted. It’s just a tad too neon. But it’s a great tuber maker, sturdy stems, prolific. So if you like bright yellow- give it a go. It’s definitely going this time.
That’s the list so far. It will grow between now and next May! I need to cut 30-40 varieties minimum. I’ve trialed so many over the past years that now it’s time to settle on the good ones and grow lots of those!
So who’s on your cut list?
Dahlia Vase Life Trials: The Boiling Water Method
I’ve written a lot on getting the best vase life for your dahlias— But my best recommendation is always to use a flower cooler. However, the backyard dahlia grower doesn’t often have access to a professional flower cooler. So today I’d like to share results of another method of getting great vase life from your dahlias.
The Boiling Water Method is often mentioned as being a way to extend the vase life of your dahlias. But what does that mean exactly?
To use this method: You boil water (an electric kettle works great!), give your dahlia a fresh snip at the bottom of the stem (about 1/4”), then dip and hold it in the boiling water for about 30 seconds. Then place it immediately in your vase for display.
I remember using this method the first year I grew dahlias. I didn’t have access to any professional methods of cooling my flowers. But I couldn’t really remember if it worked or not. So I decided to run my own trial.
I chose 6 stems of the same dahlia harvested at the same time/day. This is Cryfield Harmony. (Note: the yellow center is not a result of cutting too late, just a heat response, this trial was conducted in August in the South)
Here’s how I conducted the trial: Stems were harvested early in the morning into a bucket with just water. Then they were allowed to rest in a 65-70 degree room for a few hours. After a few hours, I divided them up. Jar #1- I recut the stems and placed them in a vase with just water. Jar #2- I recut the stems and placed them in a jar with water and the appropriate amount of flower food. Jar #3- I recut the stems, dipped into boiling water for 30 seconds and then placed them into a jar with water and flower food.
**I always use flower food in my vase water with dahlias because I know for a fact that it increases vase life. My goal here was to see if the boiling water actually gave any boost to the vase life in addition to the flower food. **
The blooms looked great for several days with no sign of decay. Stems were held in my living room which stays around 70 degrees. I did not change the water or recut the stems from day one to the end of the trial.
On day 6, I began to see signs of browning and fading on the dahlia in Jar 1 (just water).
Jar 1, Day 6
On Day 7, I saw signs of fading/browning on the dahlias in Jar 2 and 3.
Jar 2, Day 7
Jars 2 and 3 began to fade at the same time but I noticed that Jar 2 definitely faded faster whereas Jar 3 was only beginning to turn brown on some petals.
Jar 3, Day 7
So what does all this tell me: Well obviously to get really accurate results, you’d need to repeat the experiment and also try it out with multiple varieties of dahlias. But generally speaking, boiling water doesn’t add any vase life over water with flower food.
My suggestion for increasing your vase life (for a backyard dahlia grower) remains to use flower food in your water. It’s just much easier and faster. If you don’t have flower food or don’t want to use it, then give the boiling water method a try- I think it would increase your vase life over straight water with no prior processing of the stem.
Notes:
What kind of flower food am I referring to: I use either Chrysal Professional #3 Vase Solution or Floralife Flower Food 300 - either works, whatever you can find. This is the white powdery stuff in the packets you get when you buy a bouquet. You can buy small pails of it on Amazon and other online market places.
Previous blog on increasing vase life in your dahlias- Click here.
Disclaimer: I know some people who swear by the boiling water method and if it’s working for you- then continue it! Keep in mind that health of plant, hydration and growing climate play a big role in the vase life of your dahlia. Most importantly— make sure you are enjoying them!!
New (To Me) Dahlia Varieties - August 2023
Dahlias have been in bloom for a full month here on our farm in Travelers Rest. I’m already seeing some new varieties that have potential as keepers.
I love dahlias that bloom in August! Why? Because early bloomers have so much potential- you can usually get two flushes off early varieties in our long growing season. So much more beauty potential!
I want to share some of them with you today. Caveat— These are my first impressions. I grow a dahlia for at least 2 years, usually 3 before I choose to add it to my collection.
Lark’s Ebbe
Lark’s Ebbe: I don’t think I really have to say much about this one- What a gorgeous color! Perfect size, I mean what’s not to like. Early bloomer, not too tall. So far it’s got a lot going for it.
Yvonne
Yvonne: I grew this one a few years ago but ended up getting rid of it. But from time to time I would think about this dahlia so I decided to bring it back. It’s a great combination dahlia— by that I mean that it’s good for a cut flower but also as a garden dahlia. It’s not super tall so will stand on it’s own with minimal support (or you could plant it admist other things to support it some). Early bloomer and gives lots of blooms. The petals are a bit susceptible to bruising (which was the original reason I cut it) but if you can handle it well— It’s really gorgeous!
KA’s Keltie Rose
KA’s Keltie Rose: 2nd year growing but in the crapshoot that was the 2022 season, I only got one bloom. This was grown from a cutting so it could be a bit later from a tuber. But the color on this— the photo doesn’t do it justice. It’s a dusty smoky rose color! I’m hoping it will pump out some blooms because I see a lot of potential for this color- I need a prolific bloomer in this tone. It’s a pretty plant too— slightly darker green foliage and the plant blooms above the leaf canopy.
Robinhood
Robinhood: This is another one that I used to grow but lost the tubers back in the days when I didn’t know how to store properly (takes a few years to learn). I love it’s coloring- kinda raspberry with peachy undertones. Early bloomer and threw a flush of several stems at once.
Gerrie Hoek
Gerrie Hoek: I’m loving the color and form of this one. It changes color with temperature too— blushier in heat and pinker in cool. It does have some growth habit issues— does a bit better with some disbudding so we’ll see if I feel like keeping up with that. But the main thing I love about this dahlia is that it makes me smile every time I walk past it. It’s the happiest flower!
All That Jazz
All That Jazz: This one was offered to me as a trade from another grower. I loved it’s coloring in photos I saw. I’ve been eagerly awaiting it to bloom and it finally did this week. The photo doesn’t do it justice - it has a tan/peach reverse with some purple tips and almost a light sangria color to the front. I’m going to have to pull out my nice camera because the phone camera isn’t cutting it!
So just a few I’m excited about. Still need to see if they are good tuber producers, resistant to powdery mildew, prolific and then to see how they do through different growing conditions - which takes a few years!


