


Rusty Dahlias
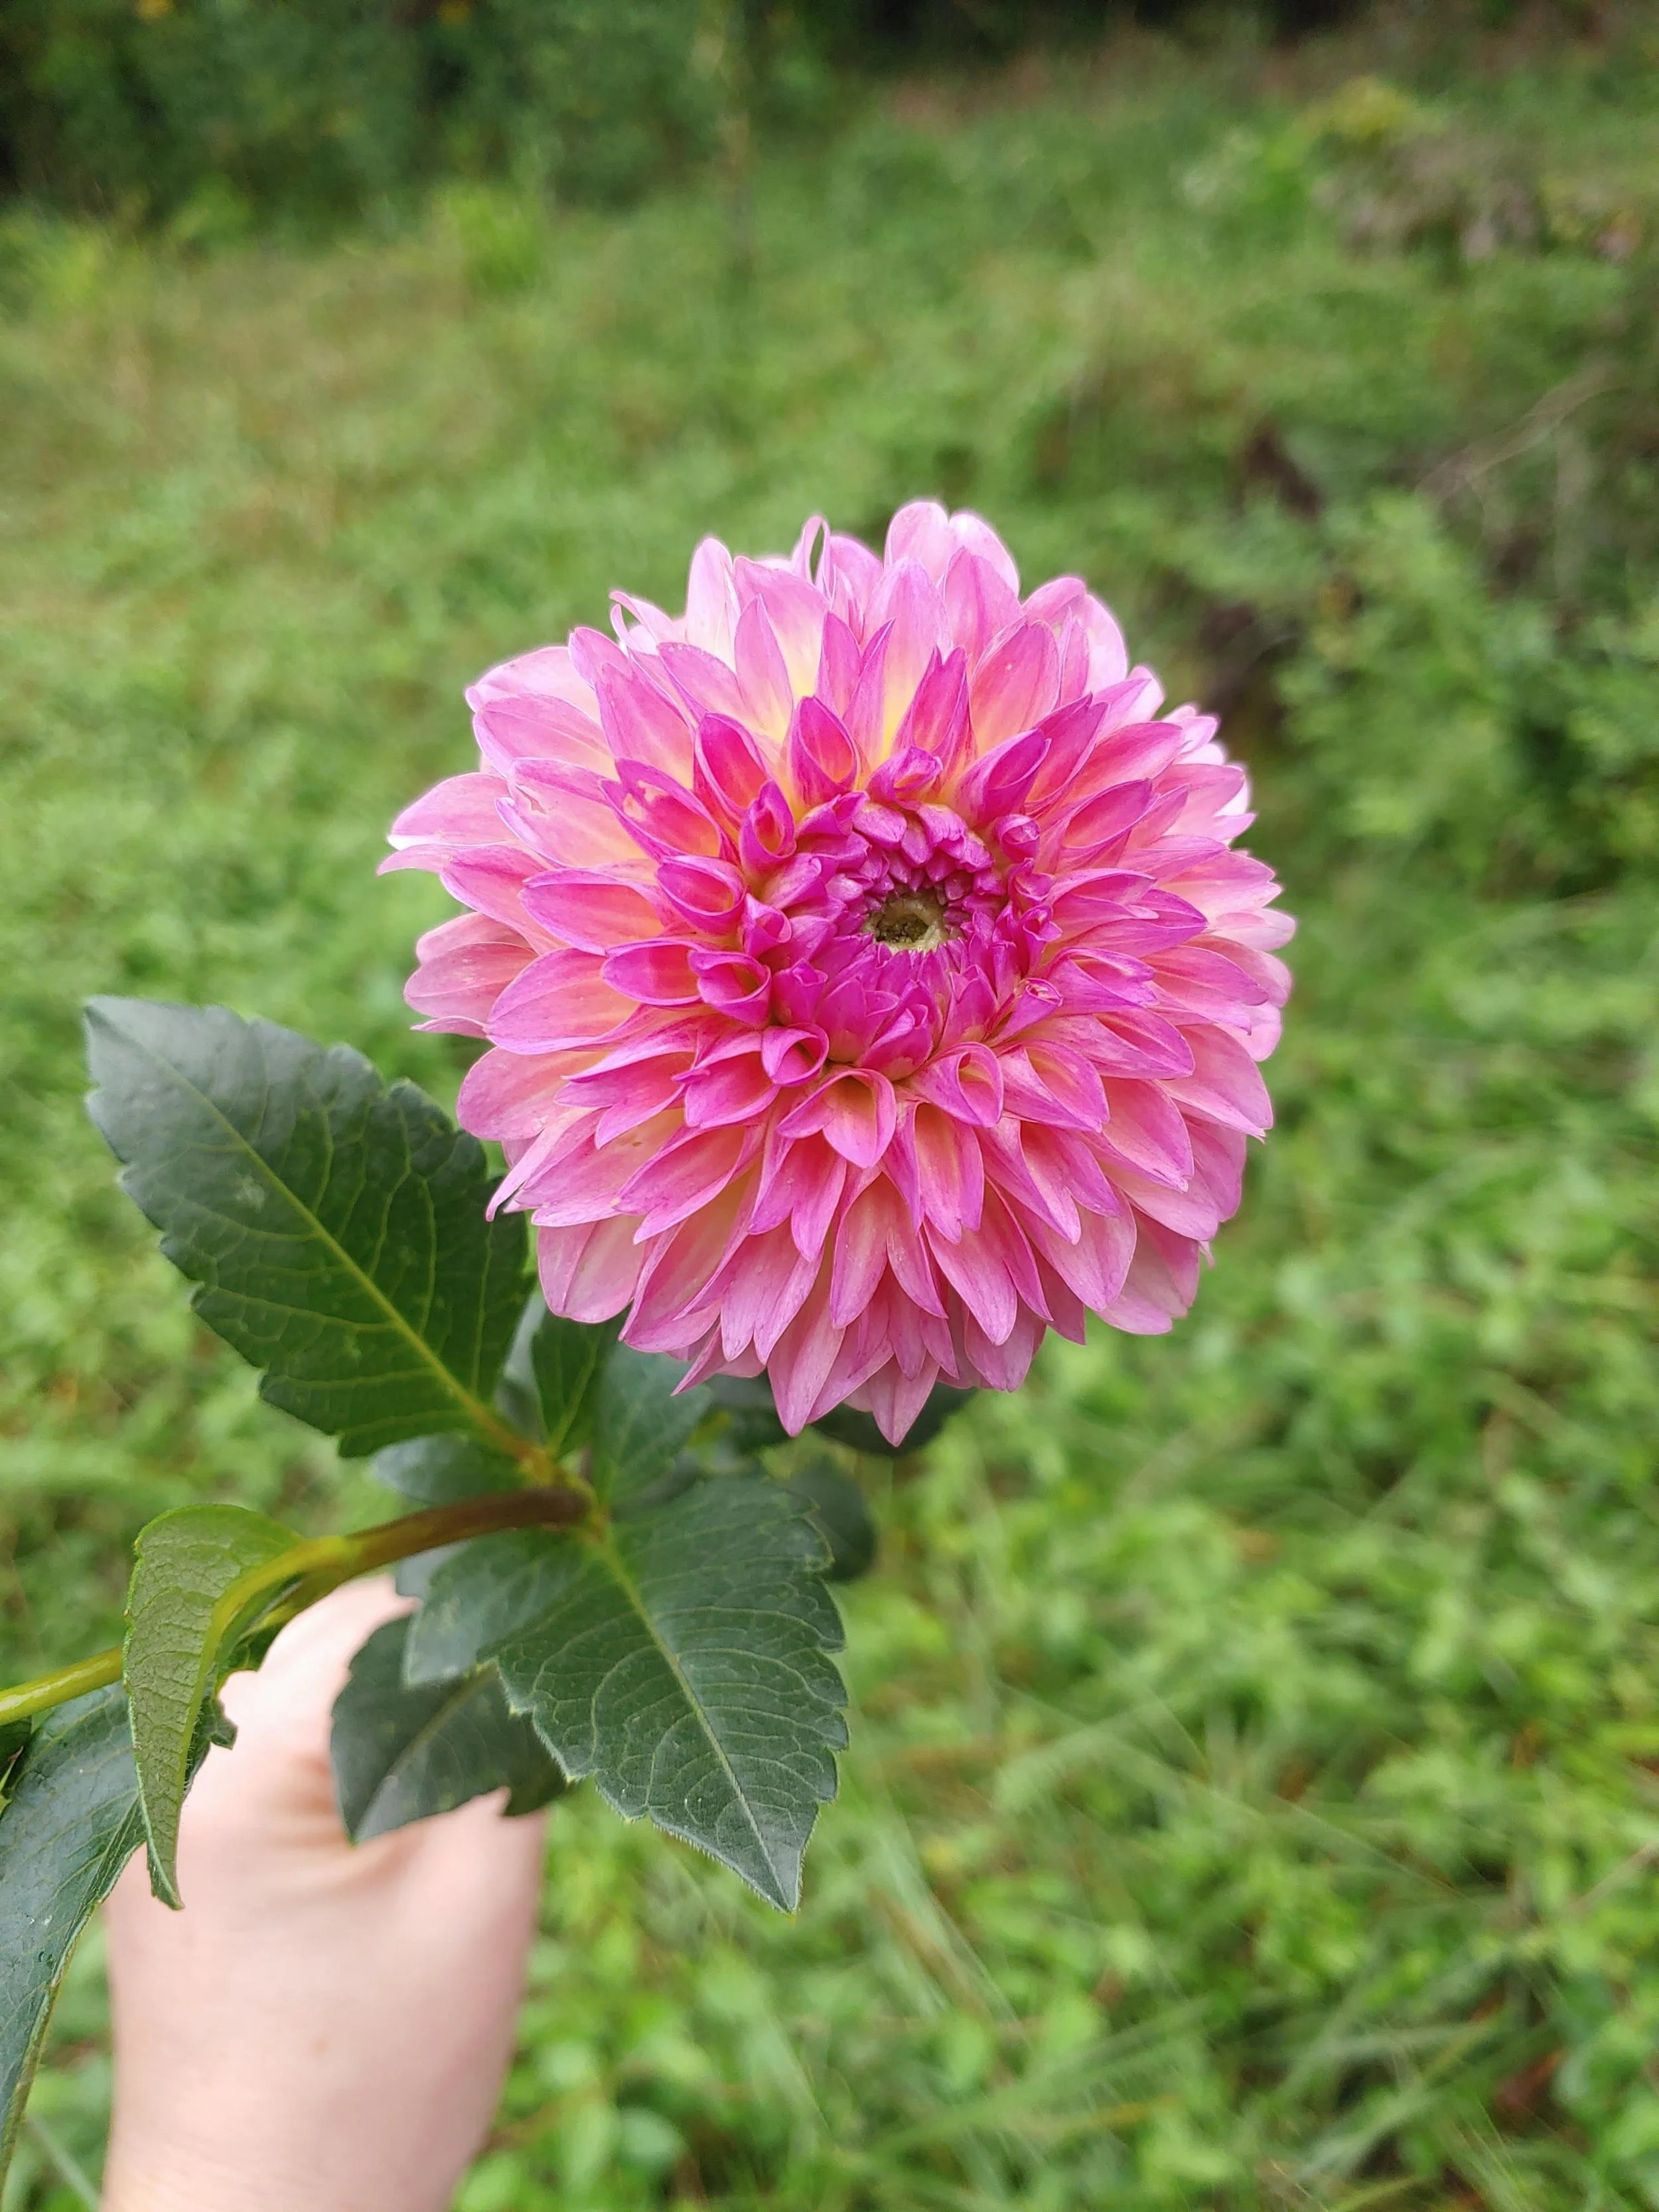
“And something in a rust tone….” This is a request I’ve heard so many times over the past 2 years from my florist customers! Rust has become one of the popular accent colors for fall palettes.
I thought I’d share some dahlia varieties that I use to fulfill this color request. Rust, like peach, is kinda up to interpretation. Do you want rusty red, rusty brown, rusty tan? So I consider it a color family and not really a single color. Thankfully dahlias have a lot of tonality to them so it makes it easy to get the range a florist needs.

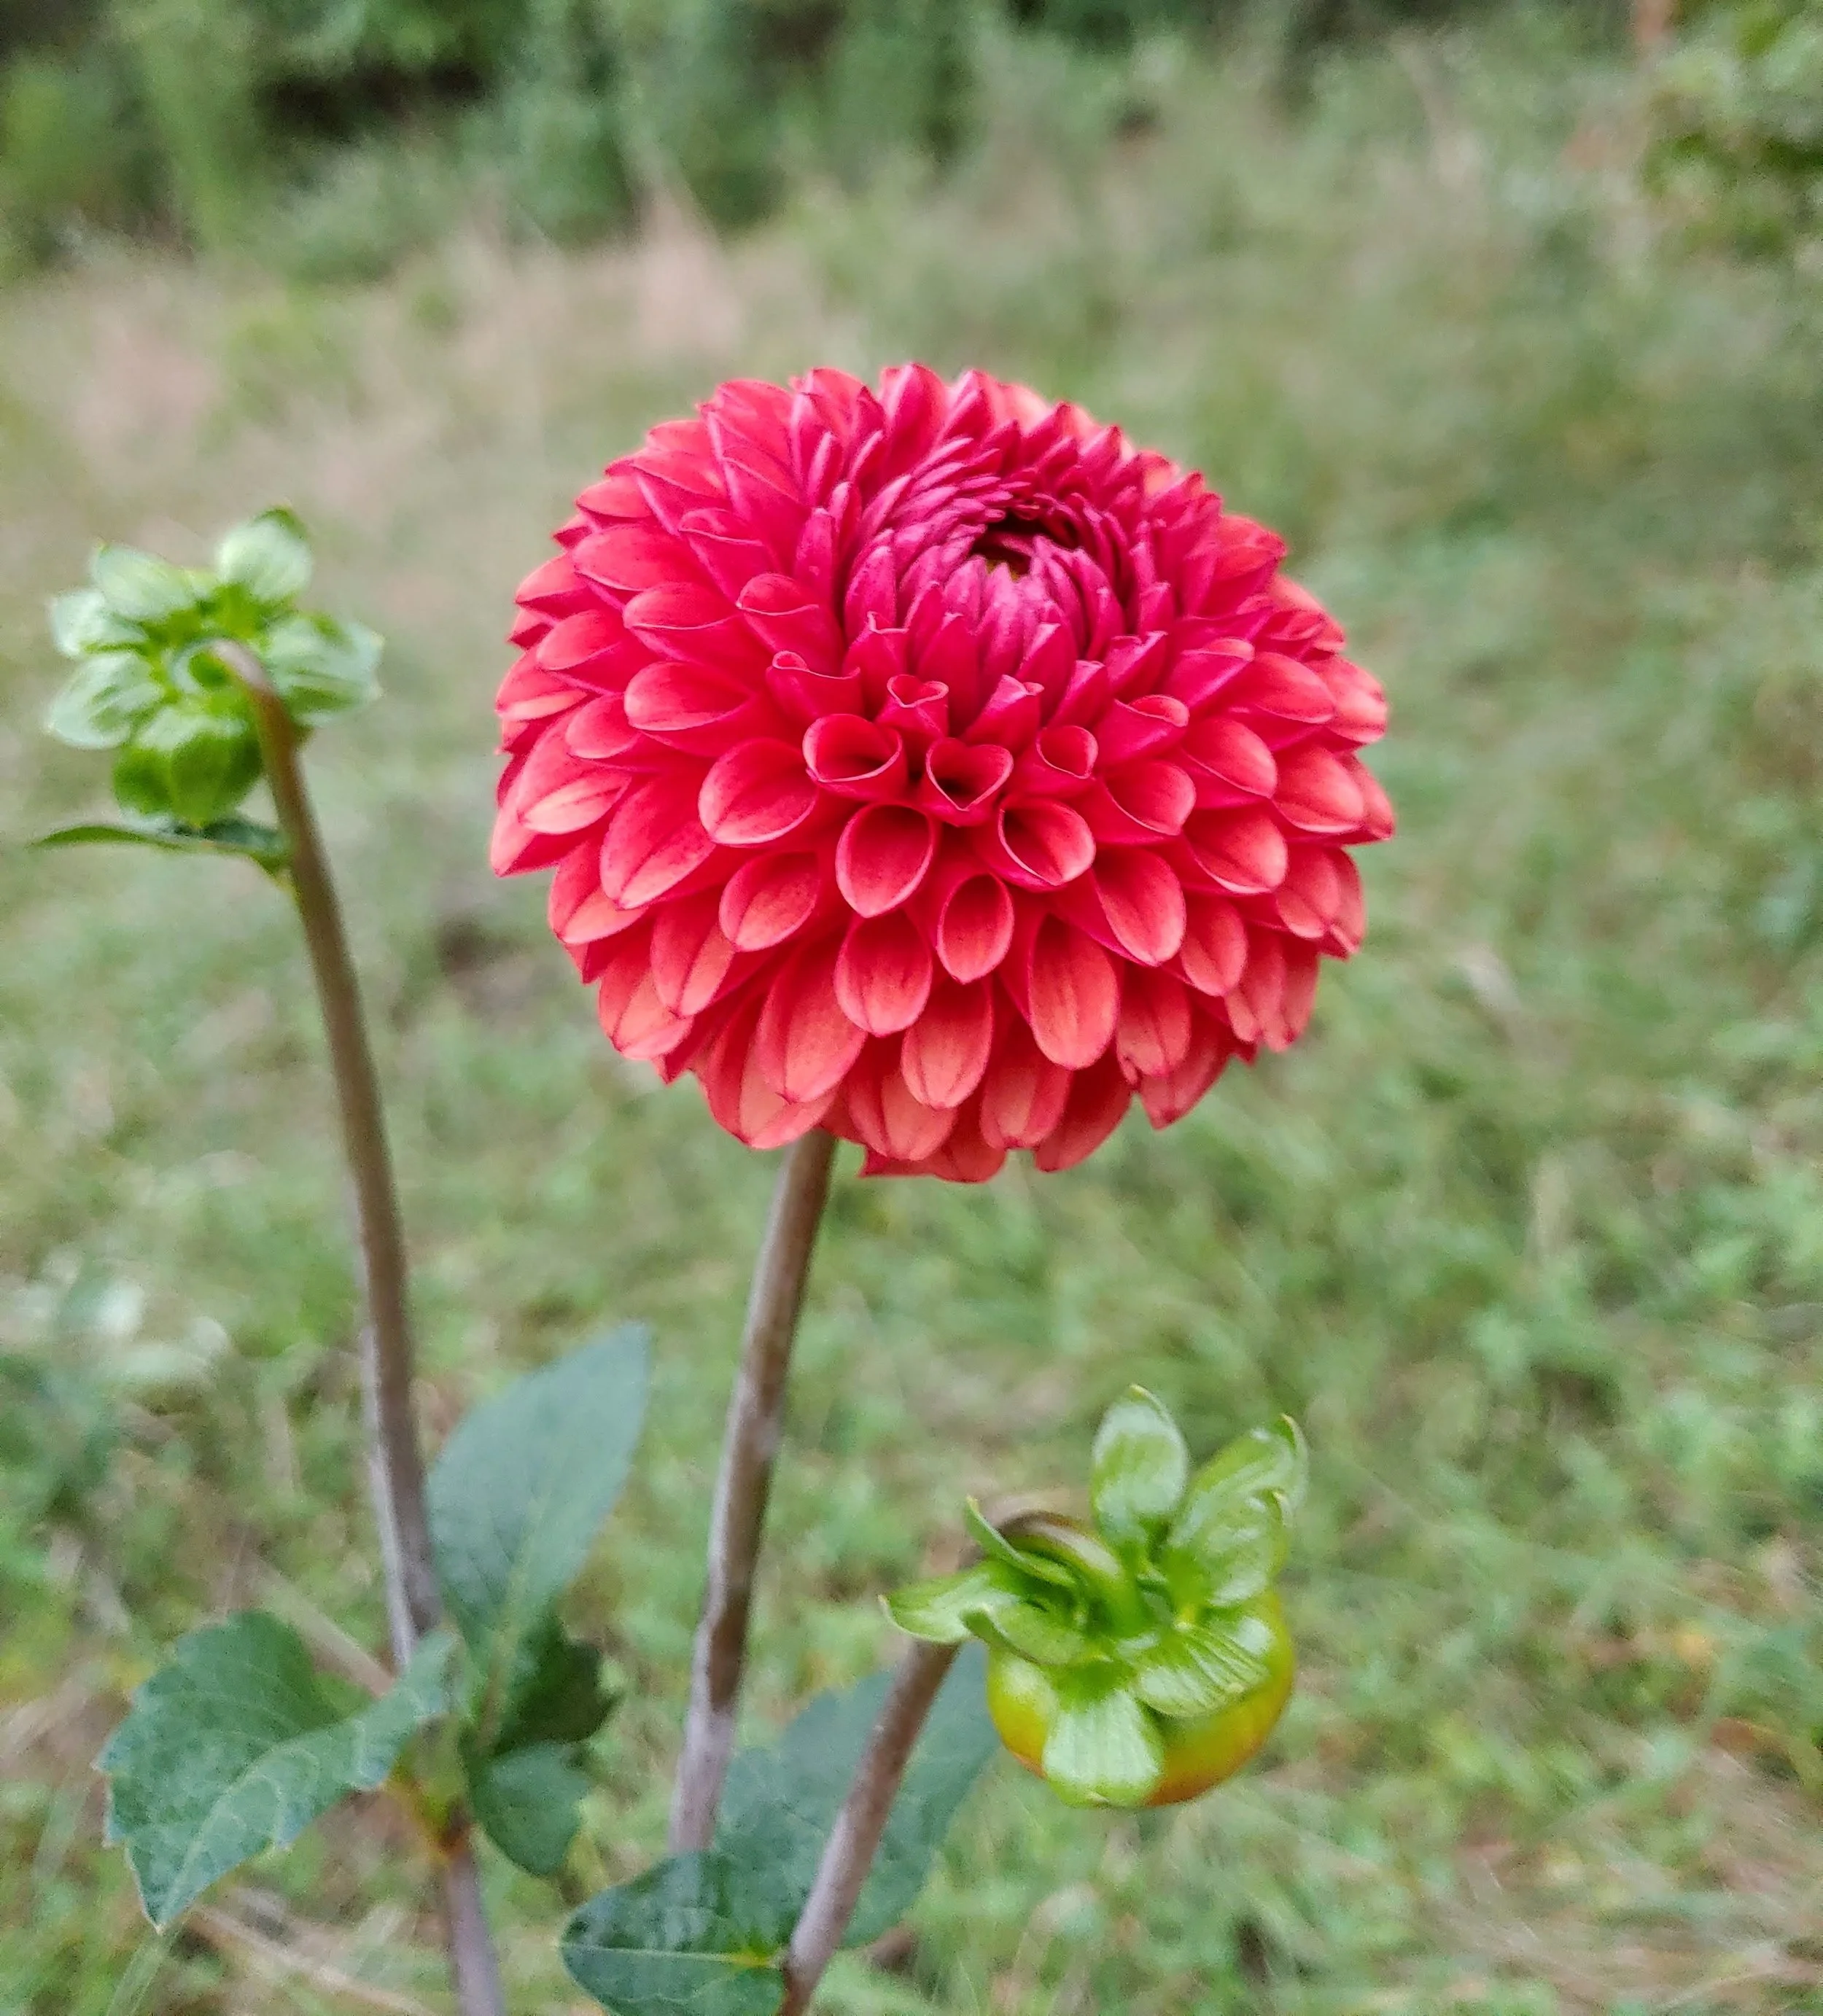
All That Jazz
All That Jazz- This one fits under the ‘Rusty Red’ category. Prolific bloomer, began blooming mid September from a mid May planting. Tallish at around 4’+. The color fades into golden tan tips which complement the rust color nicely. Photographs a bit red but really is a rusty color. Great tuber maker too- makes nice fat tubers with an easy to divide habit. Definitely growing more of this one next year!

Cornel Bronze
Cornel Bronze— ‘Rusty Bronze’ You know I had to include this one. It’s in the ‘Rusty Bronze’ category. It’s an easy dahlia to grow, blooms prolifically and has a neat plant habit so it doesn’t turn into a rangy mess. Good tuber maker (although can be a pain to divide).
Brown Sugar
Brown Sugar- ‘Rusty Red Brown’- Dark stemmed so it adds a bit of drama. I like this dahlia although I’ve heard some others in warm climates who don’t think it’s all that. It has always grown well for me. It is a flusher type of dahlia (meaning it’s going to throw most of it’s blooms in a short period). That can be a downside because the color is definitely unique to the fall season. So you’ll want to time it well. Good tuber maker- nice fat ones that store well.

Copper Boy
Copper Boy- ‘Rusty Copper Red’ - This one is a good alternative if you don’t like Brown Sugar. It’s a bit more copper toned red, blooms early— so make sure to plant accordingly. If you have a market for this color early in the season, you can probably get two flushes out of it. Has a plant habit similar to Linda’s Baby- which means you need to cut deep to force long stems. This is my second year growing it and so far I’m a fan.
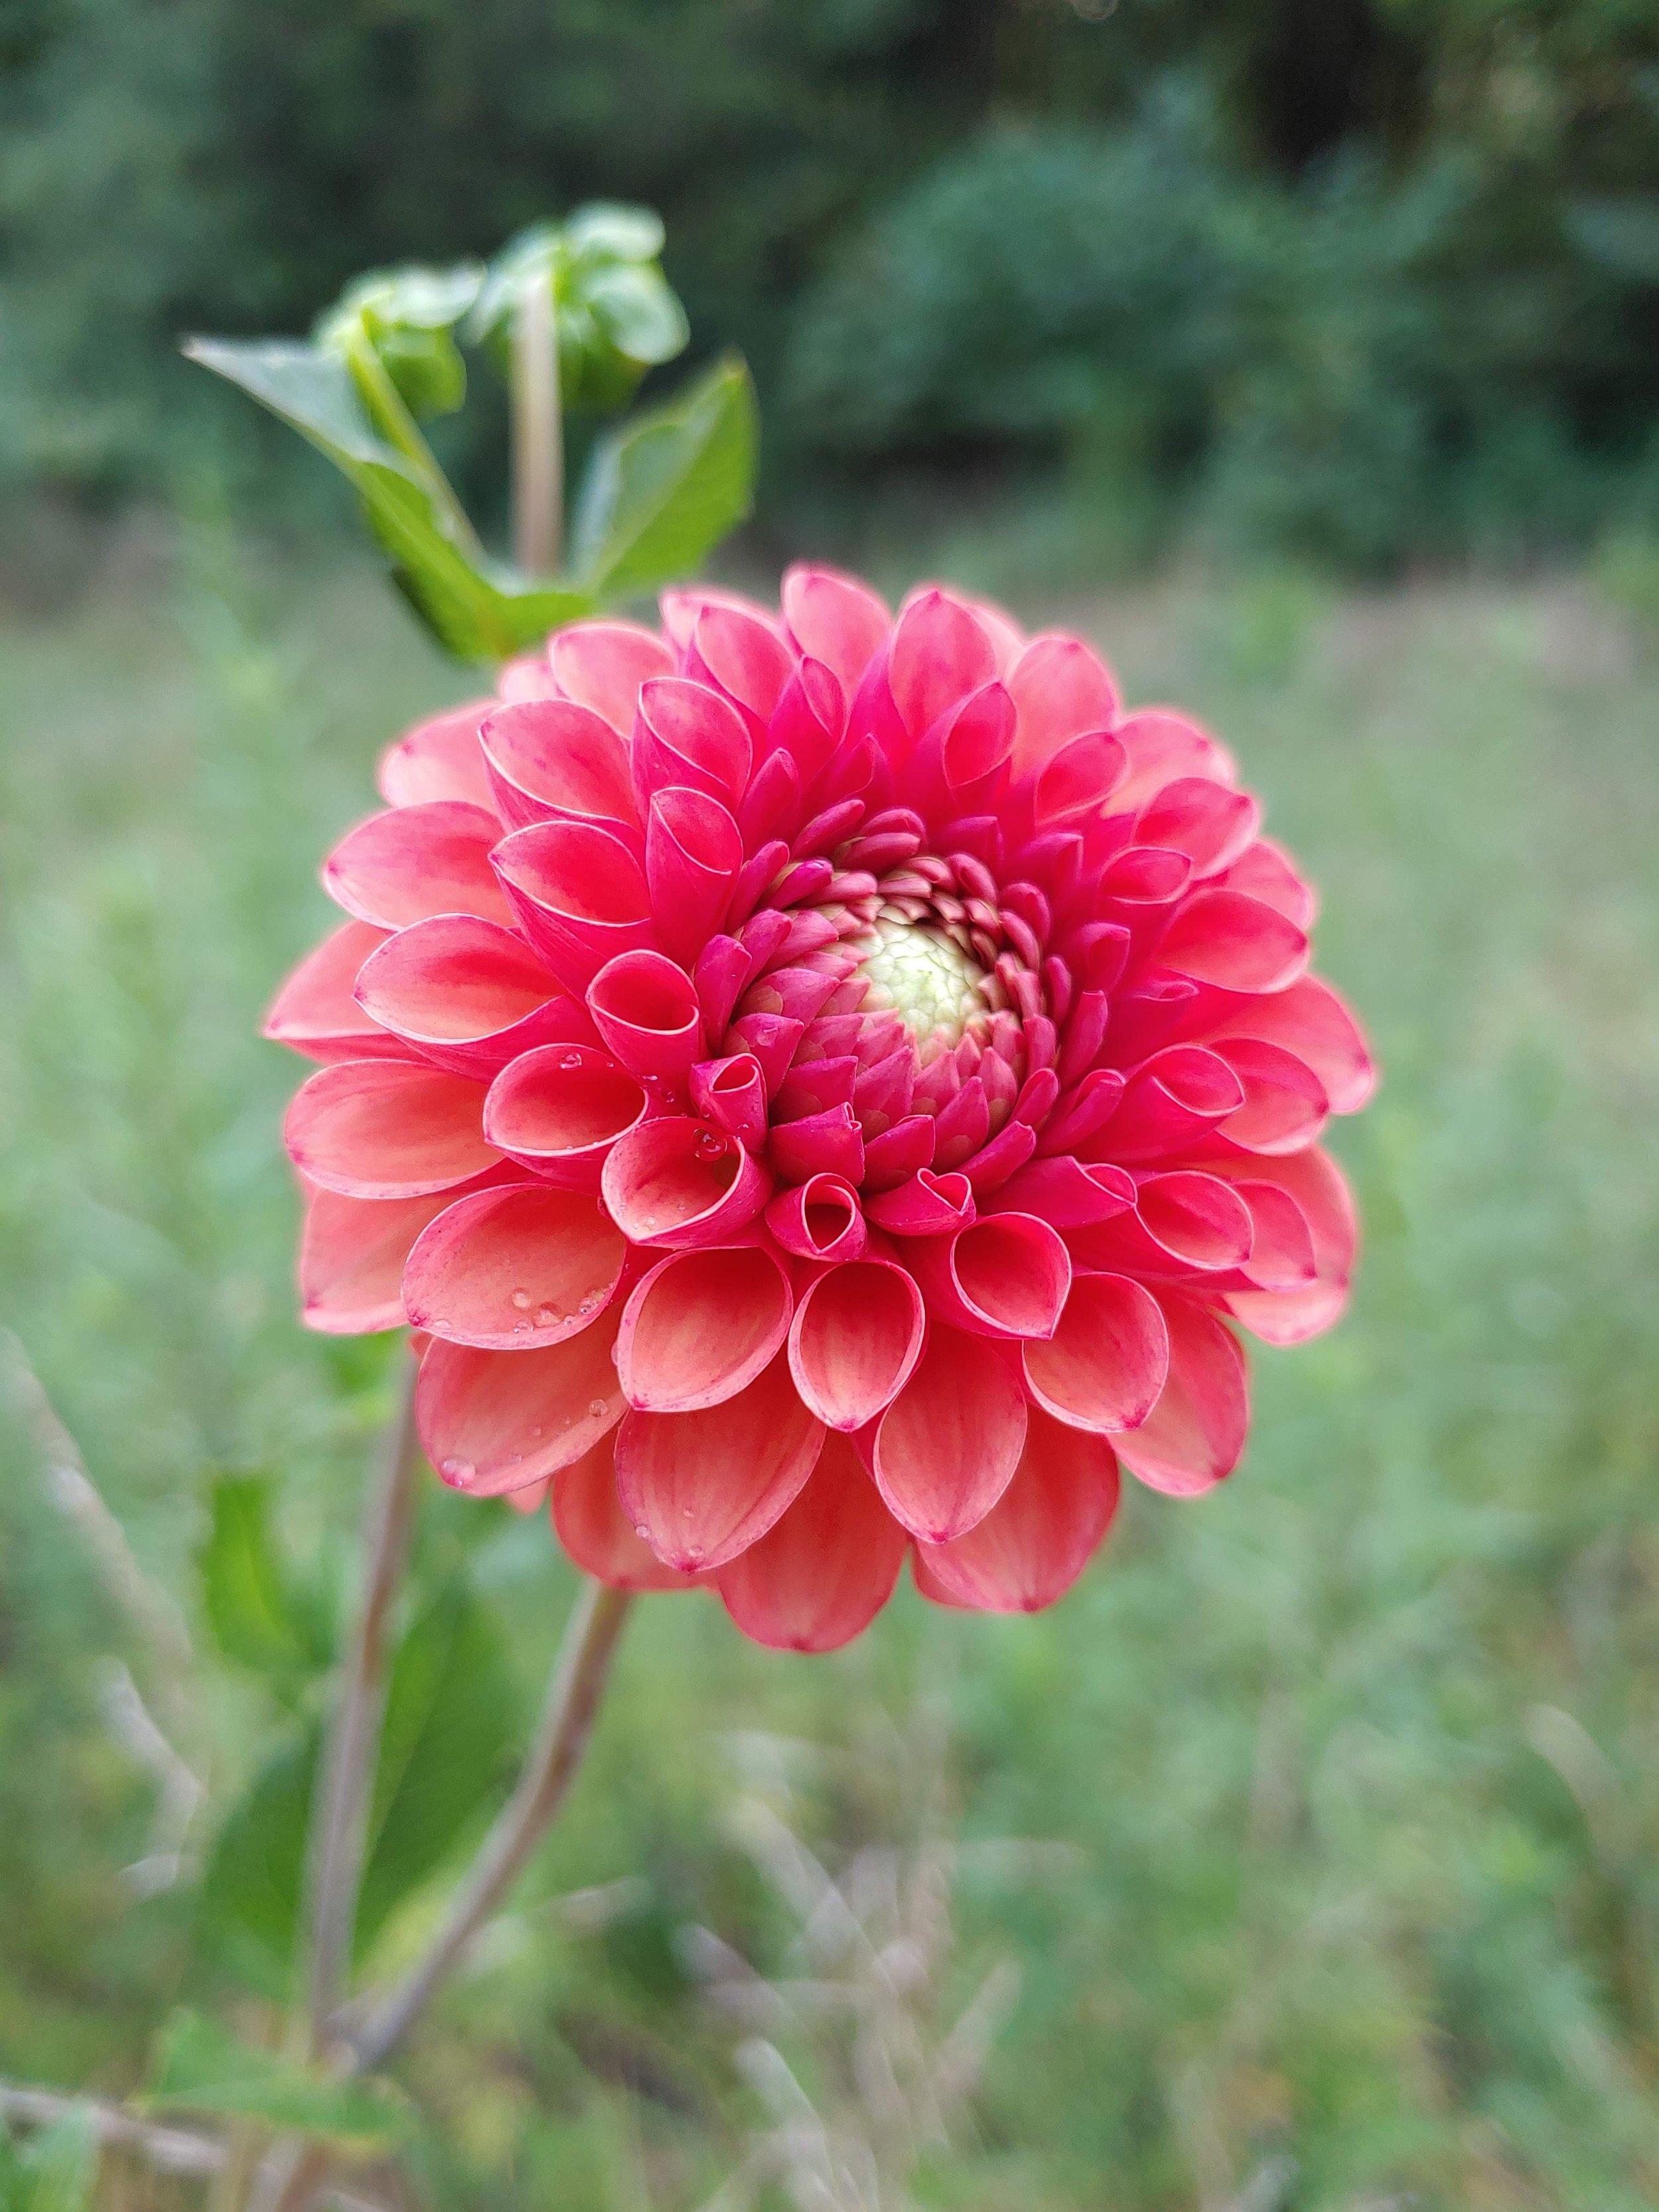
Valley Rust Bucket
Valley Rust Bucket- ‘Rusty Orange’ This is a two tone dahlia- I love two tones because they always work well with so many palettes. They have an instant ‘blendability.” I wish the blooms were a bit bigger - this is a 2-3”. But it definitely makes up for it the number of blooms. Pretty good tuber maker as well!

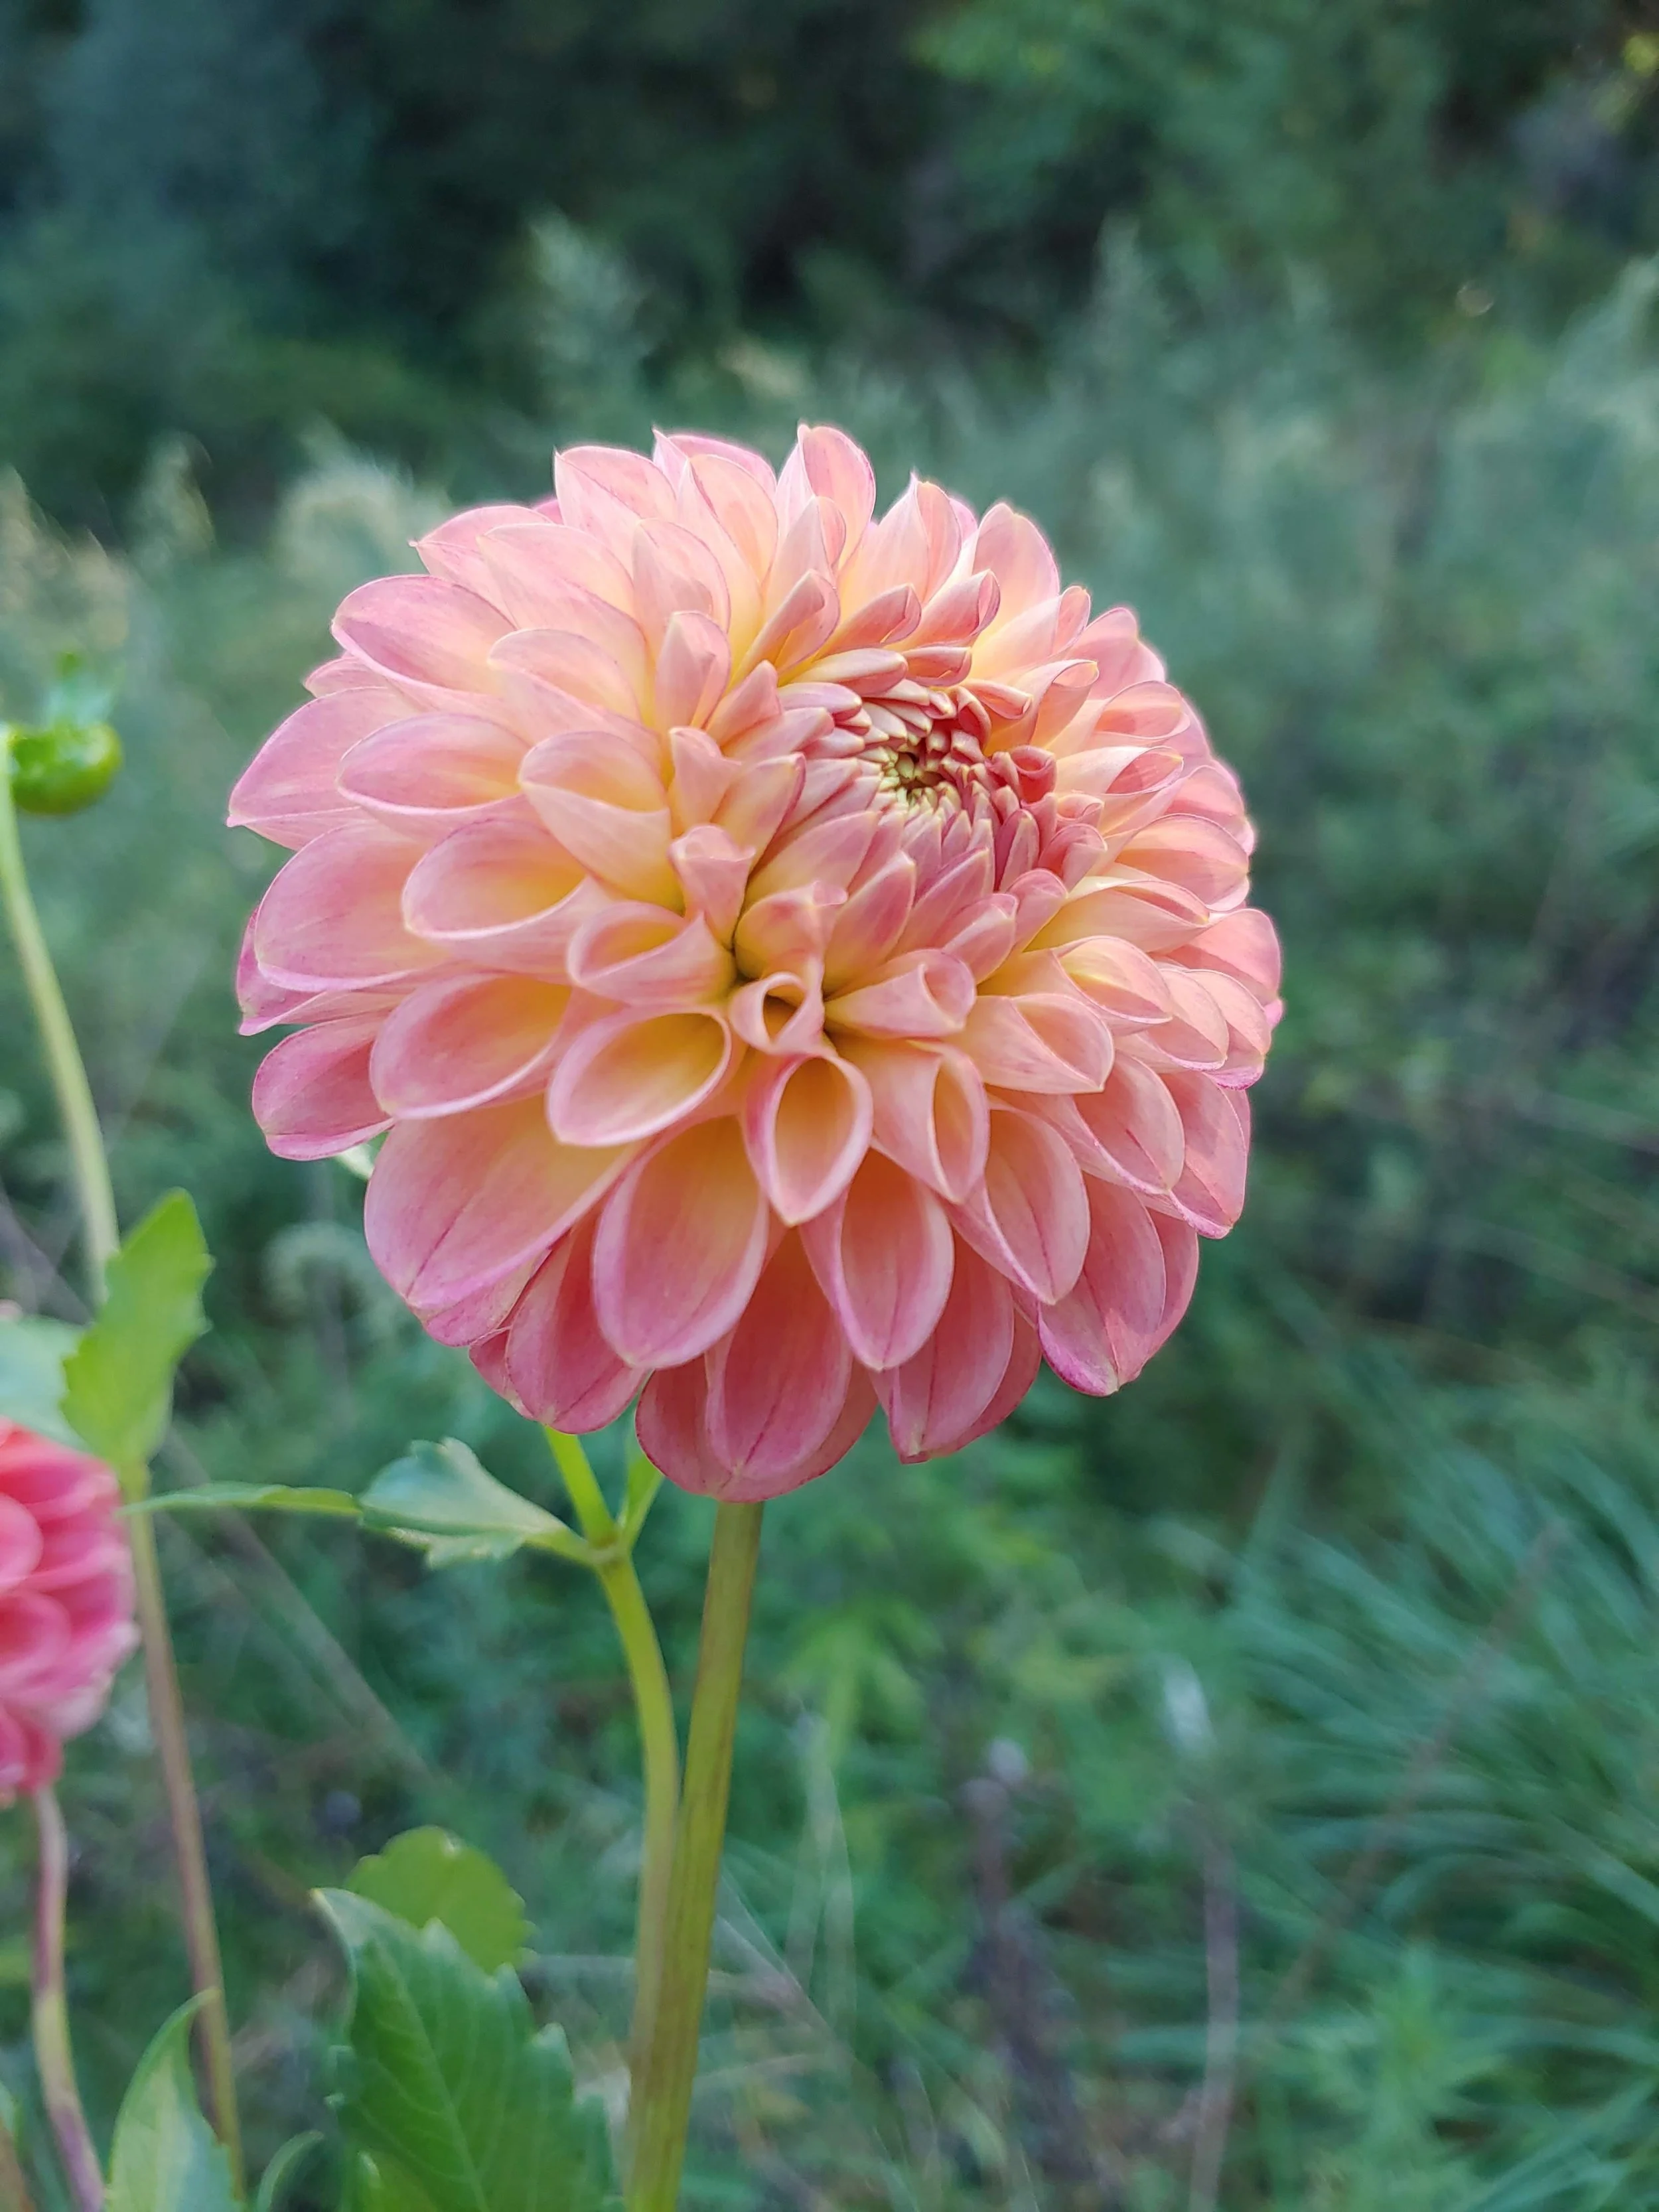
Totally Tangerine
Totally Tangerine- ‘Rusty Copper Tan’ I wouldn’t have considered this to be in the rust palette when I first saw it. Early in the season, it’s a warm peach. But as the weather cools, it goes more copper with some tan as it fades. I offered it to a florist who was looking for some really unique blooms for a styled shoot in the rust palette and she loved it. It doesn’t have a great vase life so I’d relegate it more to the garden but if you do design work and you grow your own blooms, it’ll hold for a day or two.

Sierra Glow
Sierra Glow- ‘Rusty Tan- This is a great dahlia if you need a large bloom in the rusty palette. Sierra Glow has always been a good one for my hot climate. Holds well in the vase- it’s hard to find large dahlias that have great vase life in a hot climate but this one works!

Ice Tea
Ice Tea- ‘Rusty Terracotta Brown’ This was my original rust dahlia- the first variety I had in this color palette. I first clued in to this color trend when I couldn’t keep this color in stock a few years back. It’s a good consistent bloomer. Makes good tubers but you need to be very careful when digging them. It creates a tuber with a round bulbous body but a very skinny neck. It’s very easy to break the necks when digging so lift carefully.


Honorable Mention: These 3 dahlias above blend very well into the rust palette so I’m including them. From left to right- Rose Toscano, KA Mocha Katie, and NTAC Mai Li
There you have it- my favorite rust dahlias that work well in a hot climate! If you aren’t growing rust tones- it’s time! Color trends move and change but most of them stay around for a few years so you’ve got time to grow this beautiful tone!
Things You Can Do Now to Prepare for Next Dahlia Season
It’s almost winter time and hopefully you’ve dug your tubers (if you needed to). It’s time to enjoy the pictures and memories of a beautiful dahlia season!
However, if (like me) you’re just not content with sitting around, there are several things you can do now to prepare for an amazing dahlia season next year.

Sonic Bloom
1. Prepare your soil. First off, take your soil test. Fall is the best time for soil testing on a regular basis. And it’s a really good idea to take the test around the same time each year. This way you can compare your progress from year to year. Fall is also a good time because any amendments you need to add take time to incorporate into your soil. The winter gives you time for this incorporation to happen.
After soil testing and adding any amendments you need, think about the texture and drainage of your soil. The handy thing about dahlias is that they tell you what they need in the soil. If your soil doesn’t drain well enough, you’ll see lenticles on your tubers. If the soil lacked food, the plant will grow small and spindly and usually the tubers will be small and not prolific. The visual appearances of the plant and tubers tell you what you need to know.
We are strategically adding compost and shredded leaves in several places this fall. We’ve identified where our drainage was poor and are working to correct it. Keep in mind that soil improvements can take several seasons. (This is why you want to take soil test each year— they help you to know if you are moving in the right direction.)

Muchacha
2. Research. It’s time for one of my favorite parts of growing dahlias— Deciding what varieties to add to my field for the next year. You can do this many ways— just add what’s pretty or decide you need more of a specific color or form. What suits you. Since we are a commercial cut flower farm, we are always looking for great cut flower varieties and varieties that thrive in heat. Those are the main priorities. After that, I usually assess my current collection to see what colors I need to increase. I try to ascertain what the color trends are going to be 2-3 years out because it can take that long to build up enough stock of a particular color.
I like to use Dahlia Addict (www.dahliaaddict.com) to begin my research as this site shows who has what and when it’s for sale. I also save pictures from Instagram all season long. Now if the time to review them. We all know that it’s easy to get dahlia mania and to want them all. But I’ve found that it’s good to have some goals when adding to your collection- this helps keep the dahlia hobby from breaking the bank! (I know you all know what I mean!)
Second, you can also research any problems you had- specific pests, not enough water available or if you had some climate type issues- how to deal with them. It’s beneficial to think through these things when you are not in the stress of the main growing season. There’s often more mental space to solve a problem.

Esli
3. Organize your game plan. One of the best things I did this past year was to stop mid season and get organized in regards to my feeding and pest management. I created a spreadsheet where we could record what we were fertilizing with each week and also what pesticides we used. This year, I’ll be adding a column to track what pests where in the field and when. We would scout each week but didn’t write down exactly what we saw. Lastly, we recorded what we sprayed for fungus issues too.
I know how hard it is to keep up with this stuff during the season so make your game plan now. Buy what you need before the season begins. Also figure out a strategy to ensure your don’t put off feeding and spraying your plants. They really do produce and give back to you when you take care of them. If you are a farmer- delegate this to an employee. That was also one of the best decisions I made. They have less floating around their minds in regard to the farm and can make the job a priority. This delegation ensured it got done on time every week! And our stem production and tuber harvest was better for it!
You can also set a record keeping system for other data in winter: storing pictures, recording bloom dates, stem counts. All those things you wish you had done at the end of the season. Go make a list and then work through setting up the systems you need through the winter.
It’s too busy in the middle of harvesting to invent a system so do it during the winter when it’s slow!
These are three of the best things you can do to ensure a great dahlia season for 2024!!
My Top 5 Cut Flower Dahlias for 2023
I’ve written a lot about cut flower dahlias so this is by no means an exhaustive list. In fact, last year, I released a list of 20+ Great Cut Flower Dahlias. This list is meant to be 5 new varieties that I really felt stood out this year.
Top 5 Cut Flower Varieties:
The first 2 are new to the farm this year but they really stood out. The last 3 we have been growing a few years and they’ve become clear winners for productivity and excellent growth.
All That Jazz:


All That Jazz— and yeah, it definitely is! Mid season prolific bloomer on strong stems, 4’ in height. It’s really hard to capture the color accurately. But it hits the popular rust tone that all my florists customers have been asking for! Later in the season, the bronze tips get a bit more prominent and the rust mellows a bit. Good vase life too- avg 5-6 days.
Cryfield Harmony:


I’m going to preface this with— this one is for the cool climate folks. I wish she was heat tolerant because she bloomed steady from early August until frost in November. But in high heat she shows a big yellow center. But if you are a cool climate grower, I’d recommend this one— strong stems, steady bloomer and the color goes with a lot of other shades. I found I used her a lot in bouquet work. Excellent vase life 6-7+ days regularly.
Caitlyn’s Joy:


This one truly is a joy! Prolific bloomer— although they do come all in a flush over about 4 weeks. Same growth habit as Cornel, Cornel Bronze (all it’s siblings). I love the color change on it— it’s pinky in heat but then gets this gorgeous muddy mauve as it cools down. Good sub for Jowey Winnie since the Jowey’s don’t do well in high heat/humidity.
Copper Boy:


I love the color on this- rusty red with copper tips as she fades! Great sub for Brown Sugar. Not super tall - similar in growth habit to Cornel. Seems to throw a lot of blooms in a flush over a few weeks versus a steady bloomer. Early to mid bloomer- I like to plant a bit late so it begins in mid September through October when this color is really popular.
Tahoma Curve:


This dahlia has just wormed it’s way up into my favorites list over the years. Why? It’s dependable, long lasting, no trouble to grow and it has great vase life! It’s more peachy/gold two toned in high heat and more gold in cooler weather. I’ve noticed that cactus and semi-cactus varieties seem to have better vase life and this one doesn’t disappoint in that department. Definitely here to stay on my farm!
Special Mention: KA Mocha Katie:


I’ve only had this one 2 years and last year it didn’t do great. But this year it did amazing- steady prolific bloomer. The coloring changes- it’s lighter and more yellow in high heat and then darker in cooler weather. I’m going to keep evaluating but I think this one has potential for high heat/humidity growers.
All the above varieties (except KA Mocha Katie) will be available in our tuber sales this year. Some of them might not be available until the New Year’s Day sale though.
My Top 5 Garden Dahlias in 2023
I love to trial new varieties- in fact it’s hard to keep up with so many varieties most of the time! But in doing so, I always find some gems. I’m mostly on the hunt for good cut flowers varieties that give lots of blooms in my Southern heat. But occasionally I find some that make great Garden Dahlias.
What makes a Garden Dahlia versus a Cut Flower variety? Most dahlias are good cut flowers but there are definitely some that are better than others. And you can grow most dahlias in a landscape style garden setting too! But when I say “this is a garden dahlia” - What I mean is - This variety stands up well on it’s own or with very little support (they are usually shorter varieties) and they also give a steady supply of blooms. Some dahlias throw all their blooms at once and then you don’t see another bloom for 6 a month. Steady color is an important aspect of a garden dahlia.
My Top 5 Favorite Garden Dahlias for 2023:
Muchacha:


You gotta love this one for the name alone— say it multiple times, you’ll love it! This dahlia is around 3’, beautiful darker foliage and strong stems. The blooms are darker, more purple toned in warm weather and then the colors begin to soften and merge into one another more as it cools. It also occasionally throws an off color like the mainly white pictured above. (I think blooms like that are fun in the garden because they are a nice surprise!) This one has a growth habit that produces stems long enough for cutting so it works as a cut and a garden dahlia. It’s a mid season bloomer and then keeps going until frost. It’s color allows it to blend easily with other tones in a bouquet or your garden.
Totally Tangerine:


Totally Tangerine- What a great anemone dahlia! Beautiful color and so many blooms! This dahlia began early August for me and bloomed her head off for a month. Then I cut it back by half and within about 3 weeks she was blooming again! This is a variety that benefits from deadheading a bit more regularly than other garden dahlias because it produces so many blooms. Doesn’t hold up well in a vase- I could really only get 2 days, occasionally 3. But it you want a dahlia to attract pollinators to your garden, this is the one. It’s also not super tall 2.5-3’ Needs little support- you could plant it between other plants and it would be just fine. Good tuber maker too so you can multiple your own stock!
Esli:


Esli was brand new for us this year! And I’ll have to admit I was a bit disappointed at first— she was short! Such a pretty bloom but barely long enough to cut. But then I began to watch her and boy, did she pump out the blooms! She only grew to about 2.5’ in my field - she put all the energy into bloom production. This dahlia would be fantastic in a border. And she’s does make a good cut flower- just not really a production cut flower (stems just aren’t quite long enough). Her bloom begins med pink with a darker center and then fades to a nice pinky salmon as it sits in the vase. It’s a beautiful progression to watch.
Valley Rust Bucket:


This one is definitely a good cut flower but I’m putting her on the garden list because I think she makes a really good garden variety too! (She pairs well with Brown Sugar as shown in the group picture above. Valley Rust Bucket is the smaller bloom) I like the 2 tone reverse coloring but I wish the bloom was a bit bigger. But she’s prolific, has a nice upright growth habit with strong stems that make it ideally suited for a garden. It also begins blooming early which means you are going to get a nice long season of blooms!
Mystique:


I know there are going to be some people who disagree with me on this one. That’s ok! I absolutely love the color on Mystique — which is why I’ve grown it for 4 years, hoping it would make the grade as a cut! But it just doesn’t have it— as soon as I cut this variety, the stems get floppy. I’ve grown it in different conditions every year. But this year, I stopped cutting it after about 2 weeks and just let it bloom. And— I noticed it’s a great dahlia- for the garden. This one is taller than most “garden dahlias” but it has a nice upright habit and would look great at the back of the border. It definitely deserves a spot in your garden but not the production field.
Now, I know that’s 5 but I’m going to throw in an honorable mention for one of the 2022 varieties: Yvonne! I grew this one again for the first time in a few years. I gotta admit, I love it! It’s petals can be a little delicate but I think it’s worth a bit of extra special care. The blooms are so beautiful!

If you’d like to see the 2022 list, click here, enter your email and it will be emailed to you!
All the above dahlias will be available in our upcoming dahlia tuber sale. Sale begins November 17. Make sure you are on the Dahlia Lovers Newsletter for all the details!
Frostmas has come....now what? (Tuber Digging Guide)
It’s official- November 2, 2023 and our field has frosted. Frostmas has come! And you know what? I’m really excited. We’ve had a great growing season this year and I think the tubers are really going to show it.
We began the digging process November 1st actually. We begun with digging Sweet Nathalie and Cafe Au Lait. They both look fabulous!

Cafe Au Lait
I thought I would take you through our process of digging tubers.
First off- you don’t have to wait until frost. We don’t usually wait most years. Occasionally be can make it to mid November before we frost. But we have to get the tubers out of our beds so we can plant spring flowers. You only need the plant to have been growing for 120 days to get tubers. You’ll hear some people say less than that but since some varieties take longer, I think 120 days will cover it all.
Second: About a month before you want to dig, make sure your dahlia is true to name. I write my labels on vinyl window blinds with pencil - the cheapo kind that you can find at the local hardware store. Pencil doesn’t come off and fade in the sunshine. I use a hole punch to make a hole and then zip tie it to the base of the plant. It’s also a good idea to make a map of your planting plan when you begin in Spring and then check it as they bloom. Double labelling is good in case you lose a tag during digging! (It happens!)
The Digging Process:
Once we are ready to dig, we remove the netting (or any supports you have used). Then we cut down our plants to about 4-5” of stalk left above ground. Now you are ready to dig.
You want to begin digging about a foot out from the stalk. This ensures you don’t slice the tubers. You want to dig all the way around the stalk in a circle and gently start lifting the clump. Some come up easy, some take forever- depends on how big the clump. Once you get it lose, use your shovel to lift it up. Don’t pull too hard by the stalk— this is a good way to break the delicate necks of your tubers. Begin brushing dirt off so you can see what you are working with. And just keep using the shovel to loosen it until the clump is free. Don’t shake too hard or pull too much on the stalk. During digging is the time when you can cause the most damage to the tubers so be gentle with them!
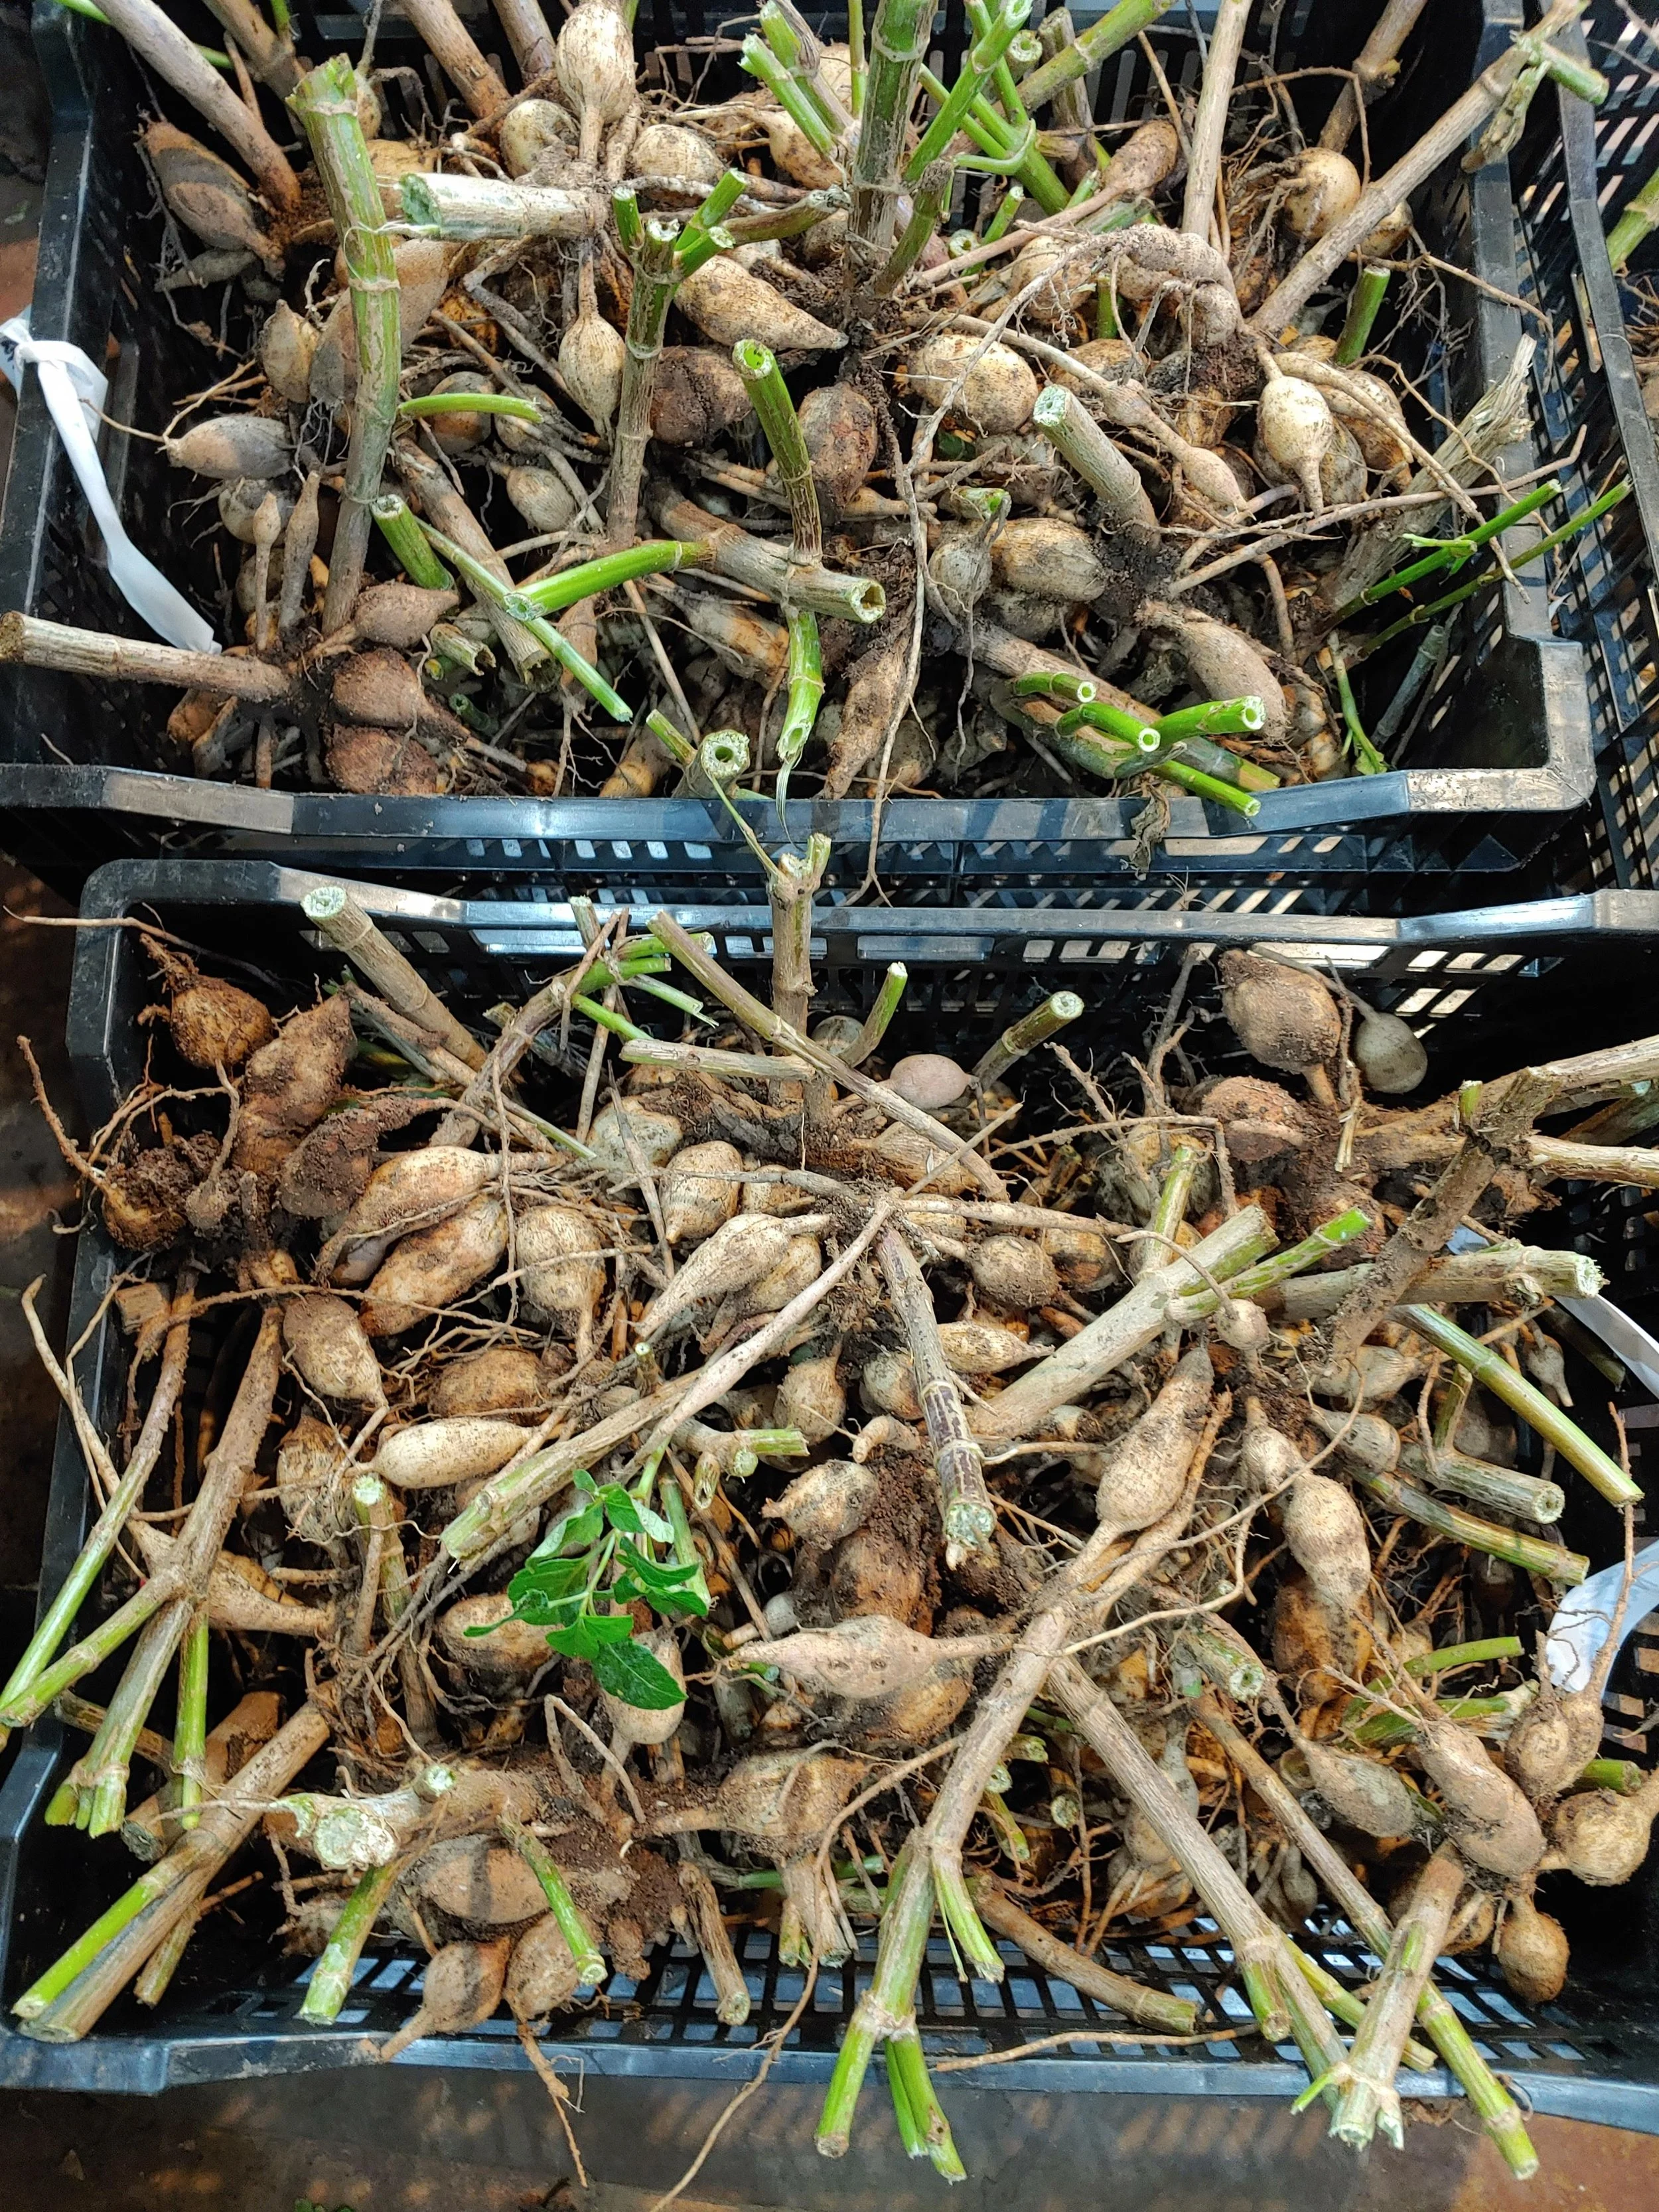
Once you get your clump free, brush off as much dirt as you can with your hands. At this point you can go 2 ways: Wash immediately or store to wash later. We store to wash later since we are digging 1000’s. We put all the clumps of one variety in a bulb crate, leave them to dry for a few hours (no longer than overnight) and then they go into the flower cooler (set at 40ish degrees). We use our flower cooler for storage because it holds temp and humidity really well. I begin the tubers at around 40 because we are also still storing fresh flowers in there this time of year too! But after the flowers are done I raise the temp to 45. Ideal humidity is around 90%. You can add buckets of water to your cooler if you need to raise the humidity.
If you choose to wash immediately, use a spray that has a controllable flow. You’ll need some force but not too much. Once again, you can damage the skin on the tuber if you use too much force with the water. Wash the tubers until all the dirt is gone. Let them dry for about 24 hours. Now you are ready to divide or store in clump form through the winter. If you aren’t going to divide immediately (but within a few days/weeks), make sure you are keeping the tubers in a storage environment (45ish degrees, 90% humidity).
***Once tubers are out of the ground, make sure any drying takes place in an area that doesn’t freeze! I use my basement.
It’s important to move along with getting your tubers to their final winter storage as quickly as you can. We are dealing with 1000’s so it does take a few weeks. But our goal is to always have our tubers divided and store by Christmas!
We divide over the coming weeks. After division, the tubers are left to heal their cuts overnight and then put into winter storage. We use peat moss (we’ve been using the same peat moss for years because we keep is bone dry). However if you are just beginning this storage journey then I would suggest vermiculite- a lot more environmentally friendly. Eventually when we run out of peat moss, we’ll switch to that. The tubers are layered into plastic containers (I recommend using containers no more than about 10” deep) with peat moss between each layer. If you use shallower containers, it’s easier to check your tubers throughout the winter. Don’t use carboard boxes to store in- they zap moisture out of your tubers.
But the biggest piece of advice about storing your tubers is this: Check them often!! Storing tubers is not a set it and forget it task. You are storing a living thing. You have to make sure your conditions are holding! I recommend checking at least every 2 weeks- set a reminder on your phone. Checking ensures that if things begin to go wrong, you will be able to slow down whatever is happening and keep it from spreading.
Lastly I’ll leave you with this:
A few years ago I tracked the amount of time it took to dig, wash, divide, and store our crop. I’m tracking again this year with 3100 plants. We are 3.5 hours in so far!!
For 2200 Plants:
Digging: 39 hours
Washing: 15 hours
Dividing: 75 Hours
Storage: 20 hours